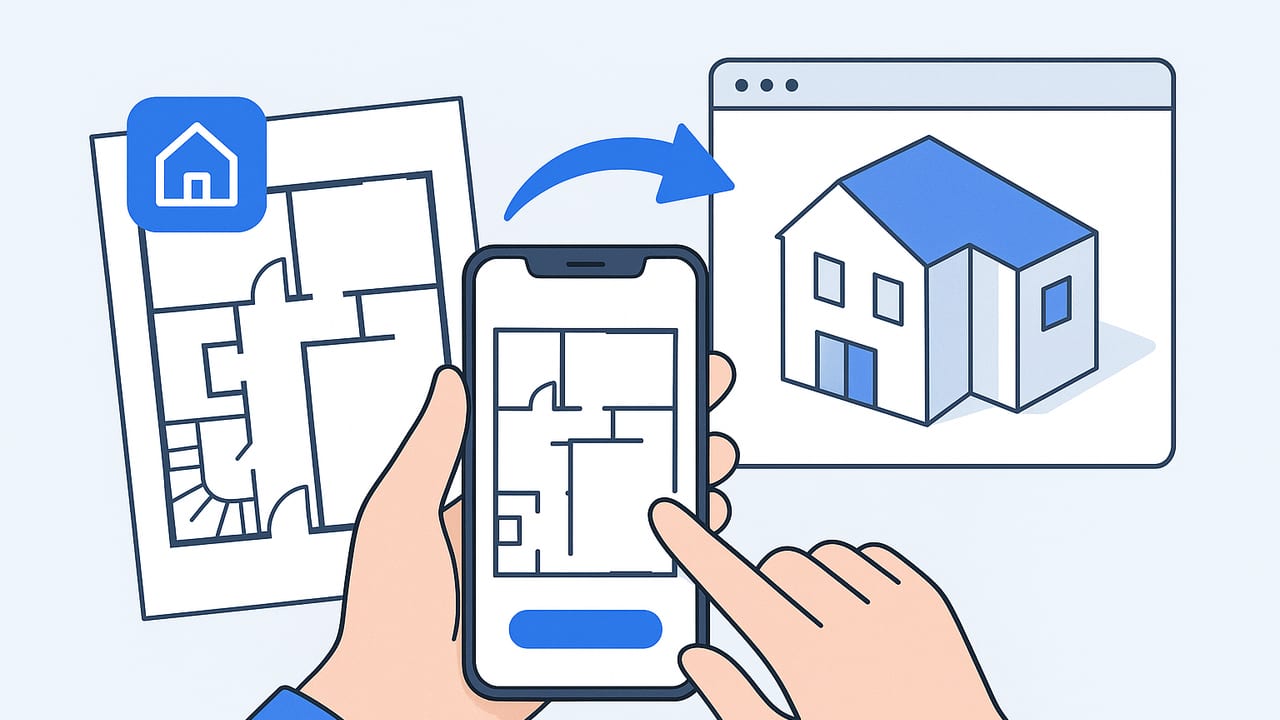
Floor plan apps have transformed how homeowners, real estate pros, and designers plan spaces. With a smartphone or tablet, you can scan a room, draw precise layouts, convert 2D plans into immersive 3D models, and export visuals for presentations or approvals. This guide explains what floor plan apps do, which features matter most, how to choose the right tool for your workflow, and practical steps for going from paper plans to sharable 3D renders.
Whether you’re renovating a kitchen, furnishing a studio, or preparing a listing, understanding how floor plan apps work—and how to use them accurately—can save time, reduce errors, and help you make smarter decisions about space.
What Is a Floor Plan App?
A floor plan app is mobile or desktop software that helps you create, edit, and visualize room layouts. Most tools offer a combination of drawing, measurement, and visualization capabilities. Many now include AI and device sensors (such as LiDAR on supported iPhones and iPads) to detect walls, doors, and windows, then generate a 2D plan and a 3D model with accurate proportions.
Typical outputs include scaled 2D drawings, annotated floor plans with dimensions, and photorealistic or stylized 3D views that make it easy to test furniture layouts, finishes, and lighting.
Core Features to Look For in Floor Plan Apps
- Accurate scaling and units: Ensure you can set a scale, switch between metric and imperial, and lock dimensions for critical spans like corridors or kitchen runs.
- AI-assisted recognition: Helps detect walls, doors, and windows from scans or uploaded images. Great for speed, but it should allow manual corrections.
- Device sensor support: LiDAR and camera-based depth capture can improve accuracy in scanning and room dimensioning.
- 2D to 3D conversion: A single tap to generate a 3D model from a 2D layout is essential for visualizing heights, finishes, and furniture placement.
- Object library: Access to doors, windows, stairs, furniture, and appliances with adjustable dimensions. Look for snap-to-grid and collision warnings for tight spaces.
- Material and lighting controls: Apply flooring, paint, tile, and lighting scenarios to test design concepts.
- Export options: High-resolution image exports, shareable links, and common file formats (PDF, SVG/DXF, OBJ/GLTF) for collaboration.
- Measurement tools: On-plan dimension lines, area calculations, ceiling heights, and volume where needed.
- Multi-level support: Essential for duplexes or full-home plans with stairs and consistent stacking of walls across floors.
- Team collaboration: Commenting, version history, and role-based access for clients and contractors.
- Offline use: Helpful on-site; sync to cloud when back online.
- Privacy controls: Clear policies on where images and plans are processed and stored.
Choosing the Right Floor Plan App by Use Case
Homeowners and DIY Renovators
Focus on ease of use, fast room scanning, and furniture libraries. You’ll want accurate 2D dimensions and quick 3D views to test layout and style ideas. Look for apps that simplify wall edits and door/window changes without a steep learning curve.
Interior Designers and Decorators
Prioritize fine-grained control over materials, lighting, and rendering quality. Style presets, mood boards, color palettes, and high-resolution exports help communicate your concepts to clients. An extensive object library with custom scaling is essential.
Real Estate Agents and Marketers
Speed and clarity matter most. You need clean 2D linework with room labels and square footage, plus compelling 3D visuals for listings. Batch exports, branded templates, and one-click sharing save time.
Contractors and Architects
Look for precision and interoperability. Snap-to constraints, wall thickness, structural elements, and reliable exports (PDF, DXF/SVG for CAD, OBJ/GLTF for 3D) streamline coordination with other tools. Multi-level alignment and dimension accuracy are crucial.
Workflow: From Paper to 3D in a Few Steps
- Gather inputs: Start with a paper plan, a PDF from a seller, or a quick sketch with key dimensions. If you’re on-site, scan rooms using your device’s camera/LiDAR.
- Clean the source image: If importing a photo of a paper plan, photograph it square-on in good light. Crop edges, boost contrast, and remove shadows for better AI detection.
- Import and calibrate scale: Set the correct units. Use a known measurement (e.g., a 10 ft wall) to calibrate the plan so all dimensions are proportional.
- Trace or auto-detect walls: Let AI detect the perimeter and interior partitions. Manually refine wall thickness, angles, and alignments.
- Add doors, windows, and stairs: Place openings and stairs with accurate sizes and sill/head heights. Confirm swing directions and clearances.
- Define rooms and labels: Assign room types, set ceiling heights, and ensure areas are correctly calculated.
- Generate the 3D model: Switch to 3D to validate heights, check sightlines, and confirm circulation paths.
- Furnish and finish: Place scaled furniture. Apply flooring, wall finishes, and lighting to test design schemes.
- Review for conflicts: Verify door swings, appliance clearances, egress paths, and tight corners. Adjust before final export.
- Export and share: Create 2D annotated PDFs, high-res 3D renders, or shareable links. For collaboration, export CAD/3D formats if needed.
Accuracy and Measurement Best Practices
- Always calibrate: Use at least one known dimension from a reliable measurement to set scale. Double-check with a second measurement if possible.
- Scan methodically: When scanning, move slowly and keep a steady height. Trace each wall; avoid large arcs that can skew corners.
- Mind wall thickness: Consistent wall thickness helps align openings and cabinetry. Typical interior walls are thinner than exterior walls—set both correctly.
- Correct distortions: If you import a phone photo of a paper plan, perspective-correct it. Most apps provide a four-point corner correction tool.
- Validate in 3D: Toggle between 2D and 3D to catch mismatched heights or misplaced windows early.
Pro tip: After calibration, measure a second span that’s far from your first reference (e.g., across the home). If it’s off by more than 1–2%, adjust scale before placing doors and furniture.
File Formats and Collaboration
Choosing the right export format makes downstream collaboration easier. Here’s a quick overview:
| Format | What It Is | Best For | Notes |
|---|---|---|---|
| PNG/JPG | Raster images | Marketing visuals, quick sharing | High-res renders; no vectors or layers |
| Portable document | Scaled 2D plans with annotations | Reliable for printing; check scale settings | |
| SVG/DXF | Vector linework | CAD workflows, laser cutting, diagrams | Preserves paths; confirm units on import |
| OBJ/GLTF/FBX | 3D geometry | Visualization, importing into 3D tools | Includes meshes/materials; watch file size |
Pricing Models and Hidden Costs
- Free tiers: Good for testing, but limits may include fewer projects, watermarks, or basic export restrictions.
- Subscriptions: Common for professionals; look for monthly/annual plans and multi-seat options.
- Pay-per-export or credit systems: Some apps charge per high-resolution render or premium file export.
- Device requirements: Advanced rendering or LiDAR features may need newer devices; check compatibility.
- Collaboration add-ons: Commenting, version history, or brand kits might be extra.
Privacy and Data Handling
Floor plans often reveal private details about a home. Before you scan or upload, check how the app processes data:
- On-device vs. cloud: On-device processing can improve privacy and speed; cloud processing may enable heavier AI features.
- Retention policies: Verify how long scans and 3D models are stored and how to delete them.
- Sharing controls: Prefer apps with private links, password protection, and revocable access.
- Metadata: Remove addresses or personal notes before sharing externally.
Common Mistakes with Floor Plan Apps—and How to Avoid Them
- Skipping scale calibration: Leads to cascading errors in furniture fit and circulation paths. Always set and validate scale first.
- Ignoring ceiling heights: 3D views can look right while elevations are wrong. Enter heights per room, especially under beams or sloped ceilings.
- Placing doors without swings: Forgetting swing direction causes conflicts with cabinets and fixtures. Add swing arcs to check clearance.
- Using generic furniture sizes: Replace placeholders with manufacturer dimensions before finalizing layouts.
- Overlooking structural elements: Columns, soffits, and chases matter. Model them to avoid surprises during construction.
- Exporting too early: Do a last pass in 3D for navigation and accessibility issues before sending to clients.
Frequently Asked Questions About Floor Plan Apps
How accurate are mobile scans compared to manual measurements?
With careful calibration and LiDAR on supported devices, you can often achieve accuracy within a few centimeters over a typical room. For critical spans (e.g., built-ins or countertops), confirm with a laser measure and adjust the model accordingly.
Do I need LiDAR to get good results?
No, but LiDAR helps speed and consistency. Camera-only apps can be very accurate if you calibrate scale and take careful reference measurements.
Can I turn an old paper plan into a 3D model?
Yes. Photograph or scan the plan, import it, calibrate scale using a known dimension, trace walls and openings, then generate 3D. Clean, high-contrast images lead to better AI detection.
What’s the best way to share plans with clients?
For feedback, share a web link or PDF with annotations. For collaboration with professionals, include vector linework (SVG/DXF) and, if needed, a 3D file (OBJ/GLTF). Add a title block with scale and date for clarity.
Final Thoughts
Floor plan apps condense complex design workflows into an intuitive, portable toolkit. The best apps balance accuracy, speed, and visualization—helping you move from rough sketches to shareable 3D presentations in minutes. Start with a clear objective, calibrate carefully, validate in both 2D and 3D, and export in the right formats for your audience. If you need an iOS tool that converts black‑and‑white 2D floor plans into faithful 3D renders while preserving dimensions, consider trying Floor Plan to 3D for a streamlined concept-to-visual workflow.
