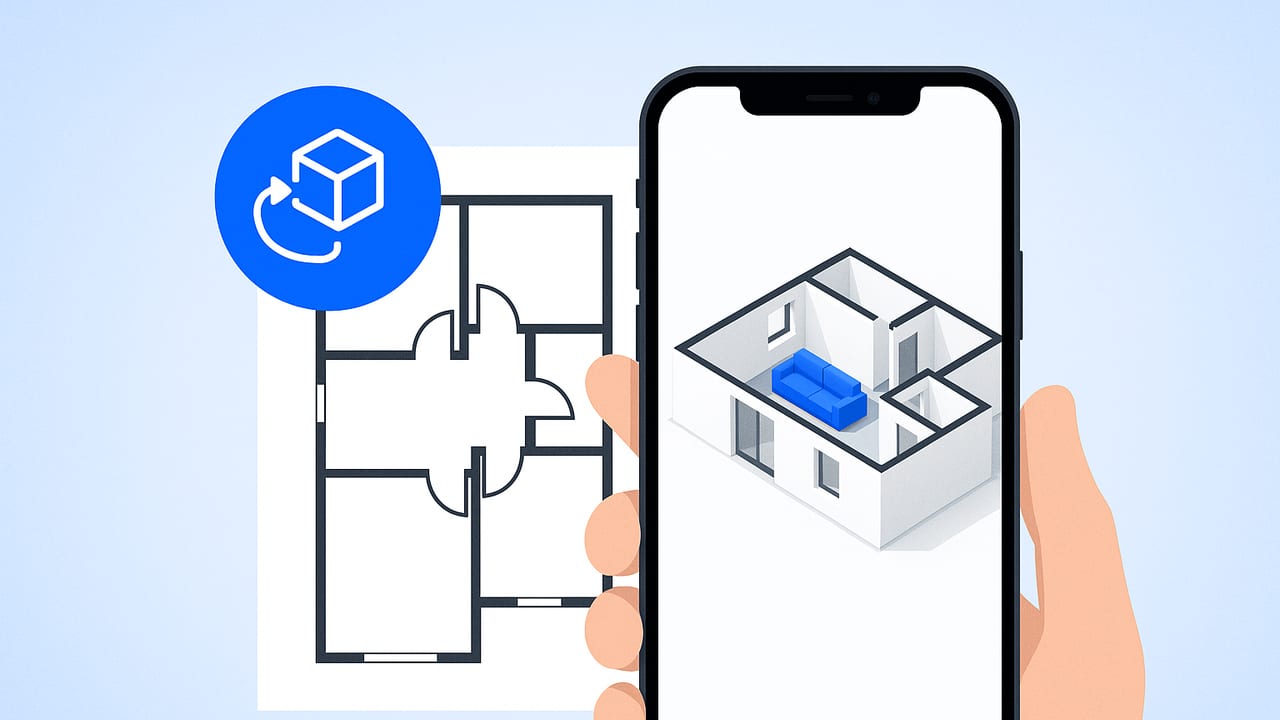
If you have a black‑and‑white apartment floor plan and an iPhone, you can turn that flat drawing into a believable, scaled 3D walkthrough in minutes. This guide explains how to visualize an apartment layout from a floor plan on iPhone, with a practical workflow, accuracy checks, common pitfalls to avoid, and export tips for presentations or move‑in planning.
Whether you’re planning a furniture refresh, deciding if a sectional fits, or preparing a proposal for a client, the key to great 3D results isn’t just the renders—it’s maintaining true‑to‑plan proportions and dimensions. Below you’ll find a step‑by‑step process and professional checks so your 3D matches the original drawing, not a guess.
What you’ll need
- An iPhone with a recent iOS version.
- A clear floor plan image: a scan, a PDF exported to images, or a high‑resolution photo of a printed plan.
- A 3D floor‑plan app that supports: importing an image, setting a scale, tracing walls and openings, placing furniture, and exporting high‑res images. AR or walk‑through is a plus.
App selection matters. Look for the following capabilities to keep your model true to the original plan:
- Scale control: Ability to set a real‑world measurement from a known dimension on the plan (e.g., a labeled 10' wall).
- Wall thickness: Separate structural thickness from room dimensions (exterior vs interior walls).
- Door/window placements: Precise offset inputs from corners or centerlines.
- Room labels and areas: Auto‑calculated areas for quick verification.
- High‑res exports: So the final images are presentation‑ready.
How to visualize apartment layout from floor plan iPhone: Summary
To “visualize apartment layout from floor plan iPhone,” import the floor plan image, set a known dimension to calibrate scale, trace walls and openings, verify key dimensions, then apply finishes and place furniture before exporting stills or a walk‑through. The detailed steps follow below.
Step‑by‑step iPhone workflow
-
Capture or collect the plan
If you have a PDF, export a high‑resolution image. If you only have paper, photograph it in bright, even light, keeping the camera parallel to the page to minimize skew. Include a ruler or the printed scale bar if present.
-
Prep the image
Crop out borders and legends you don’t need, but keep any dimension strings. Rotate so walls are horizontal/vertical. Boost contrast so walls and openings are crisp; avoid filters that warp lines.
-
Import and set scale
Bring the image into your 3D floor‑plan app. Use a known dimension (e.g., a labeled 12'‑0" wall) to calibrate. If no dimension is printed, measure one wall on‑site or use door width standards (e.g., 30–36 inches) as a last resort.
-
Trace structural elements
Trace exterior walls first, then interior partitions. Input wall thickness explicitly if the app allows (exterior walls often 6–8 in/150–200 mm; interiors 4–6 in/100–150 mm). Snap corners for right angles.
-
Add doors and windows
Place openings with exact widths and sill heights. Use offsets from corners or centerlines to match the drawing. Don’t forget swing direction for doors; it affects circulation.
-
Define rooms and labels
Mark each space (Living, Bedroom, Kitchen, Bath). Many apps compute area automatically; cross‑check with any printed room areas on the plan.
-
Verify critical dimensions
Before styling, check the big constraints: bedroom length, living room width, corridor clear widths, kitchen work triangle distances. Adjust early if anything’s off.
-
Furnish to scale
Use correctly sized furniture. For sofas, 84–90 in is common; queen beds: 60 × 80 in; dining tables: 36–40 in depth; desks: 48–60 in width. Place pieces and test circulation (ideally 30–36 in walkways).
-
Apply finishes and lighting
Choose flooring, wall colors, and ceiling heights from the plan notes if available. Add ceiling fixtures, lamps, and window light to evaluate daylight and evening scenes.
-
Export renders and walkthrough
Capture orthographic top‑down views for planning, plus perspective renders at eye level (about 5'‑6" / 1.65 m). If supported, export an AR view to see furniture in your real space.
Pro tip: Model first, decorate later. Get walls, doors, windows, and scale 100% right before you invest time in finishes and styling. Accuracy compounds; close enough at the start often becomes obviously wrong by the end.
Scale and accuracy: what “right” looks like
Accuracy is about proportional fidelity and useful tolerance. You’re not building a millwork shop drawing—but you do need to trust that a 78‑inch sofa won’t block a door.
Calibrate with a known dimension
Find a printed dimension on the plan (e.g., 10'‑0" wall). In your app, draw a measure line over the same segment and set it to 10'‑0". The app scales everything else accordingly.
Cross‑check with quick measurements
Use your iPhone’s Measure app or a tape to verify a couple of wall lengths in the actual apartment. If your model differs by more than a couple inches across a room, recalibrate.
Acceptable tolerances
| Room span | Good tolerance | Notes |
|---|---|---|
| Up to 10 ft (3 m) | ±1 in (±25 mm) | Furniture fit and door swings remain reliable. |
| 10–20 ft (3–6 m) | ±1.5 in (±38 mm) | Watch cumulative error across long walls. |
| 20–30 ft (6–9 m) | ±2 in (±50 mm) | Re‑check scale if drift exceeds this. |
Quick dimension audit (optional)
Keep a small checklist of the few numbers that matter most to your layout. You can even paste something like this into your notes:
{
  "entry_clear_width_in": 36,
  "hallway_clear_width_in": 36,
  "living_room_min_width_in": 132,
  "sofa_length_in": 84,
  "bedroom_free_clearance_sides_in": 24,
  "dining_chair_clearance_behind_in": 36
}
As you place furniture, spot‑check these clearances in the model.
Choosing how to capture your plan: methods compared
| Source | Pros | Cons | Best use |
|---|---|---|---|
| Photo of printed plan | Fast, no scanner needed | Risk of skew, glare, low resolution | Rentals, quick tests |
| Scan or PDF export | Crisp lines, minimal distortion | Requires access to digital file | Most accurate tracing |
| On‑site measurements | Ground truth for calibration | Takes time, may need tape/laser | Confirm older or messy plans |
| LiDAR/AR room scan | Rapid 3D capture of existing space | Less precise for fine details | Cross‑check or missing plans |
Common pitfalls and how to fix them
- Skewed import: If walls look trapezoidal, re‑capture the image keeping the phone parallel to the paper; crop to edges and use built‑in perspective correction if available.
- Wrong scale: Re‑calibrate using a longer known dimension. Short segments amplify error when scaled.
- Wall thickness ignored: Enter actual thickness values; overall room area and furniture fit depend on them.
- Misplaced doors: Place openings with numeric offsets, not by eye. Door swings affect clearances dramatically.
- Oversized furniture: Verify catalog dimensions; a “standard” sofa can vary by 10 inches between brands.
Design moves to test in 3D
- Micro‑zoning studios: Use a rug and a low bookcase to separate sleep and lounge zones without blocking light.
- Dining nooks: Try a round 36–42 in table in tight corners to gain circulation space.
- Entry storage: Model a 12–15 in deep console to keep hallways clear.
- Bedroom door swaps: Test pocket or barn doors to free floor area for nightstands.
- Lighting layers: Combine ceiling, wall, and task lights; simulate warm vs cool color temperatures at night.
Exporting and sharing your results
Once your model matches the plan and furniture fits, choose outputs that suit your audience:
- Top‑down orthographic: Best for planning and quick approvals. Include dimensions if the app supports annotations.
- Perspective renders: Eye‑level images convey scale and ambiance. Create 2–4 key views.
- Walkthrough or 360 panorama: Great for remote stakeholders; link or file share.
- AR view: Drop core pieces into the real space to confirm scale before ordering furniture.
Privacy and data tips
- Redact personal info: Crop names/addresses off plan images.
- Local vs cloud: If privacy is critical, look for apps that process locally on device or state how images are handled.
- File naming: Use a simple, shareable scheme like Unit_5B_Living_Orthographic_v2.jpg for clarity.
FAQs
How accurate can an iPhone 3D model be from a 2D floor plan?
With good scale calibration and clean tracing, you can keep tolerances within 1–2 inches across typical apartment spans. Verify with one or two real measurements for confidence.
What if the plan has no dimensions?
Use a known standard (e.g., exterior door width) or measure a single wall on‑site. Set the app’s scale to that measurement and trace from there.
Can I use furniture from brands inside the model?
Many apps include generic, sized‑accurate furniture. If exact models aren’t available, match the overall dimensions of the product you plan to buy.
Is LiDAR necessary?
No. LiDAR is helpful for capturing existing conditions quickly, but for plan‑based modeling, scale calibration from a clean floor plan is the foundation of accuracy.
What exports work best for a landlord or client?
Provide one annotated top‑down plan and two to four perspective renders showing main spaces. Keep file sizes manageable (under 5–8 MB per image for email).
A quick checklist before you hit export
- Scale set from a long, known dimension.
- Exterior and interior wall thicknesses entered.
- Doors and windows offset accurately; swings correct.
- Key clearances: 30–36 in main paths; 24 in at bed sides.
- Furnishings sized to manufacturer specs.
- Top‑down and perspective views composed and labeled.
With this workflow, you can reliably convert a flat drawing into an interactive 3D that answers the real questions: Will the sofa fit? Can two people pass in the hall? Is the dining table too close to the door? If you need a dedicated iOS tool built for this exact use case, Floor Plan to 3D lets you upload a black‑and‑white plan on your iPhone, preserves scale and proportions as you trace, and exports high‑resolution renders suitable for proposals and presentations.
