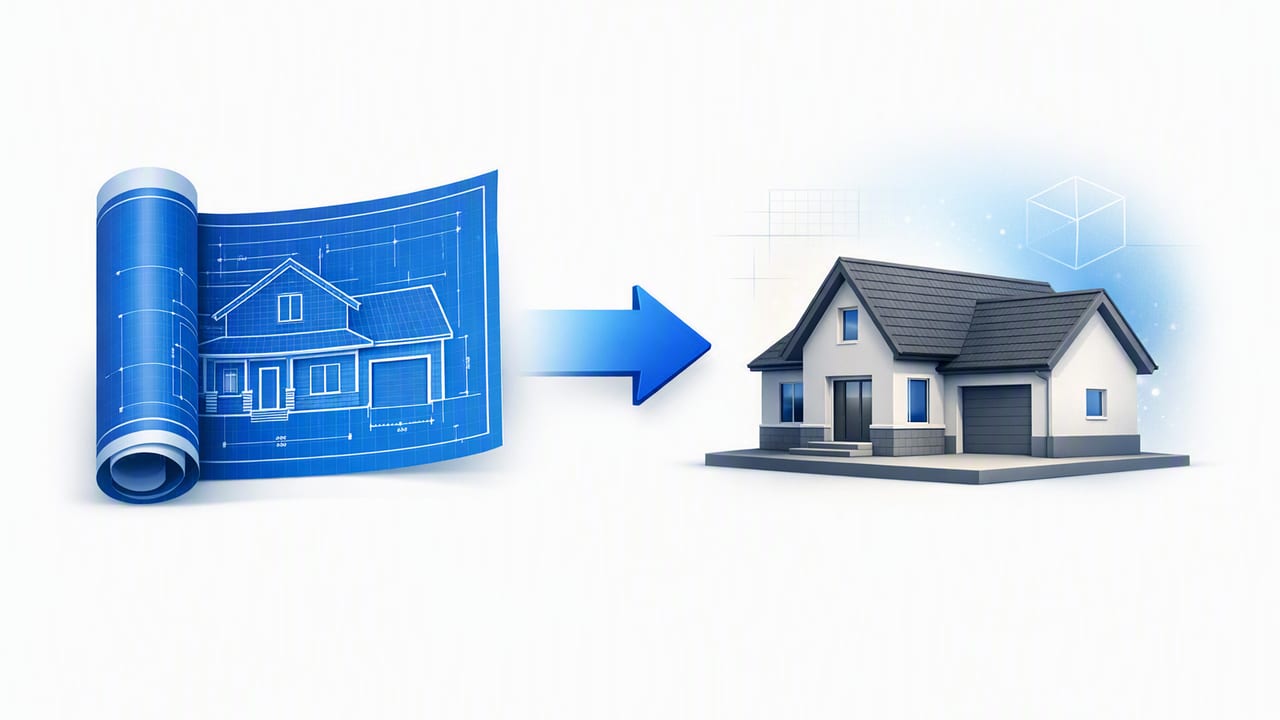
If your goal is to upload blueprint get 3d model results that are actually usable for renovation planning, staging, or design decisions, the real challenge isn’t “making it 3D.” It’s making it accurate: correct scale, readable dimensions, consistent wall thickness, and reliable openings (doors/windows) so your 3D renders reflect the plan you started with.
This guide walks through an accuracy-first workflow you can apply whether you’re a homeowner, agent, contractor, or designer. You’ll learn how to prepare a blueprint, what to verify after conversion, and how to use the resulting model for faster interior and exterior redesign previews—without jumping straight into heavy CAD.
What “Upload Blueprint Get 3D Model” Really Means (and Why Accuracy Wins)
Most blueprint-to-3D tools follow the same basic pipeline: they detect lines, infer rooms, and rebuild geometry in 3D. The difference between a “nice picture” and a “decision-ready model” is whether the conversion preserves:
- Scale (so furniture, cabinets, and clearances make sense)
- Proportions (room sizes relative to each other)
- Openings (door swings, window placement, wide openings)
- Labels and dimensions (so the output is traceable to the source plan)
Rule of thumb: If you can’t confidently measure a wall in the 3D model and match it to the original plan, you don’t have a remodel preview—you have a concept sketch.
Before You Upload: Blueprint Prep That Improves 3D Conversion
Better input almost always produces better output. Whether you’re scanning a paper drawing or importing a PDF, aim for a “clean read” so the converter can distinguish walls from annotations.
Blueprint capture checklist
- Use a flat, evenly lit surface (avoid shadows and glare on glossy paper).
- Square up the image so edges are not skewed; perspective distortion can throw off measurements.
- Maximize contrast: black lines on white background. Avoid sepia or low-contrast scans.
- Include the full sheet, especially the scale note and dimension strings.
- Prefer high resolution: blurry lines can merge and create false walls.
Clean-up tips (when your plan is messy)
If your plan contains heavy markup, revisions, or overlapping notes, consider exporting a cleaner version or creating a copy with reduced clutter. The goal is to make these elements easy to separate:
- Walls (primary geometry)
- Openings (doors/windows)
- Dimensions (numbers + arrows)
- Room labels (text inside spaces)
Step-by-Step Workflow: From Uploaded Blueprint to Reliable 3D
Use this workflow to keep your conversion grounded in measurable truth rather than “looks about right.”
-
Upload the blueprint (image or PDF)
Start with the cleanest source you have. If you have multiple pages (e.g., floor plan + elevations), focus on the floor plan first—get the footprint correct before adding design layers.
-
Set a scale anchor
Choose one known dimension (for example, a 10' wall, a labeled room width, or an exterior length). Calibrate the model to that dimension before trusting any other measurements.
-
Confirm wall detection and thickness
Auto-detection may interpret thick lines as double walls or miss thin partitions. Check interior partitions and exterior walls separately.
-
Validate openings: doors, windows, and large pass-throughs
Doors and windows drive furniture planning and lighting. Confirm each opening’s location and size, not just the count.
-
Spot-check at least 5 measurements
Measure: (1) overall width, (2) overall depth, (3) a bedroom, (4) a bathroom, (5) a hallway. If more than one is off, revisit scale or correct wall placement.
-
Lock the base model, then explore redesign ideas
Once geometry is accurate, you can iterate fast—layouts, finishes, and staging options—without breaking the underlying plan.
Accuracy Checks That Prevent Expensive Mistakes
When people say “my 3D model feels wrong,” it’s often one of these issues. Fixing them early saves time downstream.
1) Dimensions: are they preserved or merely approximated?
Dimensions can be read from the drawing, inferred from scale, or ignored entirely depending on the tool. You want the output to remain consistent with the source. If a room label says “12' x 14',” confirm both sides in the 3D model.
2) Door swings and clearances
A door placed correctly but swinging the wrong way can disrupt kitchen layouts, bathroom fixture spacing, and egress. Verify swing direction and ensure doors don’t collide with cabinets or furniture in your plan.
3) Stairs and level changes
Stairs are a common failure point because they combine geometry (treads/landings) with annotations (UP/DN, risers). If your project includes stairs, confirm their location, width, and landing orientation before committing to any redesign concept.
4) Wall joins and room closures
Conversion tools sometimes leave micro-gaps at corners or intersections. These can cause a “room” to remain unrecognized, which then affects automatic flooring, painting, and room-by-room AI suggestions.
Using an AI Room Planner After Conversion (Without Losing the Plan)
Once your blueprint is converted into a faithful 3D shell, an AI room planner becomes much more useful. Instead of generating generic designs, it can work within the real constraints of your layout.
High-value ways to use AI planning on a converted 3D model
- Layout trials: test sofa orientations, dining table sizes, bed placement, and circulation paths.
- Renovation previews: try removing or adding a partition and compare before/after views.
- Empty-room staging: produce listing-ready visuals while keeping proportions realistic.
- Exterior refresh concepts: evaluate material swaps and facade changes in a consistent visual style.
Tip: keep redesign exploration as a “layer” on top of your base geometry. That way, you can iterate finishes and furniture without accidentally drifting away from the measured plan.
Troubleshooting: Common Blueprint-to-3D Problems (and Fixes)
If the conversion isn’t matching your blueprint, use the table below to isolate the root cause.
| Problem | Likely Cause | What to Do |
|---|---|---|
| Rooms are the wrong size | Scale calibration is off; perspective distortion in the scan | Re-square the image; set scale using a longer, clearly labeled dimension |
| Extra walls appear | Annotations or dimension strings interpreted as walls | Use a cleaner plan layer; crop margins; reduce clutter before upload |
| Walls are missing or broken | Faint lines; low resolution; gaps at corners | Increase contrast; re-scan; manually close corners so rooms “seal” |
| Doors/windows are misplaced | Symbols unclear; swing arcs confuse detection | Manually confirm openings; prioritize window spacing on exterior walls |
| Weird ceiling heights or proportions in 3D | Default height assumptions don’t match the project | Set ceiling height explicitly and keep it consistent across rooms |
Exporting and Presenting Your 3D Renders Like a Pro
A good 3D model isn’t just for you—it’s for decisions with other people: spouses, contractors, clients, or listing audiences. Small presentation habits make your previews easier to trust.
Create clear versioning (so you don’t lose the “truth” model)
Separate “base geometry” from “design options.” Here’s a simple naming pattern you can adopt:
project-name/
  00-base-model/
    plan-upload-original.jpg
    model-calibrated_v1
  01-option-a_minimal-reno/
    renders_daylight/
    renders_evening/
  02-option-b_open-concept/
    notes_assumptions.txt
Include assumptions with every export
- Ceiling height (assumed vs measured)
- Wall thickness (standard vs actual)
- Any inferred dimensions (where the blueprint was unclear)
This is especially important when you’re sending images for quotes. A contractor can work faster when they know what’s confirmed and what’s conceptual.
When You Should Not Rely on a Blueprint-to-3D Conversion Alone
Converting a plan is excellent for fast renovation previews, layout decisions, and presentations. But for certain projects, you’ll still want professional verification or detailed CAD:
- Structural changes (removing load-bearing walls)
- Permit drawings requiring stamped documents
- Complex rooflines and multi-level geometry
- Historic homes where the blueprint doesn’t match as-built conditions
A practical hybrid approach is common: use “upload blueprint get 3d model” conversion to choose an option quickly, then validate critical measurements with a site measure or professional drawings before construction.
Quick Recap: The Most Reliable Workflow
- Start with a clean, squared-up, high-contrast blueprint.
- Calibrate scale using a known, long dimension.
- Verify walls, openings, and at least five measurements.
- Lock the base model before exploring redesign options.
- Export with versioning and clearly stated assumptions.
If you want a lightweight way to go from plan upload to presentable visuals, apps such as Floor Plan to 3D & Home Redesign are designed around preserving layout details (labels, dimensions, proportions) while generating clean 3D renders you can export for proposals and presentations.
