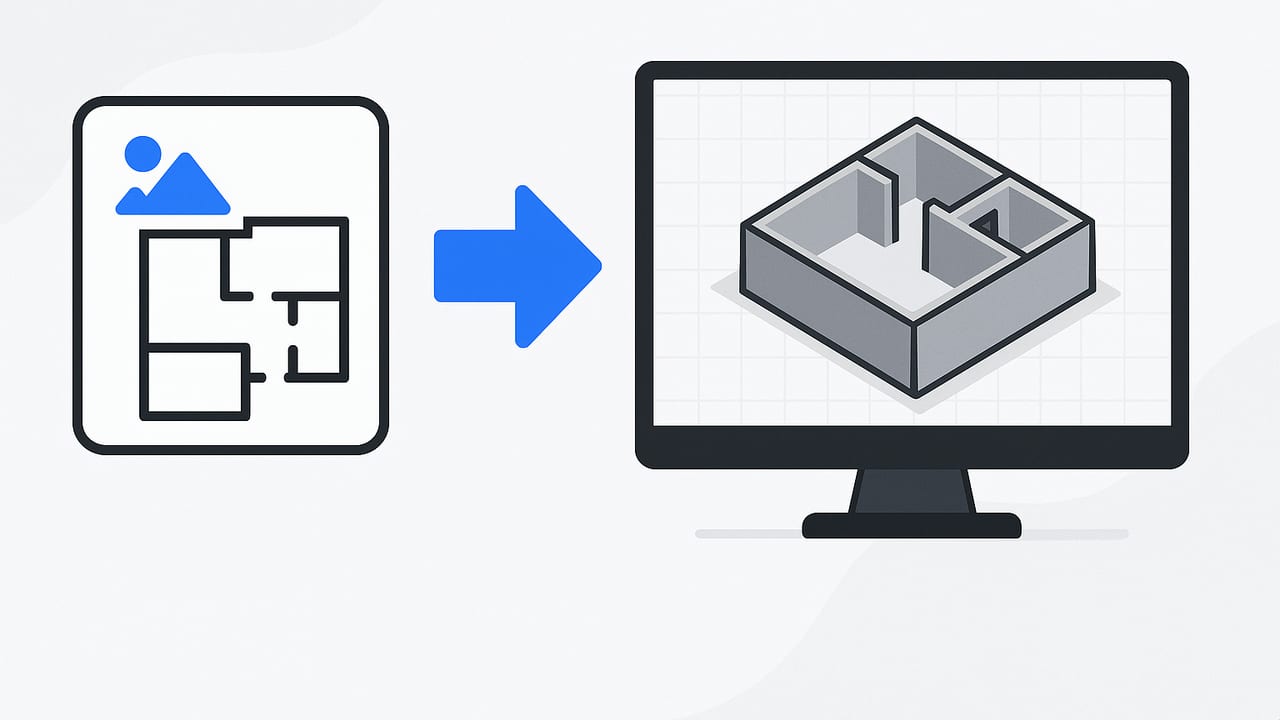
If you’ve ever asked how to upload a floor plan photo to a 3D model and get reliable results, you’re in the right place. Whether your source is a phone snapshot of a printed plan, a PDF export, or a hand-drawn sketch, the key to accuracy isn’t just the software—it’s a disciplined workflow from capture to quality assurance. This guide breaks down practical steps, tools, and checks so you can turn a 2D layout into a trustworthy 3D floor plan.
What “Upload a Floor Plan Photo to a 3D Model” Really Means
At its core, you’re converting a 2D raster image (JPEG/PNG/TIFF) or vectorized plan (PDF/SVG) into geometry: walls, openings, fixtures, and levels. Modern tools use computer vision to detect walls and symbols, then generate a 3D model you can navigate. The process typically includes:
- Image intake and cleanup (cropping, deskewing, contrast)
- Feature detection (walls, doors, windows, stairs)
- Scaling and unit setup (pixels-to-real-world)
- 3D extrusion (heights, thicknesses, materials)
- Verification (dimension checks and clash detection)
With a solid input and careful scaling, you can expect plan-to-3D accuracy within about 1–3% for most residential layouts. The two biggest error drivers are poor image quality and incorrect scale calibration.
Capture: Get the Best Source Image
Pick the right capture method
| Method | Pros | Cons | Best Use |
|---|---|---|---|
| Flatbed Scanner (300–600 DPI) | Sharp, low distortion, consistent lighting | Requires hardware; limited to sheet size | Printed plans, high-accuracy needs |
| Mobile Scan App (document mode) | Convenient, auto-cropping & deskew | Variable lighting; some compression | On-site capture of letter/A4 plans |
| Phone Camera Photo | Fast, no setup | Perspective distortion; glare/shadows | Quick draft when no scanner is available |
| PDF Export from CAD | Clean lines, vector fidelity | May include layers/notes that confuse parsers | Best overall accuracy if you can export to vector |
Pro capture tips
- Flatten the sheet. Use binder clips or weights to remove curls and folds.
- Shoot overhead. Keep the camera parallel to the page; avoid wide-angle lenses.
- Light evenly. Natural diffuse light or two lamps at 45° to reduce shadows.
- Fill the frame. Capture the plan at the highest resolution available (12MP+).
- Include a known dimension. A bold dimension line or a scale bar helps calibrate later.
- Turn off perspective correction filters that warp lines unpredictably.
- Prefer monochrome plan views; remove colored annotations when possible.
Pre-Upload Cleanup: Prepare the File
Before you upload, spend two minutes cleaning the image. Better input equals less rework.
- Crop tightly around the plan; remove borders, title blocks, and unrelated pages.
- Deskew so vertical/horizontal lines are true; most scan apps support this.
- Binarize or increase contrast for black lines on a white background.
- Remove glare and shadows; re-shoot if necessary.
- Erase handwriting and arrows if they overlap walls/doors.
- Set resolution to at least 300 DPI equivalent for printed plans.
- Prefer PNG over JPEG when possible to avoid compression artifacts.
Optional: quick image cleanup with OpenCV
If you’re comfortable with a little scripting, this snippet deskews and enhances line contrast. It’s optional but can noticeably improve detection.
import cv2
import numpy as np

img = cv2.imread('plan.jpg', cv2.IMREAD_GRAYSCALE)
# Binarize
_, bw = cv2.threshold(img, 0, 255, cv2.THRESH_BINARY + cv2.THRESH_OTSU)
# Invert if lines are white
if np.mean(bw) > 127:
    bw = cv2.bitwise_not(bw)
# Morphological open to reduce speckle
kernel = cv2.getStructuringElement(cv2.MORPH_RECT, (3,3))
clean = cv2.morphologyEx(bw, cv2.MORPH_OPEN, kernel, iterations=1)
# Estimate skew via Hough lines
edges = cv2.Canny(clean, 50, 150)
lines = cv2.HoughLines(edges, 1, np.pi/180, 200)
angle = 0
if lines is not None:
    angles = [(theta - np.pi/2) for rho, theta in lines[:,0]]
    angle = np.median(np.degrees(angles))
(h, w) = clean.shape[:2]
M = cv2.getRotationMatrix2D((w//2, h//2), angle, 1.0)
deskewed = cv2.warpAffine(clean, M, (w, h), flags=cv2.INTER_LINEAR,
                          borderMode=cv2.BORDER_REPLICATE)
cv2.imwrite('plan_clean.png', deskewed)
Upload and Scale: From Pixels to Real Dimensions
After you upload the cleaned plan, most tools attempt auto-detection. Review the first pass and then lock in scale.
- Run auto-detect to identify walls and openings. Don’t worry about furniture yet.
- Set units (metric or imperial). Be consistent with the plan’s annotations.
- Calibrate scale using a known dimension on the drawing (e.g., 12' 0" or 3600 mm). Draw a calibration line exactly on that dimension.
- Confirm wall thickness. Typical interior walls: 90–100 mm (3 1/2"), exterior: 140–200 mm (5 1/2"–8").
- Set story height (e.g., 2.4–2.7 m / 8'–9') and slab thickness if required.
- Resolve conflicts where detected geometry disagrees with dimensions. Prioritize dimension annotations over linework if they conflict.
Simple scale formula to sanity-check:
Scale factor = Real length / Measured pixel length. Apply factor to a second known dimension; aim for < 2% error.
Add Semantics: Doors, Windows, and Fixtures
Walls alone don’t make a navigable model. You’ll want to confirm all operable elements and fixtures.
- Doors: Match swing direction and leaf width (e.g., 30–36 inches / 762–914 mm). Verify clearance near corners.
- Windows: Set sill height and head height; align with the plan’s elevation notes if available.
- Stairs: Check rise/run and total rise matches floor-to-floor height; correct the number of treads.
- Kitchens/Baths: Add appliances, vanities, and plumbing fixtures to validate clearances.
- Structural items: Columns and load-bearing walls affect furniture paths; include them early.
QA: Verify the 3D Model Before You Commit
Resist the urge to furnish until the shell is right. A 10-minute QA prevents hours of revision.
- Cross-measure at least five critical spans (longest wall, room widths, stair length, exterior overall). Expect < 2% deviation.
- Check orthogonality: Right angles should be 90°. If a room is intentionally angled, label it.
- Door and circulation: Ensure door swings don’t clash and main paths are ≥ 900 mm/36" where intended.
- Window alignment: Heights and widths consistent across a facade.
- Floor-to-ceiling height: Verify stairs, cabinets, and openings obey the story height.
- Level transitions: Identify steps or split levels; don’t force them to a single plane.
- Ceiling planes: Sloped ceilings need correct pitch; check attic or vaulted spaces.
- Fixtures clearances: Toilets, ranges, and fridges need realistic clearance envelopes.
- Compare to notes: If the plan has dimension strings, spot-check them against the model.
- Top-down print: Export a 2D overlay from the 3D model and compare to the original plan.
Common Pitfalls and Quick Fixes
- Perspective distortion: Edges look trapezoidal. Fix by re-capturing overhead or deskewing aggressively.
- Heavy lineweights: Thick walls cause double detections. Increase contrast, thin lines, or trace manually.
- Low-resolution images: If you can’t read dimensions at 200% zoom, re-scan at higher DPI.
- Annotations overlapping walls: Mask or erase text that obscures geometry prior to upload.
- Mismatched units: The plan uses metric; your tool is in imperial (or vice versa). Set units first.
- Curved walls ignored: Some engines approximate curves as segments; manually refine arcs and radii.
- Multiple scales on one sheet: Detail bubbles at different scales can confuse detection. Crop to the main floor plan only.
- Shadowed folds: Re-scan; computer vision may interpret a fold shadow as a wall.
- Partial plans: Missing walls at page edges. Either stitch pages or add reference lines and dimensions before upload.
Exporting and Sharing: Make It Useful
Once your 3D model is verified, export images or a walkthrough that communicates intent clearly.
- Static images: 300 DPI for print; 1920×1080 or 2560×1440 for web. Include top-down and 2–3 hero perspectives.
- Overlays: 2D plan overlay with semi-transparent 3D helps stakeholders trust the conversion.
- Annotations: Label key dimensions in the 3D top view for quick validation.
- Lighting/materials: Keep materials simple; use neutral lighting for clarity over photorealism.
- File formats: PNG for crisp linework; JPEG for smaller emails; PDF for multi-page deliverables.
Privacy, Security, and Metadata
Floor plans are sensitive. Treat them like private client data.
- Strip EXIF metadata from photos before sharing externally.
- Redact addresses and owner names in title blocks.
- Use watermarking on public-facing images to prevent misuse.
- Store originals and exports in a client-designated folder with clear version names.
FAQ
Can I just use a smartphone photo?
Yes. If you shoot square-on with good lighting and deskew the image, you can achieve excellent results. Scans are still best for fine linework.
How accurate can the 3D be?
With a clean plan and proper scale calibration, 1–3% overall accuracy is typical. Critical spans can match within a few millimeters or fractions of an inch when validated.
What if I only have a partial plan?
You can model partial areas and add temporary reference lines or inferred dimensions. Clearly label assumptions and revisit when the full plan is available.
Does this work for multi-story homes?
Yes. Upload each level separately, align stair openings and vertical elements, and maintain consistent exterior wall positions across stories.
A Fast Reference Workflow
- Capture cleanly (scan or squared-up photo).
- Crop, deskew, and increase contrast; save as PNG.
- Upload and run auto-detection for walls and openings.
- Set units and calibrate scale with a known dimension.
- Confirm wall thickness, story height, and openings.
- Run the QA checklist; keep error under 2%.
- Export a top-down overlay and 2–3 perspectives for review.
If you want a streamlined mobile path to upload a floor plan photo to a 3D model with AI-assisted detection and true-to-scale rendering, the iOS app Floor Plan to 3D can handle photo or scan intake, maintain proportions, and export high-resolution 3D images for proposals.
With the right capture, careful scaling, and a short QA pass, your 3D model will be accurate, communicative, and ready for design decisions—without turning into a rework marathon.
