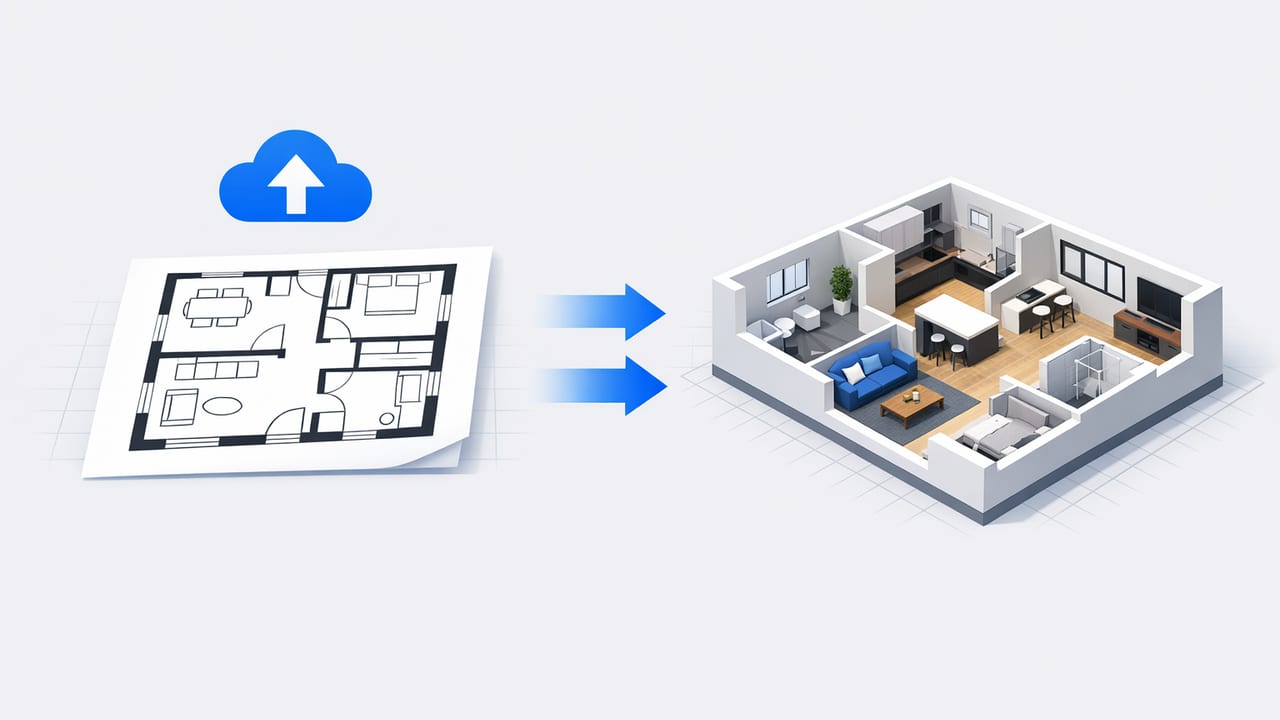
If you’ve ever tried to explain a renovation idea using a flat, black-and-white drawing, you already know the problem: most people can’t “see” the space until it’s too late. That’s why the workflow to upload floor plan get 3d model has become a practical standard for homeowners, agents, contractors, and designers. A clean 3D model turns a technical plan into something you can evaluate, iterate, and present—without committing to heavy CAD software.
This guide focuses on accuracy first: how to prepare your plan, what to check after conversion, and how to use the resulting 3D renders for room planning and redesign previews (interior and exterior).
Why converting 2D plans to 3D reduces costly surprises
A 3D model doesn’t just look nicer. It helps you catch issues that are easy to miss in 2D:
- Clearances: door swings, walk paths, and tight corners around islands or vanities.
- Proportions: whether a sectional overwhelms a living room or a dining table blocks circulation.
- Light and openness: how an opening, half wall, or window placement changes feel and sightlines.
- Stakeholder alignment: faster approvals because everyone is reacting to the same visual truth.
Rule of thumb: If a decision affects walls, openings, cabinetry, or major furniture, preview it in 3D before you price it.
What you need before you upload (so your 3D model stays true)
The best “upload and convert” results come from clean inputs. Before you upload floor plan get 3d model, gather the most reliable version of the plan you can.
Preferred input types (from best to workable)
- Original PDF from an architect/builder (sharp lines, correct dimensions)
- High-resolution scan (300 DPI or higher)
- Phone photo (works if well-lit, squared-up, and not skewed)
Quality checklist for a successful conversion
- One floor per image whenever possible (reduces misreads)
- Visible dimensions on at least one axis (or a known reference like a 36-inch door)
- Legible room labels (Kitchen, Bath, Bedroom) to speed room recognition
- Minimal clutter (avoid handwritten notes overlapping walls)
- Square framing (crop to the plan boundary; remove background desk edges)
The conversion workflow: upload, interpret, verify
Most tools follow a similar pipeline: you upload a floor plan image, the system detects walls/openings/rooms, then generates a structured model that can be rendered in 3D. The key is to treat the first 3D output as a draft that you verify.
Step 1: Upload and confirm plan orientation
After you upload floor plan get 3d model, confirm that the plan is upright (text readable) and not mirrored. A mirrored plan can quietly flip a left-hand door swing into a right-hand one—small in 2D, big in construction.
Step 2: Set scale (the make-or-break step)
Accurate 3D depends on accurate scale. Choose a known dimension from the plan—often an exterior wall length, a labeled room width, or a standard door opening.
Tip: If your plan lacks dimensions, use a reliable reference (e.g., an interior door is commonly ~30–36 inches wide; confirm in your home before assuming).
Step 3: Validate walls, openings, and room boundaries
Once the model appears, do a fast “structure pass” before you decorate:
- Walls: confirm continuous runs; watch for missing segments at corners.
- Doors: verify door position and swing direction; check double doors.
- Windows: ensure they land on the correct wall and approximate placement.
- Stairs: confirm direction (up/down), width, and landing shape.
Accuracy checks you can do in under 10 minutes
Even with strong AI detection, you’ll get the best results by validating a few measurements. Here’s a quick method that doesn’t require advanced drafting skills.
A simple “3-measure” validation
- Exterior width (overall left-to-right)
- Exterior depth (overall front-to-back)
- One interior reference (hallway width, door opening, or a key room dimension)
If those three match, the rest of the model is usually proportionally trustworthy.
Optional: calculate a scale factor (if your tool supports manual scaling)
If you ever need to correct scale based on a known measurement, you can compute a simple factor:
# Scale correction concept
# If the model says a wall is 18.0 ft but it should be 20.0 ft:
scale_factor = 20.0 / 18.0  # => 1.111...
# Multiply model dimensions by scale_factor to correct.
This is especially helpful when working from a phone photo that introduces mild perspective distortion.
Room planning in 3D: layout decisions that actually hold up
Once structure is correct, use the 3D model for “decision-grade” layout testing. A good AI room planner workflow focuses on function first, style second.
Start with circulation, not furniture aesthetics
- Primary paths: entry-to-kitchen, bed-to-bath, garage-to-pantry.
- Clearances: keep comfortable walking space around seating and islands.
- Door conflicts: prevent doors from colliding with furniture or each other.
Then test common renovation moves
In 3D, you can quickly preview changes like:
- Opening a kitchen wall to improve sightlines
- Shifting a bathroom vanity for better entry clearance
- Trying built-in storage along a long wall
- Staging an empty room with correct-scale furniture
Interior vs. exterior: what 3D conversion helps with most
| Use case | What to model | What to evaluate |
|---|---|---|
| Interior redesign | Walls, doors, windows, furniture, finishes | Flow, scale, storage, lighting feel |
| Renovation preview | Structural changes, kitchen/bath layouts | Feasibility, clearances, stakeholder buy-in |
| Empty-room staging | Accurate furniture placement | How the room can be used; perceived size |
| Exterior refresh | Facade materials, color, landscaping masses | Curb appeal, contrast, balance, “before/after” clarity |
Common pitfalls (and how to avoid them)
When people search upload floor plan get 3d model, they often expect a perfect result instantly. In practice, these are the usual failure points—and they’re fixable.
Pitfall 1: The plan is skewed or low contrast
Fix: Re-shoot the photo square-on, increase brightness/contrast, and crop tightly to the plan boundary.
Pitfall 2: Multiple floors on one page
Fix: Split into separate images per level (Ground, Second, Basement). This improves wall detection and room labeling.
Pitfall 3: Missing or inconsistent dimensions
Fix: Use one trustworthy reference to set scale, then validate with the “3-measure” method. If the plan is conceptual only, treat the model as a layout study—not a construction document.
Pitfall 4: Confusing symbols (pocket doors, columns, built-ins)
Fix: Manually confirm special elements. Pocket doors, fireplaces, and columns are common misreads because their symbols vary by drafter.
A repeatable checklist for confident 3D exports
Use this list before sending 3D images to a contractor, client, or family decision-maker:
- Scale set and validated with 3 checks
- All doors placed correctly (position + swing)
- All windows on correct walls (approximate placement)
- Stairs direction confirmed
- Major fixtures (toilet, tub, sink) match intended layout
- Furniture is realistic size (avoid underscaled items)
- At least 2 camera angles per room for clear communication
- Export resolution suitable for presentations (especially if printing)
FAQ: practical questions people ask before converting
Is a 3D model from a floor plan “construction accurate”?
It can be dimensionally accurate if the source plan is accurate and scaling is set correctly. However, it’s typically best used for planning and visualization rather than replacing stamped construction drawings.
What if I only have a hand-drawn sketch?
You can still convert it, but expect more manual correction. Add at least one clear dimension and keep walls drawn with consistent thickness to improve recognition.
How many iterations should I try?
For most remodel decisions, 2–4 iterations is enough: a baseline model, a “big change” option, and one or two refined versions.
Putting it all together
The most reliable way to upload floor plan get 3d model is to treat it as a short workflow—not a single click: prepare a clean plan, set scale, validate structure, then use 3D for room planning and redesign previews. When you do, the 3D render stops being just a nice image and becomes a decision tool.
If you’re looking for an iOS workflow that converts black-and-white plans into clean 3D renders while preserving key layout details for fast renovation previews, Floor Plan to 3D & Home Redesign is one option to explore.
