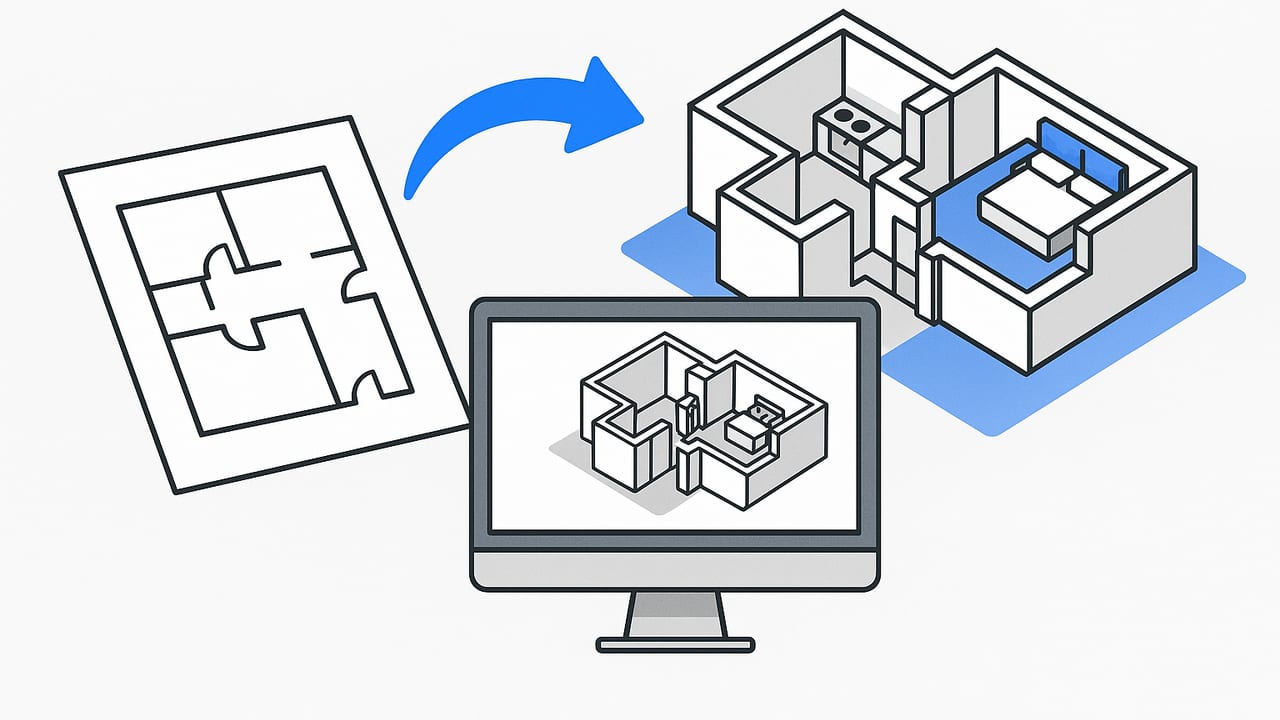
Turning a two-dimensional flat plan into an accurate, navigable 3D model is one of the fastest ways to understand space, test furniture, and plan upgrades. Whether you’re a first-time buyer comparing estate agent plans, a landlord preparing a rental refresh, or a designer staging a compact studio, a structured workflow will help you convert a UK flat layout to 3D visualization with confidence.
This guide explains what to prepare, how to keep scale true to life, and which tools and quality checks matter most for UK homes. You’ll learn to avoid common pitfalls and produce presentation-ready imagery that clients, contractors, and stakeholders can understand at a glance.
Why 3D Helps with UK Flats
UK flats often pack a lot into modest footprints. Typical quirks include narrow corridors, bay windows, chimney breasts, alcoves, sloped ceilings in loft conversions, and radiators that affect clearances. 3D visualization makes these constraints tangible and helps you:
- Validate whether furniture actually fits, with walkable circulation paths.
- Model tight kitchens and bathrooms where appliance swing, door clearances, and extraction routes matter.
- Preview storage solutions in alcoves and in eaves.
- Understand daylight in rooms with deep reveals or sash windows.
- Communicate design intent clearly to agents, contractors, or flatmates.
uk flat layout to 3d visualization: What You Need
Gather the best available inputs before you begin. The cleaner your source materials, the fewer errors you’ll need to correct later.
- A dimensioned 2D floor plan: Estate agent plans are common, but check the fine print; some are “for guidance only.” If possible, obtain a surveyor’s drawing or your own measured sketch.
- At least one verified dimension: A long straight wall (e.g., living room wall) or room width you can measure in person. This is crucial for scaling.
- Reference photos: Quick shots of door swings, window types, radiator positions, and any sloped ceilings.
- Notes on fixed services: Boiler location, consumer unit, soil stack, waste routes, and extractor positions in kitchen/bath.
Pro tip: Always measure at least one long dimension in person. It anchors the entire model. If you can measure two perpendicular dimensions, even better.
Step-by-Step Workflow to Convert a Plan to 3D
1) Prepare the floor plan image
- Scan or photograph the plan in good, even light.
- Use a flat, overhead angle. If shooting on a phone, hold the lens parallel to the paper to avoid perspective skew.
- Crop away borders and straighten the image. Aim for at least 200–300 dpi equivalent clarity.
2) Set the scale accurately
Everything else depends on scale. Even if your plan lacks a scale bar, you can derive scale from a known dimension. In your modeling tool, draw or set a measurement to match your verified length, then scale the imported plan until that line matches exactly. Keep an eye on decimal precision (millimetres, not rounded centimetres) to avoid compounding errors.
3) Trace the envelope and walls
- Trace the outer walls first, then internal partitions.
- Watch for UK specifics: thicker walls around chimney breasts; party walls may be thicker than internal partitions.
- Separate structural elements from stud partitions if your tool supports layers.
4) Add doors, windows, and openings
- Respect door swings from the plan. In tight corridors, a reversed swing can block circulation.
- Set the correct sill height for windows; deep reveals in older buildings affect light and furniture placement.
- Include double doors for balconies or French windows common in new-builds.
5) Define rooms and finishes
- Label each space (bedroom, lounge, box room, WC) to keep materials and lighting organised.
- Assign provisional floor finishes (timber, tile, carpet) to get realistic reflections and feel.
6) Place fixed services and built-ins
- Position kitchen appliances, counters, sink, and hob. Don’t forget extractor location relative to external walls.
- Place radiators and boilers; they drive furniture placement in compact rooms.
- Add wardrobes or built-in storage typical in alcoves beside chimney breasts.
7) Furnish at true scale
Use real dimensions for beds, sofas, tables, and desks. This is where UK-specific sizing helps:
- UK double bed: 1350 × 1900 mm
- UK king bed: 1500 × 2000 mm
- Two-seat sofa: ~1600–1800 mm wide
- Standard worktop depth: 600 mm
- Dining chair clearance: 600–800 mm behind seat
In small flats, switching from a 1600 mm sofa to a 1400 mm loveseat often unlocks a functional walkway.
8) Light the model
- Set geographic location to the UK city and select an approximate orientation for the building.
- Use a neutral HDRI or sun/sky system for daytime shots. Add ceiling pendants and task lights for evening renders.
- Check daylight in deep rooms with narrow windows; mirrors or lighter finishes can help.
9) Run quality checks
- Walk the 3D model to ensure 750–900 mm clear circulation paths where feasible.
- Open door animations to confirm no conflicts with furniture or radiators.
- Compare 3–5 critical dimensions in 3D against your measured notes; aim for under 2% variance.
10) Export and share
- Create wide-angle images for overview and 50–60° FOV for realistic room shots.
- Export floor-level “eye height” walkthroughs to simulate experience for buyers or tenants.
- Save a plan-view 3D axon for at-a-glance communication in proposals and listings.
Keeping Scale True: The Non‑Negotiables
Accuracy is the foundation of a trustworthy model. Keep these rules in mind:
- Anchor the model with a measured line you trust more than any printed scale note.
- Use real object sizes for furniture; avoid default assets with generic scaling.
- Control units: Work in millimetres or metres and keep consistency across imports.
- Version your plan when revising. If you rescale, verify a second known dimension.
Common UK Flat Challenges (and Fixes)
- Chimney breasts and alcoves: Model the protrusion accurately; use alcoves for wardrobes, desks, or shelving.
- Radiators: Place radiators early; they often dictate sofa and bed positions.
- Bay windows: Use them for compact dining nooks or reading benches; measure bay angles carefully.
- Sloped ceilings (lofts): Model roof slopes and knee walls; test full-height wardrobes in the tallest zone.
- Narrow hallways: Choose slim console tables (300–350 mm) or wall hooks instead of deep furniture.
Tool Options for uk flat layout to 3d visualization
Several workflows can take you from plan to 3D. Choose based on your experience, time, and fidelity needs.
| Method | Best For | Pros | Cons |
|---|---|---|---|
| Manual modelling in SketchUp/Blender | Designers needing full control | High customisation; free/low cost | Steeper learning curve; longer setup |
| CAD/BIM import (Revit/AutoCAD + renderer) | Architectural teams; projects with DWGs | Robust layers; precise documentation | Licensing cost; technical overhead |
| Mobile/AI plan-to-3D apps | Agents, landlords, DIY users, quick concepts | Fast; minimal training; true-to-plan tracing | Less control than full DCC/BIM suites |
Estate Agent Plans: Read the Fine Print
Agent floor plans are a great start, but many include disclaimers like “not to scale” or “for guidance only.” That doesn’t make them useless—it just means you must validate and adjust:
- Look for inconsistencies: listed square footage vs. drawn room sizes.
- Spot symbols that aren’t to scale (door arcs, fixtures) and re-measure in your model.
- Verify window positions against photos to avoid incorrect furniture placement.
Lighting and Materials That Sell the Space
For marketing images or client boards, treat your 3D like a photograph:
- White balance: UK interiors often benefit from slightly warmer tones to offset grey daylight.
- Materials: Use PBR materials with realistic roughness and bump maps; avoid glossy plastic looks for paint and plaster.
- Styling: Choose compact, light-toned furniture in small rooms; keep visual clutter low.
A subtle vignette and careful exposure bring realism without over-processing, especially for listings.
Accuracy Checklist Before You Share
- Scale verified against two measured lengths.
- Door swings and radiator locations confirmed.
- Bed and sofa footprints match manufacturer specs.
- Worktop depths and appliance widths correct (e.g., 600 mm dishwasher, 600–900 mm cooker).
- Clearances: 750–900 mm for main walkways; 1000–1200 mm around dining tables where possible.
- Window heights and sill depths consistent across rooms.
Sample Rapid Workflow (30–60 Minutes)
- Photograph the plan, straighten, and crop.
- Import into your tool and set scale from a measured wall.
- Trace walls, add internal partitions, and place doors/windows.
- Drop in essential furniture at true dimensions (bed, sofa, dining table).
- Assign baseline materials and add daylight plus one ceiling pendant per room.
- Export a plan-view axon and two hero perspectives.
This quick pass is often enough for decision-making: Will the 3-seater work? Does the hallway storage obstruct the door? Is the workspace viable in the bay window?
Troubleshooting: Why Doesn’t My Model Look Right?
- Everything feels too big or too small: Re-check scale. Measure a known distance in the 3D view and compare to the real-world value.
- Walls misalign at corners: The imported plan might be skewed. Re-straighten the image or re-trace with guides.
- Lighting looks flat: Increase sun angle variation, add bounce with lighter wall materials, and use area lights for windows if your renderer supports it.
- Rendering is noisy: Increase samples, enable denoising, or add more light to reduce fireflies.
- Furniture clips into radiators: Move radiators or choose slimline units; verify depths in the model (70–100 mm typical).
When to Invest More Time
Allocate extra effort when:
- You’re preparing a planning or listed-building discussion; modelling character features (cornices, skirting, sash profiles) can clarify proposals.
- Kitchen/bath reconfiguration is on the table; plumbing routes and service voids benefit from 3D exploration.
- You’re staging for sales or lettings; high-resolution renders can significantly increase engagement.
Export Formats and Uses
- High-res PNG/JPEG: For brochures, portals, and pitch decks.
- Interactive viewers: Great for remote clients and shared decision-making.
- Measured 3D PDFs or web embeds: Helpful for contractor coordination when you don’t want to exchange native files.
Keep an archive with source plans, 3D files, and final exports so you can iterate quickly when feedback arrives.
Key Takeaways
- Start with the cleanest plan you can get and anchor scale to a measured dimension.
- Model UK-specific constraints early: radiators, chimney breasts, and bay windows.
- Use real furniture sizes. A few centimetres decide whether a layout works.
- Light the model with UK conditions in mind and export both overview and eye-level shots.
- Run a simple accuracy checklist before sharing.
With these steps, converting a UK flat layout to 3D visualization shifts from guesswork to a repeatable, reliable workflow you can complete in under an hour for concept-level decisions or in a few hours for presentation-grade images.
If you prefer a streamlined path on iPhone from a black-and-white plan to a true-to-scale 3D model with exportable high-resolution renders, consider trying Floor Plan to 3D as part of your toolkit.
