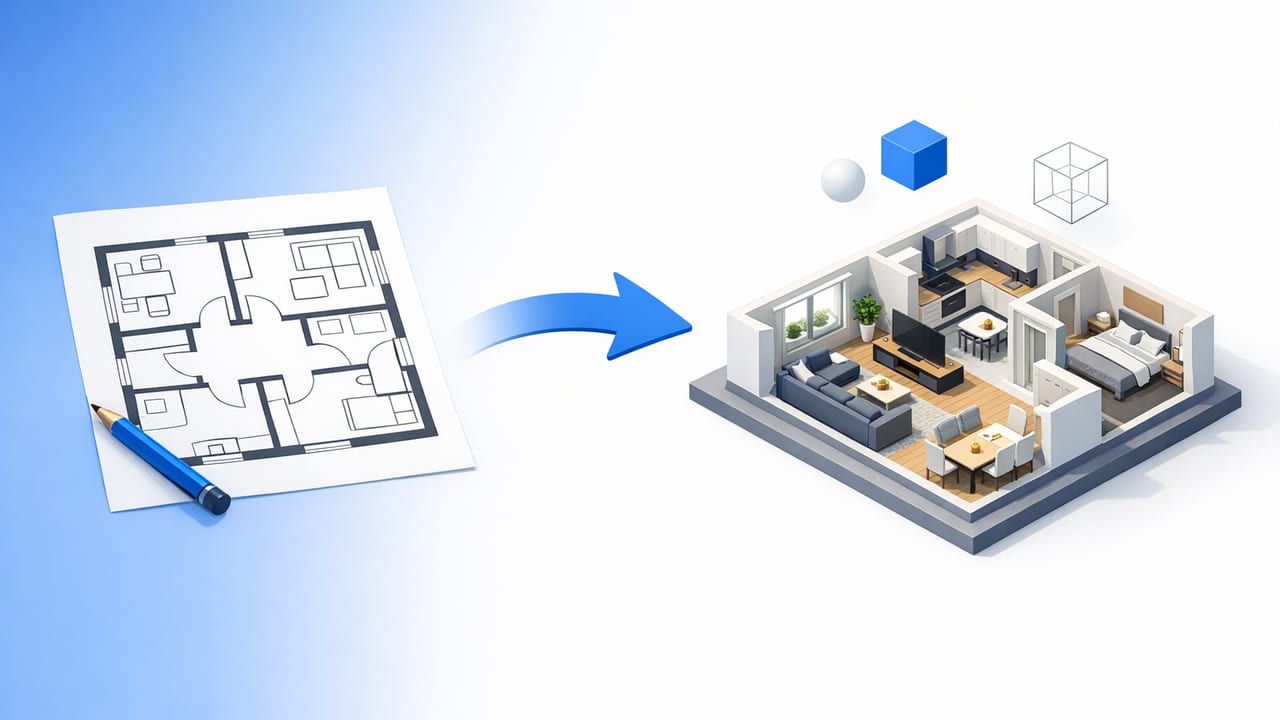
Being able to turn 2D floor plan into 3D changes how you make design decisions. A flat drawing can tell you where walls and doors are, but it’s far less reliable for answering the questions that matter during planning: Will the sofa block the walkway? Does the kitchen feel cramped once cabinets are in? How does natural light interact with the room?
This guide walks through a practical, accuracy-first workflow for converting a black-and-white plan (scan, photo, or PDF) into a 3D model you can trust for layout testing, presentations, and architectural visualization.
Rule of thumb: If your input plan is unclear, your 3D output will be confidently wrong. Clean inputs and correct scale are the difference between “nice render” and “useful model.”
Why 3D from a 2D plan is more than a visual upgrade
2D plans are optimized for precision and construction documentation; 3D models are optimized for spatial reasoning. When you convert to 3D, you unlock:
- Room planning: test furniture sizes, circulation paths, and clearances.
- Architectural visualization: communicate intent to clients, contractors, and stakeholders.
- Faster iteration: try alternate layouts without redrawing everything.
- Fewer misunderstandings: doors, window placement, and scale become immediately obvious.
Step 1: Start with a “3D-ready” 2D floor plan
AI-assisted conversion and manual modeling both depend on the same thing: a plan that is easy to interpret. Before you upload anything, check these essentials.
Minimum quality checklist
- High contrast: dark linework on a clean white background.
- Square photo/scan: the plan is not skewed or photographed at an angle.
- Complete boundaries: exterior walls form a closed outline (no gaps).
- Readable openings: doors and windows are clearly represented (swing arcs help).
- At least one known dimension: a labeled wall length, room size, or scale bar.
Best practices for scanning or photographing
- Use even lighting to avoid shadows that look like extra walls.
- Fill the frame with the plan to maximize effective resolution.
- Correct perspective (many photo apps have “document scan” mode).
- Crop tightly so the plan is the main content—avoid desks, hands, or surrounding clutter.
Step 2: Lock in scale (the most important step)
Most conversion failures are really scale failures. A plan that is off by even 3–5% can cause furniture fit problems, odd door spacing, or inaccurate room area calculations. Good 3D results start by anchoring the model to real-world dimensions.
How to choose the “anchor” measurement
Pick a dimension that is:
- Clearly labeled on the plan, or easy to verify in reality.
- Long enough to reduce measurement error (e.g., a 4–6 m wall is better than a 0.9 m doorway).
- Unambiguous (avoid dimensions that include wall thickness unless you know the drafting standard).
Quick scale math (pixel-to-meter conversion)
If you’re doing any custom preprocessing, the basic idea is: measure a known distance in the image and compute a scale ratio.
# Given: known real-world length (meters) and measured pixel length
known_length_m = 5.40
measured_length_px = 1080
meters_per_pixel = known_length_m / measured_length_px

# Convert any pixel measurement to meters
wall_px = 620
wall_m = wall_px * meters_per_pixel
print(wall_m)
This is also why a clean, non-skewed scan matters: skew changes pixel distances and breaks scale.
Step 3: Interpret walls correctly (thickness, alignment, and corners)
To turn a 2D plan into a believable 3D space, walls must be consistent—especially at corners, door openings, and structural transitions.
Wall thickness: pick a convention and stay consistent
Plans vary by region and drafting style. Some show wall centerlines; others show wall faces; some exaggerate thickness for readability. For modeling, choose a consistent assumption:
- Interior partitions: often ~90–125 mm (stud + drywall), but confirm where possible.
- Exterior walls: vary widely; older buildings can be much thicker.
- Shared walls (multi-unit): can be thicker for acoustic/fire ratings.
When your 3D model “feels off,” it’s frequently wall thickness compounding across multiple rooms.
Step 4: Place doors and windows for real usability
Openings aren’t just visual details—they control circulation and furniture placement. When converting, pay attention to:
- Door swing direction (or note it as unknown if the plan doesn’t specify).
- Door width: typical interior doors are commonly ~700–900 mm; verify against the plan.
- Window height and sill: affects where desks, beds, and cabinets can go.
- Alignment: windows centered in a room vs. aligned to exterior features changes the facade rhythm.
Step 5: Add vertical information (ceilings, levels, stairs)
A 2D plan often hides the biggest 3D variables: height and level changes. If you want an accurate render—not just a dollhouse outline—include:
- Ceiling height (and any bulkheads/soffits).
- Floor-to-floor differences if it’s multi-level.
- Stair geometry: approximate riser/tread count if available.
If ceiling height isn’t specified, choose a sensible default and document it so stakeholders don’t mistake it for a measured value.
Step 6: Furnish the model using “clearance-first” rules
Once walls and openings are correct, furniture becomes the fastest way to validate whether the design works. A helpful approach is to model with real product dimensions (or standard sizes) and then check circulation.
Common clearance guidelines (quick reference)
| Area | What to check | Why it matters |
|---|---|---|
| Hallways / paths | Consistent walking width | Avoid bottlenecks near doors and corners |
| Dining | Space behind chairs | People need room to stand and pass |
| Bedrooms | Bedside access | Prevents awkward one-sided circulation |
| Kitchens | Work triangle / aisle widths | Improves usability and appliance access |
Tip: If you’re presenting to a client, include at least one “everyday” view (standing eye level) and one “plan-like” view (top-down) so both intuition and precision are supported.
Step 7: Materials and lighting—use them to communicate, not to distract
High-end materials can make a render look great, but for room planning, clarity wins. Start simple:
- Neutral walls and a consistent floor texture to focus on layout.
- One main light source plus soft ambient lighting to avoid harsh shadows.
- Material blocks (e.g., “tile here,” “wood here”) before committing to final finishes.
Once the layout is approved, you can refine materials for presentation-grade architectural visualization.
Common problems when you convert 2D to 3D (and how to fix them)
| Problem | Likely cause | Fix |
|---|---|---|
| Rooms feel too small/large | Scale not anchored or wrong dimension chosen | Recalibrate using a longer, verified wall length |
| Walls don’t meet cleanly at corners | Skewed photo or inconsistent wall thickness | Correct perspective; standardize thickness assumptions |
| Doors intersect furniture | Door swing missing or misread | Add swing arcs; verify hinge side and opening direction |
| Windows look “random” on the facade | Plan lacks elevation cues | Use alignment rules (centerline or consistent offsets) and document assumptions |
| Multi-room layouts drift over distance | Small errors accumulating across the plan | Validate with a second anchor dimension on the opposite side |
Quality control: the 5-minute verification pass
Before exporting images or sharing with others, run this quick check:
- Confirm overall footprint: does exterior length/width match the plan?
- Spot-check 3 internal dimensions: pick different rooms, not adjacent walls.
- Verify every door: location, width, and swing (or mark unknown).
- Walk the circulation: mentally trace common routes (entry → kitchen, bedroom → bath).
- Export one top-down and one eye-level view: ensure the story matches the measurements.
Exports and presentation: what to share (and what to label)
If you’re using the model for proposals, approvals, or collaboration, clarity increases trust. Consider exporting:
- Annotated images with key dimensions (especially if assumptions were made).
- Before/after layout options to show decision impact.
- High-resolution renders for stakeholders who need marketing-grade visuals.
Always label what is measured vs. inferred (ceiling height, window height, wall thickness). That single habit prevents most downstream confusion.
When an AI workflow helps most
AI home design tools are especially helpful when you need to iterate quickly from a basic plan image to multiple 3D options—without rebuilding geometry from scratch. The best results still come from the same fundamentals: a clean input, correct scale, and a quick verification pass.
Putting it all together
To reliably turn a 2D plan into a 3D model that supports real decisions:
- Start with a clean, square, high-contrast plan image.
- Anchor scale using a long, verified dimension.
- Model walls and openings consistently before adding finishes.
- Use furniture and clearances to validate usability.
- Run a short quality-control pass and label assumptions.
If you want an iOS-based approach for converting black-and-white plans into dimension-true 3D visuals, an app like Floor Plan to 3D can be a convenient way to go from upload to export—just remember that accuracy still starts with the input and the scale.
