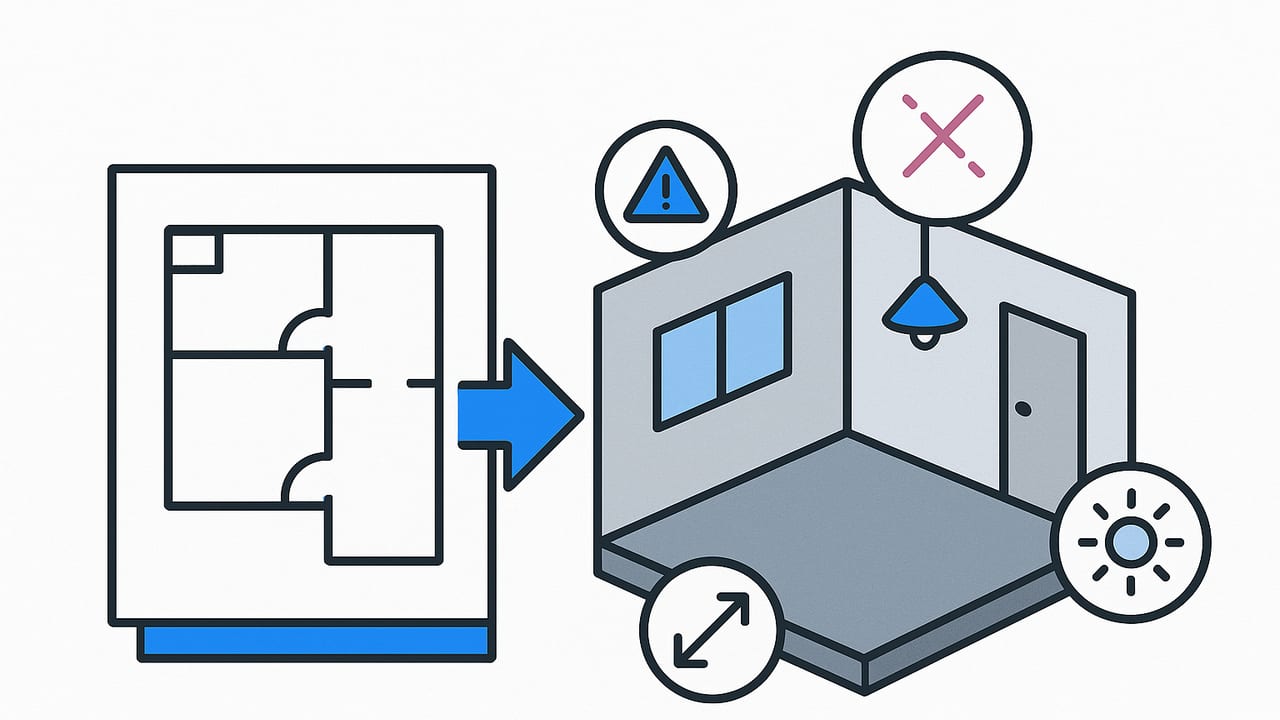
Converting a floor plan to 3D is a powerful way to validate design intent, spot layout issues, and communicate ideas. Yet even seasoned designers hit snags: scale drift, broken wall joins, wrong door swings, misaligned windows, lighting that washes out materials, and exports that look soft or noisy. This guide maps the most common pitfalls and shows how to diagnose and fix them, so your 3D matches the 2D plan with confidence.
A Quick Verification Loop to Anchor Your Process
Accuracy starts before modeling and continues after rendering. Adopt a repeatable loop so you catch issues early and avoid rework.
- Ingest and normalize: Confirm source format, units, and scale. Check if the original plan is dimensioned or only schematic.
- Model stepwise: Start with bounding box and walls, then openings, stairs, structure, and finally furniture and fixtures.
- Measure and compare: After each phase, measure three or more key spans and compare to the plan. Correct immediately.
- Render sanity checks: Use a neutral or white-model render to validate geometry before adding materials and lights.
- QA on export: Verify scale, field of view, and output resolution to ensure the 3D holds up in print and on screen.
Preflight Essentials: Source, Units, Scale
Before you turn a floor plan to 3D, normalize the input. A few minutes here saves hours later.
- Establish unit system: Metric or imperial. If the plan mixes both, convert all references to one system.
- Check drawing scale: Common scales include 1:50, 1:100, or 1/4 in equals 1 ft. Validate by measuring a labeled dimension line.
- Set tolerances: Decide acceptable variation, for example plus or minus 10 mm for room spans, plus or minus 5 mm for door widths.
- Identify datum: Choose a project base point and orientation. Keep levels consistent across floors.
Common Modeling Errors and How to Fix Them
The issues below appear repeatedly when moving from 2D to 3D. Use this table to diagnose quickly.
| Symptom | Likely Cause | Fix |
|---|---|---|
| Rooms are off by a few percent in size | Imported plan not scaled or image DPI assumed wrong | Measure a known dimension and rescale the canvas or reference line to exact size |
| Walls do not meet cleanly at corners | Inconsistent wall thickness or snapping disabled | Set a standard wall thickness, enable snapping, and trim or extend joins |
| Doors swing into walls or clip furniture | Default hinge side used or plan was mirrored | Flip swing, set correct hand, and verify clearances against plan annotations |
| Windows float above or sink below sill | Incorrect sill height or level reference | Align head and sill to plan notes; check level heights and floor-to-floor |
| Stairs do not meet floor levels | Wrong rise or number of risers | Compute rise equals floor-to-floor divided by riser count; ensure equal risers |
| Curved walls look segmented | Low curve resolution or faceting | Increase arc segments or use true curves; match chord length to tolerance |
| Ceiling heights look inconsistent across rooms | Multiple levels with mismatched elevations | Consolidate levels and assign rooms to the correct level baseline |
Scale Drift and Unit Confusion
Scale drift happens when reference images or PDFs are imported at arbitrary DPI. Do not trust any default. Measure a known span on the plan and compare. If a 3.000 m room measures 2.94 m in your scene, the scale factor is 3.000 divided by 2.94 equals 1.0204. Apply that factor to the reference or scene, then verify again with a second dimension so you catch skew.
Wall Thickness and Clean Joins
Mixed wall thickness leads to messy corners and wrong room sizes. Establish a standard for internal and external walls and stick to it. When tracing, keep the wall centerline or interior face consistent. Use trim and extend tools to close T and L junctions. In 3D, ensure top constraints meet the ceiling or next level rather than using absolute heights room by room.
Doors and Windows That Behave
Plan graphics can be mirrored or stylized, which confuses swing direction and head heights. Confirm hinge side by standing on the pull side logically and check if the hinge is left or right. Validate head height relative to ceiling and lintel thickness. For casement windows, pay attention to mullion placement and offsets from corner returns so reveals match the plan.
Stairs, Ramps, and Level Changes
Compute stair geometry before you model: total rise equals floor-to-floor height. Choose a riser count that keeps each riser within code or comfort ranges, then derive run from the desired tread depth. Landings must align with door thresholds and guardrail setbacks. For ramps, confirm slope ratio, typically stated as 1 to 12 or similar.
Curves, Arcs, and Bay Windows
Curved geometry exposes the limits of low-resolution modeling. If your software uses segments, increase segment count so chord length is smaller than your tolerance, for example 10 mm chords. Align window bays to true tangents rather than eyeballing, and ensure each facet has equal angle so mullions appear even in perspective.
Lighting and Materials: From Flat to Believable
Lighting is where many floor plan to 3D conversions stumble, because accurate geometry can still look wrong under poor light. Work from simple to complex.
Neutral First, Then Stylize
Start with a white model pass. Disable textures and keep materials at mid-gray with roughness around 0.5. Use a single daylight source or an HDRI with neutral color. This reveals geometry issues like wavy walls, misaligned ceilings, or floating windows without the distraction of textures. Only after the geometry checks out should you enable materials and layered lights.
Daylight, Interior Lights, and Exposure
- Daylight scenes: Set sun angle by location and time to create believable shadows that help read depth. Use sky contribution to fill shadows gently.
- Interior scenes: Use a mix of ambient and practical lights. Avoid pure white light; choose plausible color temperature, for example 3000 K to 4000 K for warm to neutral interiors.
- Clamp exposure: Overexposed materials flatten. Use a camera exposure control and consider tone mapping to preserve highlight detail.
Material Mapping and Consistency
Texture scale matters. A 200 mm tile rendered as 180 mm breaks visual trust. Measure and set UV repeat values so dimensions are exact. Prefer PBR materials with base color, roughness, normal, and optionally ambient occlusion. Keep reflectance realistic; most interior paint is not a mirror. For wood grain, align direction with cabinetry and plank layout noted on the plan.
Small, realistic imperfections often make spaces feel believable, but dimensional inaccuracies never do. Prioritize scale and alignment first.
QA Checklist for Accuracy
Run this checklist before you call the model done. It prevents last minute surprises and aligns your 3D with the documented plan.
| Item | Target Tolerance | How to Verify |
|---|---|---|
| Overall exterior width and depth | Plus or minus 10 mm or plus or minus 3/8 in | Measure corner to corner and compare to plan dimension string |
| Interior room spans | Plus or minus 10 mm | Use interior face to interior face and cross check two perpendicular rooms |
| Wall thickness | Exact as spec | Sample three locations; confirm joins do not override thickness |
| Door and window rough openings | Plus or minus 5 mm | Check width, head height, sill height against schedule or notes |
| Level heights | Exact as spec | Verify floor to ceiling and floor to floor; stairs match both |
| Furniture clearances | Plus or minus 20 mm | Confirm circulation paths and door swing clearances |
File Hygiene and Naming Conventions
Clean files support clean thinking. Use consistent naming and a light layer of version control so you can roll back if a model drifts.
project_home_apt/
  input/
    plan_A4_01.pdf
    plan_A4_02_marked.pdf
  ref/
    materials/
      paint_neutral.jpg
      oak_floor_pbr/
        basecolor.jpg
        normal.jpg
        roughness.jpg
  model/
    home_apt_v01.3dm
    home_apt_v02.3dm
  render/
    white_model_v01.png
    interior_day_v02.png
    interior_night_v02.png
  docs/
    qa_checklist_v02.csv
Adopt simple version numbers and write brief change notes when you increment. For example, v02 fixes living room span and window head heights. When collaborating, avoid overwriting by using a short username suffix.
Export Settings That Preserve Quality
Great models can still yield poor outputs if you export without intent. For perspective renders, set a sensible focal length to avoid distortion, for instance 28 mm to 35 mm full frame equivalent for interiors. For orthographic plans and elevations, ensure line weights and hatches read clearly at print scale.
- Resolution and DPI: For print at A3 or Tabloid, aim for 300 DPI at final size. For web, export at 1.5 to 2 times displayed pixel dimensions for crispness on high density screens.
- Anti aliasing: Enable high quality sampling to reduce jagged edges on thin mullions and railings.
- Compression: Use lossless formats for master files and a compressed copy for sharing. Avoid double compression across review cycles.
Example Walkthrough: Small Apartment From 2D to 3D
- Scale: A dimension line shows 6000 mm across the living room. Measured in scene at import, it reads 5880 mm. Apply scale factor 6000 divided by 5880 equals 1.0204.
- Walls: Set exterior walls to 250 mm, interior to 100 mm. Trace on interior face to maintain room sizes.
- Openings: Doors at 900 mm width, head height 2100 mm. Windows with sill at 900 mm and head at 2100 mm. Verify casement direction from symbol orientation.
- Stairs: Not applicable here, but levels set at 0 mm floor and 2700 mm ceiling. Keep a uniform ceiling plane to catch any floating geometry.
- Furniture: Place scaled furniture from a verified library. Allow 900 mm minimum main circulation in living areas.
- Lighting: White model first with sun at 35 degrees elevation, then add two area lights to simulate window bounce for night scenes.
- Materials: Apply wood flooring with 180 mm plank width. Confirm two planks span 360 mm in UV to match spec.
- QA: Check living room span 6000 mm exact, bedroom 3200 mm, corridor width 1000 mm clear. Doors swing without collision.
- Export: Interior perspective at 3000 by 2250 px, 32 samples, tone mapped for highlight retention. Orthographic plan at 300 DPI for A3.
The result reads like the plan and feels correct in perspective, because dimensions, sightlines, and lighting were validated at each step.
Quick Answers to Frequent Questions
How do I keep scale consistent across multiple floors
Use a shared project base point and lock level elevations. Derive stair geometry from floor to floor, not room to room. Reuse reference objects, such as a calibrated 1 m checker, to spot drift fast.
What if the plan is a photo taken at an angle
Rectify the image by applying a perspective transform with four corner alignment. Then calibrate scale using a known dimension. Avoid modeling from skewed references to prevent compounding errors.
How do I handle missing dimensions
Use proportional inference from known spans and architectural norms, then flag assumptions clearly. Keep a list of unknowns and update when you obtain clarification from the source.
Best Practices That Save Time
- Model clean intersections early so downstream elements snap correctly.
- Check three distances per room, not just one, to catch cumulative errors.
- Validate camera eye height around 1500 to 1700 mm for interior previews to mirror human perception.
- Keep a white model preset and a production preset so you can flip between troubleshooting and presentation quickly.
Turning a floor plan to 3D is ultimately about fidelity and clarity. By anchoring your workflow with scale checks, consistent wall logic, accurate openings, measured lighting, and disciplined exports, you build 3D that is both persuasive and true to the drawing.
Note: If you prefer a mobile workflow, Floor Plan to 3D on iOS converts black and white floor plans into accurate 3D renders and lets you export high resolution images for proposals and presentations.
