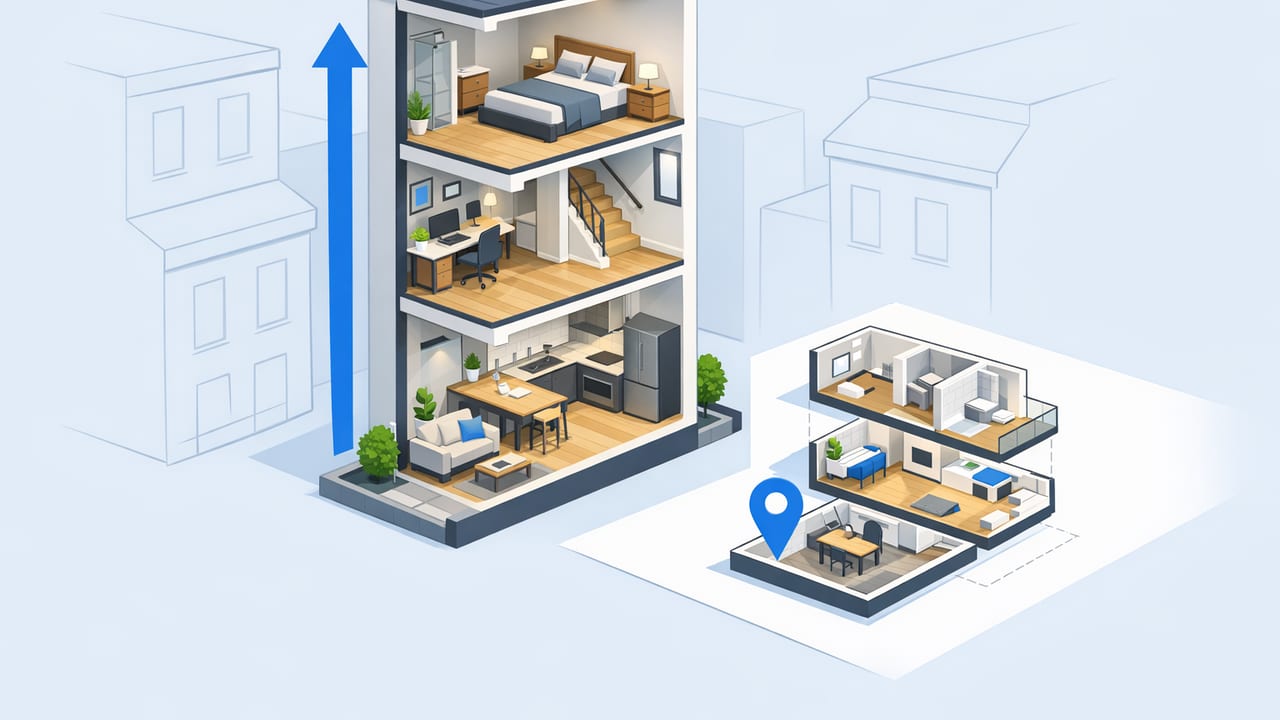
Designing a narrow townhouse is a game of inches, sightlines, and smart circulation. When the footprint is long and slim, small decisions—like where a stair lands or how wide a passage feels—can make the home feel airy or cramped. That’s why creating a townhouse layout 3d for narrow spaces is one of the most effective ways to validate ideas early: you can see depth, daylight, and furniture fit before committing to construction or a remodel.
This guide walks through practical layout patterns, realistic clearance dimensions, and a repeatable workflow for turning a 2D plan into multiple 3D options you can compare.
Why 3D matters more in narrow townhouses
Narrow homes tend to hide problems in 2D drawings. A plan can look “fine,” yet feel tight once walls, doors, and furniture have volume. A fast 3D pass helps you catch issues like:
- Pinch points at entries, stair landings, and kitchen aisles
- Shallow sightlines that make spaces feel shorter than they are
- Daylight bottlenecks where light doesn’t reach the center of the plan
- Furniture conflicts (sofa depth vs. walkway, bed clearance vs. closet doors)
- Ceiling height perception—especially around stairs and split levels
Rule of thumb: The narrower the home, the more your experience depends on circulation width, visual openness, and how rooms borrow light from each other.
Start with constraints: measure what “narrow” really means
Many townhouses fall into a familiar proportion: long depth, limited width, and shared party walls. Before you model in 3D, define your hard limits:
- Exterior width and depth (and any setbacks)
- Stair location constraints (existing shaft, structural walls, plumbing stacks)
- Window locations (front/back only vs. side light wells)
- Floor-to-floor height (affects stair comfort and headroom)
- Must-have room program (beds, baths, office, storage, parking)
A quick “narrow-space program” template
Use a simple program list so you can test layout options without redesigning from scratch each time:
{
  "floor_1": ["entry", "storage", "kitchen", "dining", "living"],
  "floor_2": ["primary_bed", "bath", "laundry", "office_or_bed"],
  "floor_3": ["bed", "bath", "terrace_or_flex"],
  "priorities": ["daylight_to_center", "wide_circulation", "closed_storage"]
}
Core layout patterns that work in narrow townhouses
When you build a townhouse layout 3D for narrow spaces, it helps to start from proven patterns and then customize. Here are three that consistently model well.
1) “Front-to-back” open plan (best for light + flexibility)
Best when: you want a larger feel on the main level and can manage noise and cooking smells with good ventilation.
- Place kitchen at the darkest end only if you can borrow light (glass doors, light well, transom glazing).
- Keep the longest sightline as uninterrupted as possible (avoid tall cabinets mid-span).
- Use partial-height elements (island, console, open shelving) instead of full walls.
2) Split-zone plan (best for privacy + acoustic comfort)
Best when: the household needs separation (work from home, kids’ sleep schedules, shared living).
- Create two social zones (e.g., living front, dining/back) with a central stair or storage core as a buffer.
- Use pocket doors or glazed sliders to keep light while controlling sound.
- In 3D, test door swing and furniture placement in both “open” and “closed” states.
3) Stair-as-spine plan (best for efficient circulation)
Best when: you need to minimize hallway waste and simplify vertical movement.
- Run the stair along one side wall and “hang” rooms off it.
- Use under-stair volume for pantry, powder room, coat storage, or a compact desk nook.
- In 3D, check headroom at landings and how the stair affects daylight penetration.
Dimension cheat sheet: clearances that make narrow homes feel bigger
3D is most useful when you validate dimensions against real-life comfort. The table below provides practical targets many designers use. (Always confirm local code and accessibility needs.)
| Element | Comfort Target | Why it matters in narrow spaces |
|---|---|---|
| Main walkway | 900–1100 mm (36–43 in) | Below this, a townhouse starts feeling “corridor-like.” |
| Kitchen aisle (one cook) | 1000–1100 mm (39–43 in) | Prevents collisions at fridge/oven and makes islands usable. |
| Dining chair clearance | 900 mm (36 in) behind chair | Key when dining is “on the path” between rooms. |
| Sofa-to-coffee-table | 400–500 mm (16–20 in) | Too tight feels fussy; too wide wastes precious depth. |
| Bed side clearance | 600 mm (24 in) one side minimum | Improves daily usability even if the room is compact. |
| Door swing conflicts | 0 collisions in 3D test | In narrow plans, door arcs often steal functional space. |
A step-by-step workflow to build and compare 3D options
Here’s a repeatable process for creating a townhouse layout 3D for narrow spaces and using it to make decisions quickly.
Step 1: Clean your 2D input before modeling
- Confirm at least one known measurement (overall width, a labeled room dimension).
- Mark walls as structural vs. non-structural if known.
- Note window/door sizes and sill heights (important for furniture placement).
Step 2: Model the “shell” first
Create walls, floor heights, stair volume, and openings. Avoid furniture at this stage. Your goal is to validate:
- How the main level feels from the entry (first impression)
- Whether the center of the plan is overly dark
- Where ceilings drop or headroom tightens near stairs
Step 3: Drop in “scale anchors”
Add a few key objects that reveal scale fast:
- One sofa (typical depth 900–1000 mm / 35–39 in)
- One dining table + chairs
- A queen bed
- Kitchen base cabinets (standard depth around 600 mm / 24 in)
These anchors quickly expose pinch points and help you choose between competing layouts.
Step 4: Create 2–3 variants with one variable each
Instead of redesigning everything, change a single driver per option. For example:
- Option A: Stair moved 1–2 meters toward the center
- Option B: Kitchen swapped with dining
- Option C: Add/remove a partial wall or glazed divider
Step 5: Score the options (simple decision matrix)
A lightweight scoring method prevents “pretty render bias.” Use 1–5 scores across criteria that matter in narrow homes:
- Daylight reach
- Circulation comfort
- Storage volume
- Privacy/acoustics
- Furniture flexibility
Design tactics that consistently improve narrow townhouse layouts
Borrow light without sacrificing privacy
- Use interior glazing above eye level (transoms) to move daylight deeper.
- Consider glass balustrades near stairs to keep vertical sightlines open.
- In 3D, test “day” and “night” scenes to confirm glare and privacy.
Make storage part of the architecture
- Full-height built-ins on one long wall can reduce visual clutter elsewhere.
- Under-stair drawers and tall pantry cabinets often outperform small closets.
- Keep storage faces flush to avoid snagging narrow circulation paths.
Use fewer, better doors
Door swings are space-hungry in slim plans. If appropriate, test:
- Pocket doors for bathrooms, laundry, and offices
- Sliding doors for closets
- Cased openings (no door) for secondary transitions
Choose furniture by depth, not just width
In narrow rooms, depth (front-to-back) is often the limiting dimension. In 3D, compare a standard sofa to an apartment-depth sofa, or a round dining table vs. a rectangular one. You’ll often gain circulation without changing the plan at all.
Common mistakes to catch early in 3D
- Islands that look great but block movement once stools and appliances open
- Stair landings that pinch when you add railings and door trim
- Bathrooms that “work” on paper but feel unusable with real fixture clearances
- Bedrooms with no functional wall for a bed + nightstand + door clearance
- Over-zoning the main level into too many micro-rooms (kills light and flexibility)
FAQ: townhouse layout 3D for narrow spaces
How many layout options should I test?
Typically 2–4. More can be useful, but only if each option changes one key variable (stair position, kitchen placement, or partition strategy).
What’s the fastest way to improve the “feel” without moving walls?
Adjust door types (pocket/sliding), reduce furniture depth, and add light-borrowing openings (transoms, interior glazing). These changes often score higher than major structural moves.
Do I need photorealistic rendering?
No. For layout decisions, you mainly need accurate scale, believable furniture, and clear camera angles. High realism is most helpful for presentations, not for early planning.
Wrap-up: use 3D to de-risk the narrow footprint
A narrow townhouse can feel surprisingly spacious when circulation is generous, sightlines are long, and light is allowed to travel. Building a townhouse layout 3d for narrow spaces lets you test these factors quickly—before costly changes become locked in.
If you want a streamlined way to turn a black-and-white plan into a dimension-faithful 3D model for iteration and export, an iOS tool like Floor Plan to 3D can be a practical starting point.
