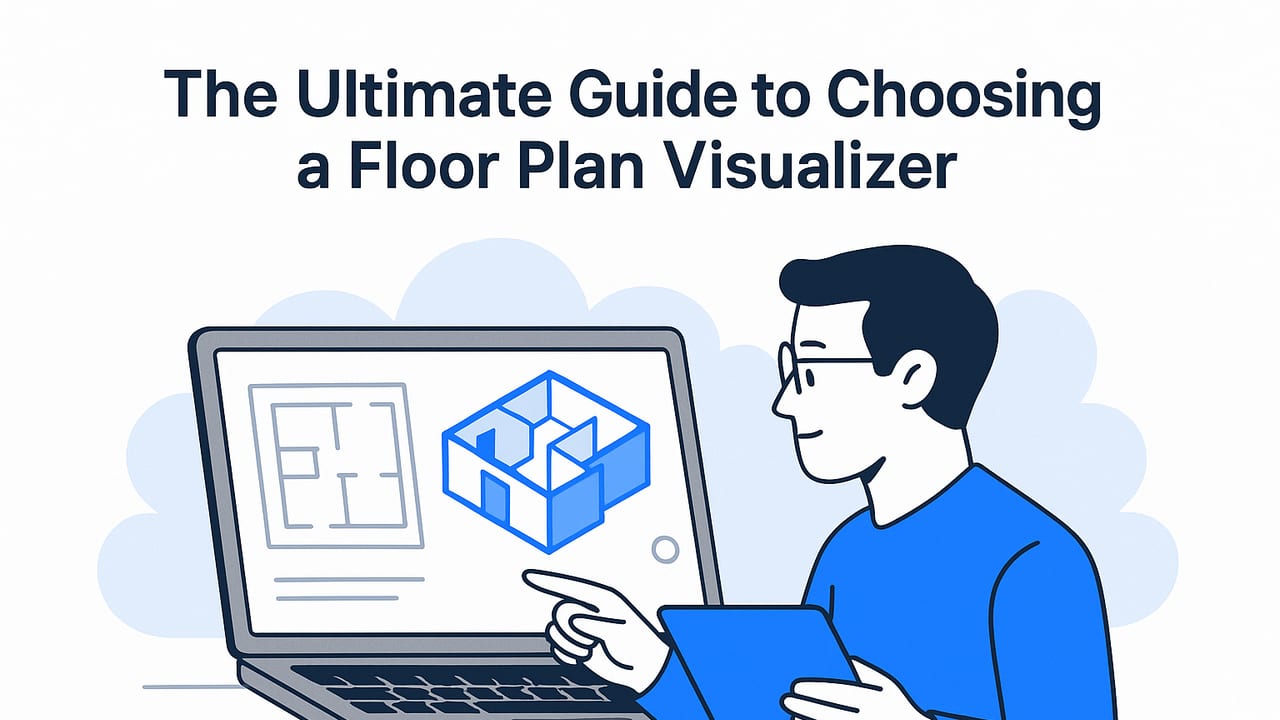
A floor plan visualizer turns flat, black-and-white layouts into vivid, navigable 3D spaces you can explore, edit, and share. Whether you’re planning a remodel, presenting a client concept, or validating clearances for furniture, the right tool radically speeds up decision-making and reduces mistakes. This guide explains how floor plan visualizers work, what features truly matter, and how to evaluate options for your workflow—from scanning paper drawings to exporting high-resolution imagery.
What Is a Floor Plan Visualizer?
A floor plan visualizer is software that interprets 2D architectural plans (PDFs, images, or CAD files) and helps you build an accurate 3D model. Unlike traditional CAD where you draft every wall manually, many visualizers automate recognition of key elements like walls, doors, and windows, then extrude geometry into a 3D shell with configurable heights, materials, and fixtures. The result is an interactive model you can orbit, walk through, and refine with furnishings, textures, and lighting.
Modern visualizers increasingly rely on AI to detect structural elements, preserve scale, and map symbols to parametric objects. They also offer fast outputs: photorealistic images, short walkthrough videos, and shareable links for stakeholders who don’t have professional design tools.
Benefits of Using a Floor Plan Visualizer
- Clarity for non-experts: 3D context reduces misinterpretation of 2D drawings.
- Faster iterations: Move a wall, swap finishes, or test furniture layouts in minutes.
- Better stakeholder buy-in: Realistic imagery and walkthroughs boost confidence and speed approvals.
- Dimension-aware decisions: Tools that preserve scale help validate clearances and code-related constraints.
- Reduced rework: Spot conflicts early, before construction or purchasing.
- Compelling deliverables: Export high-resolution renders for proposals, listings, and presentations.
Key Features That Matter
1) Accuracy, Scale, and Units
Accuracy is the foundation of any floor plan visualizer. Look for:
- Scale calibration: Ability to set a known dimension (e.g., a 10′ wall) so the entire model scales correctly.
- Unit control: Seamless switching between metric and imperial with consistent rounding.
- Dimension overlays: Dynamic dimensions that update as you move or resize elements.
Scanning tip: If you’re importing a paper plan, scan at 300 DPI or higher. The cleaner the linework, the better the auto-detection of walls and openings. If your plan includes a graphic scale bar, use it to calibrate.
2) Input Formats and Data Capture
Your visualizer should accept common sources:
- Raster: JPG, PNG, TIFF for photographed or scanned plans.
- Vector: PDF, SVG; vector PDFs preserve line precision and often yield better detection.
- CAD: DXF/DWG support is valuable if you’re collaborating with architects.
- Mobile capture: In-app camera or document scan that flattens skew and enhances contrast.
3) AI-Assisted Recognition
AI accelerates setup by identifying walls, windows, doors, stairs, and room boundaries. Advanced systems also infer wall thickness, detect symbols (e.g., plumbing fixtures), and handle partial occlusions or folds in the paper. Evaluate:
- Confidence feedback: Visual cues for uncertain detections so you can confirm or correct them.
- Editable results: Detected elements should remain parametric for easy changes.
- Support for irregular geometry: Bay windows, angled walls, curved partitions, and split-levels.
4) Materials, Lighting, and Realism
Visual appeal influences decisions. Look for:
- Material library: Floors, walls, countertops, cabinetry with PBR (physically based) textures.
- Lighting control: Sun studies, time-of-day settings, and emissive fixtures for realistic mood.
- Render quality: Path-tracing or high-quality rasterization with denoising for crisp images.
5) Furniture and Parametric Objects
A robust catalog accelerates staging and planning. Prioritize:
- Parametric sizes: Sofas, beds, and cabinets that adjust dimensions to verify fit.
- Fixture accuracy: Plumbing and appliances with realistic clearances.
- Import options: glTF/OBJ/USDZ support to bring in custom assets.
6) Measurement, Notes, and Annotations
Decision-making often hinges on details. Handy features include:
- On-model measurements: Click-to-measure distances, areas, and ceiling heights.
- Callouts and tags: Notes tied to objects or coordinates for punch lists and approvals.
- Room schedules: Auto-generated area and finish schedules that update with changes.
7) Export and Sharing
Ensure your visualizer outputs what stakeholders need:
- High-resolution stills: 4K+ images for print and proposals.
- Animations: MP4 walkthroughs or fly-throughs.
- 3D sharing: Web viewers, USDZ for iOS AR, or glTF for cross-platform.
- Plan overlays: Side-by-side comparisons of 2D and 3D views.
8) Collaboration and Versioning
Projects rarely happen solo. Seek:
- Comment threads: Per-view or per-object discussions.
- Version history: Roll back to previous iterations and track changes.
- Cloud sync: Access files across devices without manual transfers.
9) Mobile vs. Desktop Workflow
Mobile visualizers shine for capture and quick iteration on site. Desktop apps typically offer deeper libraries and heavier rendering. Some tools combine both. Consider:
- On-device processing: Faster privacy and offline reliability.
- Battery/performance: Efficient processing for multi-room plans on modern devices.
10) Privacy and Security
Floor plans reveal sensitive information. Favor tools that provide:
- Local processing options: Convert plans without uploading to external servers, when possible.
- Transparent policies: Clear data retention and sharing terms.
- End-to-end encryption: For synced files and shared links.
Workflow: From Paper Plan to Interactive 3D
- Prepare the plan: Flatten the drawing, remove folds, and ensure strong contrast. If available, mark a known dimension or include the plan’s scale bar in the photo.
- Capture at high quality: Use a mobile scan or 300 DPI scan. Align the camera parallel to the paper to minimize skew. Good lighting reduces noise.
- Import and calibrate scale: In your floor plan visualizer, set a reference length (e.g., 12′-0″ wall). This ensures accurate dimensional output.
- Verify auto-detection: Inspect walls, windows, and doors. Confirm thicknesses and swing directions; adjust where needed.
- Set elevations: Define wall height, slab thickness, and ceiling heights. Add levels if you have multi-story spaces.
- Place openings and stairs: Align openings exactly with plan dimensions. For stairs, set tread count, riser height, and landing depth.
- Add fixtures and furniture: Use parametric objects; check clearances for circulation (typically 30–36 inches around major furniture in living areas).
- Apply materials: Assign finishes to floors, walls, and major surfaces. Use consistent textures for realistic visuals.
- Light the scene: Set time of day for sun studies; add ambient and task lighting to preview ambiance and glare.
- Export and share: Generate high-resolution stills, a short walkthrough, and a shareable 3D link for feedback.
Pro tip: Validate scale by measuring two distances that don’t share a common axis (e.g., a diagonal or a room’s width and depth). If both match, your model is reliably calibrated.
Approaches to Visualizing Floor Plans: A Comparison
| Approach | How it Works | Speed | Accuracy | Skills Needed | Best For |
|---|---|---|---|---|---|
| Manual CAD/BIM Modeling | Redraw 2D; extrude walls; place doors/windows manually | Slow | High (expert-dependent) | Advanced CAD/BIM | Complex projects; precise control |
| 2D Trace and Extrude | Trace raster or PDF; extrude profiles into 3D | Moderate | Medium-High | Intermediate | Renovations; repeated workflows |
| Rules-Based 2D-to-3D | Detect walls/doors from clear linework | Fast | Medium | Beginner-Intermediate | Schematic design; quick options |
| AI-Assisted Floor Plan Visualizer | AI recognizes elements and preserves scale automatically | Very Fast | Medium-High | Beginner-Friendly | Concepts, client visuals, rapid iteration |
| Full BIM Suite | Parametric building model with schedules and docs | Slow-Moderate | High | Advanced | Construction documentation; large teams |
| AR Room Scanning | Use device sensors to capture geometry | Fast | Medium | Beginner | Existing spaces without plans |
Common Pitfalls and How to Avoid Them
- Skewed imports: If your photo is angled, parallel lines won’t be parallel. Use in-app alignment or crop to straighten before detection.
- Incorrect wall thickness: Plans often show centerlines or varying thicknesses. Confirm the intended type (e.g., 2x4 vs. 2x6) and set globally, then override locally where needed.
- Missing openings: Glass partitions and pocket doors can be misread. Manually verify and draw any that are missed.
- Ceiling height assumptions: Default heights may not match reality. Adjust per room for beams, soffits, or vaulted ceilings.
- Uncalibrated scale: Always set a reference dimension. Even a 2% scale error compounds across large spaces.
- Over-texturing: Heavy, high-frequency textures can look busy. Favor subtle patterns and realistic roughness values.
Practical Use Cases and ROI
- Homeowners and renters: Validate whether a sectional fits, test rug sizes, and preview paint colors without moving heavy furniture.
- Interior designers: Present multiple mood boards in the same layout; swap materials and lighting to A/B test ambiance.
- Real estate: Enhance listings with furnished 3D visuals and walkthroughs to increase engagement and pre-qualify buyers.
- Facility managers: Plan office reorganizations, verify egress paths, and model equipment clearances.
- Contractors: Communicate scope clearly, estimate quantities from area takeoffs, and reduce change orders.
Even small time savings compound. If AI-assisted detection trims 45 minutes from each layout, a team that processes 10 plans a month saves over a full workday—time better spent on design or clients.
FAQ: Floor Plan Visualizers
Can a floor plan visualizer produce construction documents?
Most visualizers prioritize rapid 3D and presentation. While many create dimensioned drawings and schedules, full construction documentation typically requires a BIM platform. Use visualizers for concept, iteration, and stakeholder alignment, then hand off to BIM/CAD if needed.
How accurate are the measurements?
Accuracy depends on scale calibration and source quality. With a clean scan and verified reference dimension, many tools are precise enough for space planning and FF&E selection. Always confirm critical dimensions on site before procurement or build.
Can I model multi-story homes?
Yes, many visualizers support multiple levels and stairs. Ensure you can define level heights, stair parameters, and openings between floors (e.g., double-height spaces).
What file format should I use?
Vector PDFs or CAD files generally yield the best detection. High-resolution PNG/JPG works well for scanned paper plans; avoid heavy compression. If you capture photos, use good lighting and keep the camera parallel to the plan.
Do I need CAD experience?
No. Modern tools are beginner-friendly, with drag-and-drop editing and AI detection. Familiarity with basic architectural terms helps, but the learning curve is far gentler than traditional CAD.
Evaluation Checklist
- Preserves scale with a simple calibration step
- Accurate detection of walls, windows, doors, and stairs
- Parametric editing and robust furniture/fixture library
- Quality materials, lighting controls, and high-fidelity rendering
- Flexible exports: 4K images, videos, and shareable 3D/AR
- Mobile capture and offline processing for privacy
- Version history, comments, and easy sharing
- Transparent data policies and local processing options
Final Thoughts
A floor plan visualizer bridges the gap between technical drawings and the way people actually experience space. By choosing a tool that preserves scale, supports fast iteration, and delivers convincing visuals, you reduce risk and accelerate decisions from the first sketch to a polished presentation. If you’re starting with paper or PDF drawings and want accurate, presentation-ready 3D on the go, consider an iOS option like Floor Plan to 3D, which uses AI to convert black-and-white layouts into dimensionally faithful, exportable renders.
