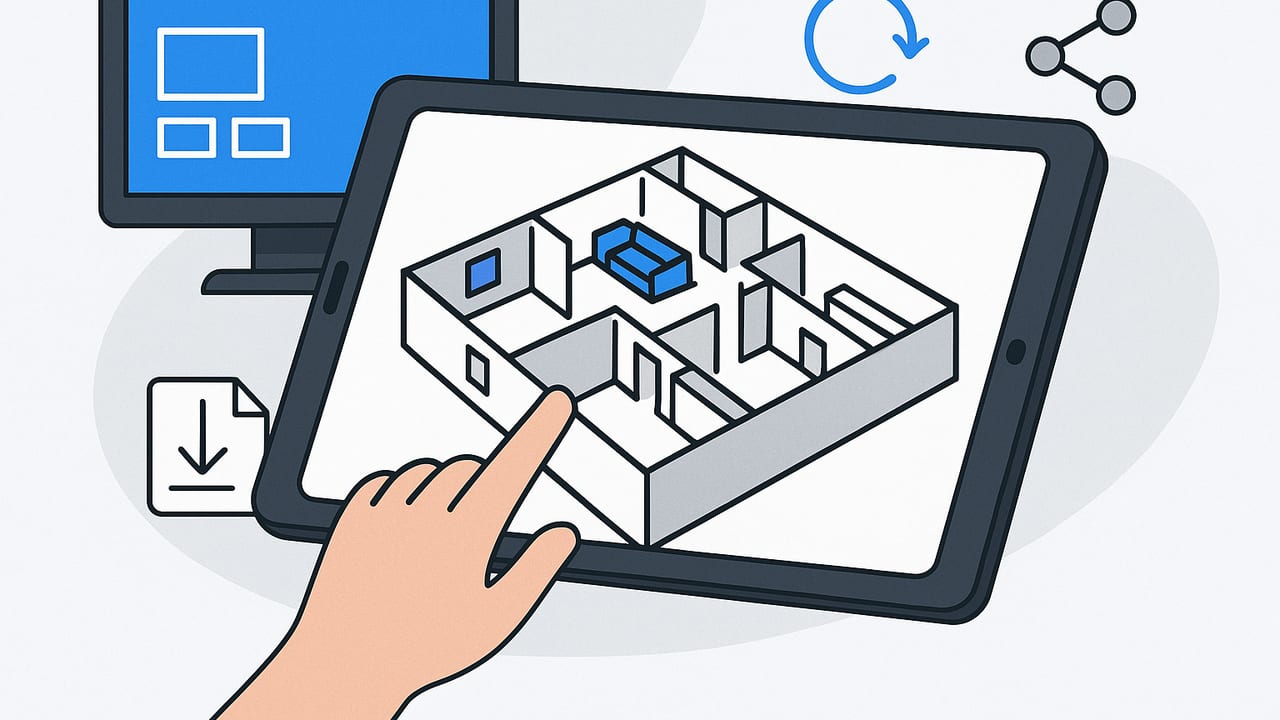
Whether you’re planning a remodel, imagining how a new sofa fits your living room, or preparing visuals for a contractor, a 3d floor plan app for homeowners can save time, money, and many re-dos. Today’s mobile tools convert black-and-white plans or measurements into realistic 3D layouts, preserving scale and proportions while letting you experiment with finishes, furniture, and lighting. This guide explains what to look for, how to get accurate results, and how to export visuals that impress family members, contractors, and buyers alike.
What a 3D Floor Plan App Actually Does
A 3D floor plan app turns a 2D drawing (or a set of measurements) into a navigable, true-to-scale 3D model of your home or room. You can pan, orbit, and walk through spaces; place furniture; test materials and lighting; and generate export-ready images for print, web, or presentations. The best tools preserve dimensions from scans or photos and help you validate accuracy with checkpoints.
Why Homeowners Benefit
- Decision clarity: See furniture, finishes, and layouts before you buy.
- Budget control: Spot layout conflicts early and avoid costly change orders.
- Faster approvals: Show contractors or partners exactly what you mean.
- Resale visuals: Produce clean 3D images for listings or rental marketing.
- Accessibility planning: Validate clearances for mobility aids and safe circulation.
- Light studies: Preview daylight and mood lighting across times of day.
Features that Matter in a 3d floor plan app for homeowners
Not all apps are equal. Prioritize accuracy, ease of use, and robust exports. Use this shortlist to evaluate options before committing.
| Feature | Why it matters | What to check |
|---|---|---|
| Scale & dimension fidelity | Ensures furniture fits and circulation works as intended. | Calibrate to a known dimension; verify multiple room widths. |
| 2D-to-3D conversion | Speeds up modeling from scans or plan photos. | Handles black-and-white plans, recognizes walls, doors, windows. |
| Editing tools & constraints | Fine-tune walls, openings, stairs, and ceiling heights. | Supports wall thickness, offsets, snaps, and dimension inputs. |
| Furniture & materials library | Realistic staging improves decisions and buy-in. | Common items, parametric sizing, custom textures, color controls. |
| Lighting & shadows | Shows ambience and glare risk; improves realism. | Sun angle/time-of-day, emissive fixtures, exposure controls. |
| Multi-level support | Essential for stairs, split levels, and attic spaces. | Floor-to-floor heights, stair rules, railing/landing controls. |
| High-resolution exports | Needed for print, web, and shareable proposals. | 4K+ stills, aspect ratio presets, watermark toggles. |
| Privacy & device performance | Keeps plan data secure; runs smoothly on mobile. | On-device processing options, offline mode, clear data policies. |
A Practical Workflow: From Plan to Shareable 3D
Use this step-by-step process to convert a 2D plan into a visually accurate 3D model and exports you can trust.
-
Gather reliable inputs.
Start with the best available 2D plan (PDF or photo) plus spot measurements. If you lack a plan, sketch one with room widths, door/window locations, and ceiling heights. Measure two long, straight dimensions in different directions to help calibrate scale.
-
Import and calibrate scale.
Bring the plan into the app and align a known dimension (e.g., a 10'0"/3.05 m wall). After calibration, cross-check another dimension in a different room to confirm the scale holds across the drawing.
scale_factor = real_length / measured_length_on_plan -
Trace or auto-detect walls and openings.
Use AI-assisted detection if available, then verify wall thicknesses, interior vs. exterior walls, and corner joins. Place doors with correct swing directions and windows at the right sill/header heights.
-
Set levels and ceiling heights.
Define each floor’s elevation and typical ceiling height. Adjust for rooms with soffits, vaulted areas, or dropped ceilings. Accurate vertical dimensions impact lighting realism and furniture fit.
-
Name rooms and zone the layout.
Label spaces (Kitchen, Primary Bedroom, Storage) and consider circulation routes. Assign flooring materials by zone to test continuity between spaces.
-
Furnish with clearance rules.
Follow simple ergonomics to avoid conflicts: keep main pathways at 36 in (915 mm), allow 30–36 in (760–915 mm) behind dining chairs, 18 in (460 mm) between coffee table and sofa, and 24 in (610 mm) minimum for passage behind seating in tight rooms. For door swings, maintain 2–4 in (50–100 mm) clearance to adjacent furniture.
-
Apply materials and test lighting.
Use realistic textures for floors and cabinets, then run quick daylight and nighttime previews. Adjust color temperature, brightness, and exposure to prevent washed-out renders. Test north vs. south-facing rooms at different times of day.
-
Run a QA pass and export.
Check key dimensions in multiple rooms, verify door/window alignment, and scan for clipping or floating furniture. Export stills for print and web with appropriate aspect ratios. Keep native project files versioned in case you need edits.
Measure twice, model once. A 60-second scale check can prevent hours of rework.
Accuracy & Scale: A Quick Homeowner Checklist
- Calibrate with two known lengths (perpendicular if possible) to catch skew or scan distortions.
- Confirm wall thickness for exterior vs. interior walls; mis-thickness affects room sizes.
- Spot-check diagonals in irregular rooms to validate more than just width/length.
- Use snapshots of critical dimensions directly in the app for contractor handoff.
- Model ceiling height accurately; it influences cabinet clearances, loft beds, and lighting.
Common Mistakes (and How to Avoid Them)
- Wrong scale from a single calibration: Always verify a second dimension across the plan to catch cumulative errors.
- Door swings into furniture: Place a temporary swing arc to confirm clearances; adjust door handedness early.
- Ignoring wall thickness: Default thickness can shrink rooms. Set appropriate values for exterior and interior walls upfront.
- Over-bright or flat lighting: Use balanced exposure, add a few key light sources, and enable soft shadows to reveal depth.
- Mismatched level heights: If stairs look odd or landings clip, revisit story heights and stair rules before rendering.
Choosing the Right Export for Print, Web, and Social
The ideal export settings depend on where you’ll share the images. Use this quick guide to pick resolution and aspect ratio that fit your destination.
| Use Case | Suggested Resolution | Aspect Ratio | Format | Notes |
|---|---|---|---|---|
| Print (letter/A4 flyers) | 3300 × 2550 px (approx 11×8.5 in at 300 DPI) | Landscape 4:3 or 3:2 | PNG or high-quality JPG | Leave margins for text, logos, and disclaimers. |
| Web pages & email | 1920 × 1080 px (or 1600 × 1200 px) | 16:9 or 4:3 | JPG (optimized) | Balance quality and load time; target < 500 KB if possible. |
| Social (feed & stories) | 1080 × 1080 px (square) or 1080 × 1920 px (vertical) | 1:1 or 9:16 | JPG or PNG | Include a focal viewpoint and readable annotations. |
Privacy, Sharing, and Collaboration Tips
- Limit PII: Avoid saving addresses directly in file names or image captions.
- Use read-only shares: When sending previews, prefer watermarked or low-res versions until final.
- Keep a change log: Version your project files with dates and brief notes to track decisions.
- Add disclaimers: Clarify that 3D visuals are conceptual and not a substitute for construction drawings.
Quick FAQ
How accurate are 3D floor plan apps?
Accuracy depends on inputs and calibration. With a clean plan and two-point calibration, expect results within a few centimeters (or roughly an inch) over typical room spans. Always verify critical areas like kitchens, bathrooms, and stairs.
Do I need professional drawings?
No. Many homeowners start from a phone photo of an existing plan or a measured sketch. The key is to capture two long, straight measurements for scale and to note door/window placements. Professional drawings improve speed and reliability but aren’t mandatory.
Can I model multi-level homes?
Yes—choose an app with multiple stories, consistent floor-to-floor heights, and stair tools. Set each level’s height first, then add stairs so treads, risers, and landings resolve correctly between floors.
Pro Tips for Better Results
- Model “as built” first: Even if you plan to renovate, capture the current state before testing options.
- Use layers or tags: If your app supports them, separate existing walls from proposed changes for quick toggles.
- Create multiple camera angles: Wide for context, medium for layout clarity, and close-up for finishes.
- Keep textures consistent: Continuous flooring between open rooms improves visual flow and perceived space.
- Validate with a tape measure: A few spot checks (e.g., sofa wall-to-window) build confidence in the model.
The right 3d floor plan app for homeowners empowers you to make informed, confident decisions—before any wall moves or a single purchase is made. It’s about turning your ideas into scaled, testable, and shareable visuals that shorten the path from concept to comfortable living.
If you’re exploring options, Floor Plan to 3D is an iOS app that converts black-and-white 2D plans into accurate 3D renders, preserves dimensions and proportions, and exports high-resolution images suitable for proposals and presentations.
