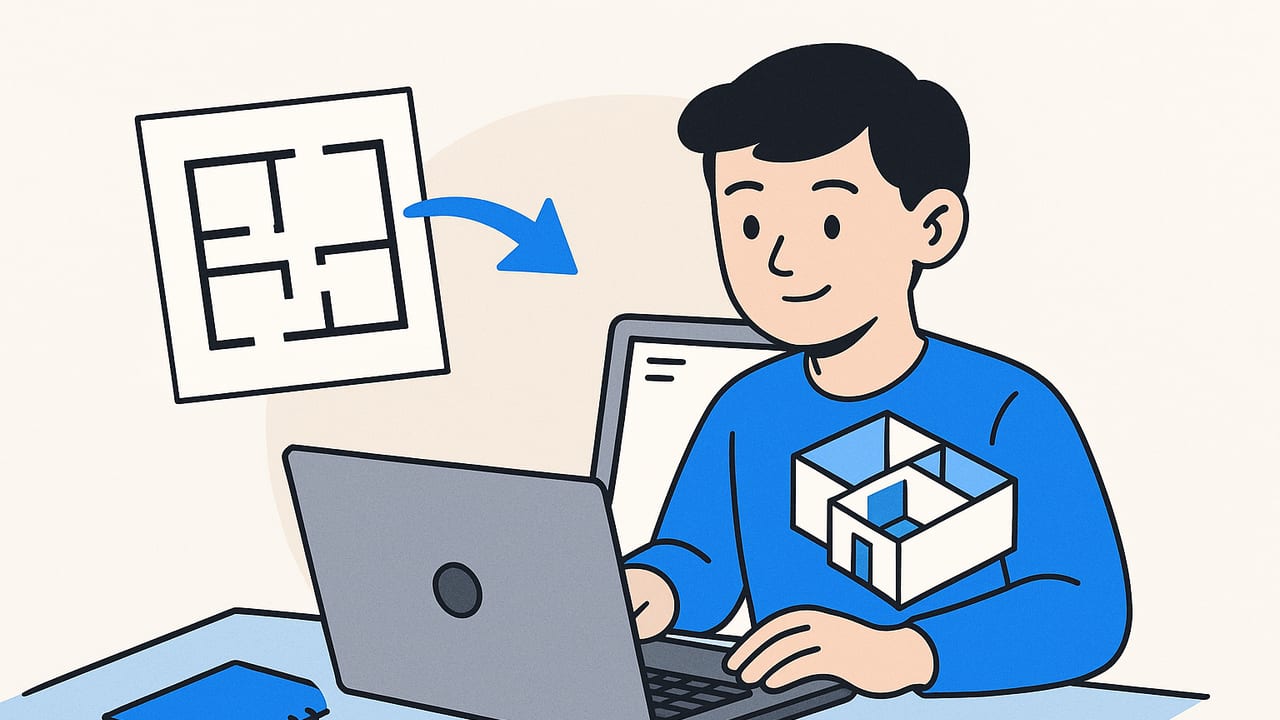
Whether you’re in architecture, interior design, construction management, or a general design studio, you’ll eventually need a student friendly floor plan to 3D converter that turns black‑and‑white layouts into clear, scaled spaces. The right tool helps you iterate faster, communicate intent, and deliver polished visuals without spending your entire budget—or your entire night.
This guide breaks down what matters for students: accuracy without complexity, mobile convenience, realistic materials and lighting, collaboration options, and exports that look great on slides or boards. You’ll find a simple evaluation framework, a sprint workflow for last‑minute deadlines, and a checklist you can use before you choose or submit.
Why Students Need a Floor Plan to 3D Converter
In coursework, 2D plans are the language of dimension, while 3D makes ideas instantly legible. A student friendly floor plan to 3D converter bridges those worlds so you can:
- Validate spatial concepts quickly—see adjacency, circulation, and furniture scale in context.
- Test multiple alternatives—swap layouts or materials without redrawing everything.
- Produce presentation‑ready visuals—render images that communicate clearly to instructors, peers, and clients.
- Collaborate—share versions, get feedback, and keep dimensions consistent across team members.
“I used to spend hours modeling from scratch. Converting the plan first let me jump straight into design decisions and materials, which made critique conversations more productive.”
What Makes a Converter Student‑Friendly?
Look for the sweet spot between power and speed. These criteria keep you focused:
- Plan fidelity: Preserves dimensions and proportions so the 3D model respects the drawing.
- Input flexibility: Accepts scans, photos, or PDFs of black‑and‑white plans—even imperfect ones from printers or studio plotters.
- Ease of use: Minimal setup, intuitive tools, and no need to “learn a full CAD suite” to get results.
- Mobile readiness: Works well on phones/tablets so you can scan, convert, and tweak on campus.
- Rendering quality: Good lighting, shadows, and materials to make spaces read clearly in slides.
- Export controls: High‑resolution images for boards and pitch decks, plus consistent aspect ratios.
- Budget options: Free or student pricing, and reasonable costs for one‑off deliverables.
- Privacy: Clear handling of scans and uploads, with options to delete or export locally.
Mobile, Browser, or Desktop? A Quick Comparison
Each platform has strengths. Use this table to match your course needs and hardware:
| Platform | Strengths | Trade‑offs | Best For |
|---|---|---|---|
| Mobile App (iOS) | Fast capture from camera; on‑the‑go edits; touch‑friendly UI; simple workflow; high‑res exports | Smaller screen; advanced customization may be limited vs. full desktop suites | Quick conversions, fieldwork, studios without lab access, rapid iteration |
| Browser‑Based | No install; cross‑platform; easy sharing; often collaborative | Depends on internet; performance can vary; file size limits | Group projects, mixed hardware teams, remote critiques |
| Desktop Suite | Deep control; extensive libraries; advanced rendering | Steeper learning curve; higher cost; time‑intensive setup | Final capstone visuals, complex custom modeling, pro workflows |
Accuracy Without Complexity
No matter the platform, accuracy is non‑negotiable. Converters should respect scale lines and wall thicknesses in the 2D drawing. Apply these checks:
- Reference measure: After conversion, measure a known dimension (e.g., corridor width) to confirm scale.
- Wall and opening logic: Verify doors swing correctly and openings align with the plan; ensure window heights match typical standards if specified.
- Furniture scale sanity check: Drop a standard object (e.g., a 2‑seat sofa ~72–80 in, desk ~48–60 in) to confirm proportions feel right.
If the tool supports manual overrides, adjust scale by entering the exact length of a known segment. Keep your original plan handy for cross‑checking.
A Sprint Workflow for Last‑Minute Deadlines
When your critique is in the morning, you need structure and speed. Try this five‑step sprint:
- Capture cleanly: Photograph or scan the black‑and‑white plan under even lighting. Avoid skew; keep edges parallel. Crop to the plan boundary.
- Convert and verify: Import the image; run the conversion; immediately measure a known dimension to confirm scale.
- Lay out essentials: Place key elements only—walls, doors, windows, major furniture. Don’t over‑decorate; focus on circulation and function.
- Light and materials: Add neutral materials and a simple daylight setup. Aim for clarity over photorealism.
- Export smart: Save 3–5 camera views that tell the story: entry, living/work zone, kitchen/service, bedroom or private zone, and an overall axon.
Group Projects and Collaboration
For teams, choose tools that let you divide and conquer without breaking scale integrity:
- Single source plan: One person maintains the master 2D file to avoid version conflicts.
- Scene ownership: Assign zones (e.g., common area, private rooms, circulation) to team members.
- Camera kit: Standardize camera heights (e.g., 1.5 m/5 ft eye level) and focal lengths (e.g., 24–35 mm) so renders look consistent.
- Review cadence: Time‑boxed critiques every 60–90 minutes; lock changes before final rendering.
Accessibility for Non‑Architecture Majors
If you’re outside a design program, pick a converter with clear defaults and minimal jargon. Signs the tool fits:
- Uses plain language for actions (e.g., “Add window,” “Set scale”).
- Provides templates for common rooms.
- Includes onboard tips or guided steps for plan alignment and scaling.
Remember, the goal is communication. A readable 3D with correct scale and lighting beats a complex but confusing model.
Exporting for Slides, Posters, and Proposals
Instructors and juries need clarity fast. Dial in exports to serve the presentation:
- Resolution: For slides, 1920×1080 is safe; for posters, 300 dpi at your print size is ideal.
- Aspect ratio: 16:9 for slides, and 4:3 or custom for boards—keep it consistent across views.
- File type: PNG for crisp linework; JPEG when you need smaller files; TIFF for print boards if supported.
- Naming: Use a structured scheme, e.g.,
Course_Semester_Team_View01_Living.png.
Budget and Licensing Tips
Software costs add up, but you have options:
- Free tiers: Sufficient for small projects; check export limits.
- Student discounts: Verify with your school email for lower pricing or extended trials.
- On‑demand upgrades: Month‑to‑month plans are great for crunch weeks.
- Lab alternatives: If your campus lab uses a desktop suite, combine it with a lightweight converter for quick starts.
Privacy and Data Considerations
If you’re uploading scans of plans, treat them as potentially sensitive. Vet any tool by asking:
- Can I process locally or on‑device?
- How long are files stored if processed in the cloud?
- Can I delete my uploads permanently?
- Are exports watermarked on free tiers, and can that be removed with a student plan?
Common Pitfalls (and Quick Fixes)
- Skewed scans lead to warped rooms: Re‑capture with the camera parallel to the drawing; use grid overlays if available.
- Low‑contrast lines confuse detection: Increase contrast on the image before import; avoid heavy shadows.
- Incorrect scale: Always set a known dimension (door width or grid spacing) post‑conversion.
- Over‑decorating: Decorative clutter slows you down and dilutes intent. Prioritize functional elements.
- Too few camera views: A single hero shot rarely communicates circulation; show sequences.
Evaluation Checklist
Use this quick checklist when trying a new student friendly floor plan to 3D converter:
- Accepts photo, scan, or PDF inputs of black‑and‑white plans.
- Preserves wall thicknesses, openings, and overall proportions.
- Allows manual scale calibration with a known measurement.
- Provides essential furniture and material libraries.
- Supports high‑resolution, watermark‑free exports (with student plan if needed).
- Runs smoothly on your available device(s) without a steep learning curve.
- Offers clear privacy controls and local export options.
FAQ: Student‑Focused Questions
How accurate are conversions from photos vs. scans?
Scans tend to be more uniform, but a well‑lit, square‑on photo works nearly as well. The biggest factor is perspective distortion—keep the camera parallel to the surface and crop tightly.
Do I need detailed material libraries?
For most studio submissions, neutral materials and smart lighting communicate space more clearly than exhaustive libraries. If you need variety, supplement with a concise, consistent palette.
Can I combine the converted model with a desktop renderer?
Yes. Many students convert on mobile or web, then export to a desktop app for final materials and lighting. Check the tool’s export formats and texture handling if you plan to do this.
What if my plan includes curved walls or complex geometry?
Most converters handle standard walls and openings best. For complex features, convert the base layout first, then add special geometry manually if the tool supports it—or export to a modeling app.
How many views do I need for a solid submission?
Typically: one overall axon or bird’s‑eye, two to three eye‑level views of key spaces, and one circulation‑focused view. Label them clearly with scale or orientation when relevant.
Practical Example: One‑Bedroom Apartment
Here’s how a student might approach a small apartment assignment:
- Import and scale: Convert the black‑and‑white plan image; set door width to 32–36 in (or 800–900 mm) as a reference.
- Walls and openings: Confirm wall thicknesses; place doors/windows according to the plan.
- Core furniture: Add sofa, bed, dining table, and desk at realistic sizes to validate clearances.
- Lighting pass: Use simple daylight; add a few point lights to show depth in windowless areas.
- Export sequence: Render a plan‑axon, living/dining eye‑level, bedroom eye‑level, and an entry shot highlighting circulation.
Timebox each step (e.g., 15–20 minutes each) to keep momentum and avoid over‑tuning details.
Final Thoughts
A good student friendly floor plan to 3D converter should remove friction from your workflow so you can focus on design intent, not software gymnastics. Prioritize accurate scale, clear exports, and a short learning curve. Test with a single room first, confirm dimensions, and build a repeatable export routine for consistent results across courses.
If you’re looking for an easy mobile option that turns black‑and‑white plans into true‑to‑scale 3D with high‑resolution exports, consider trying Floor Plan to 3D on iOS as part of your toolkit.
