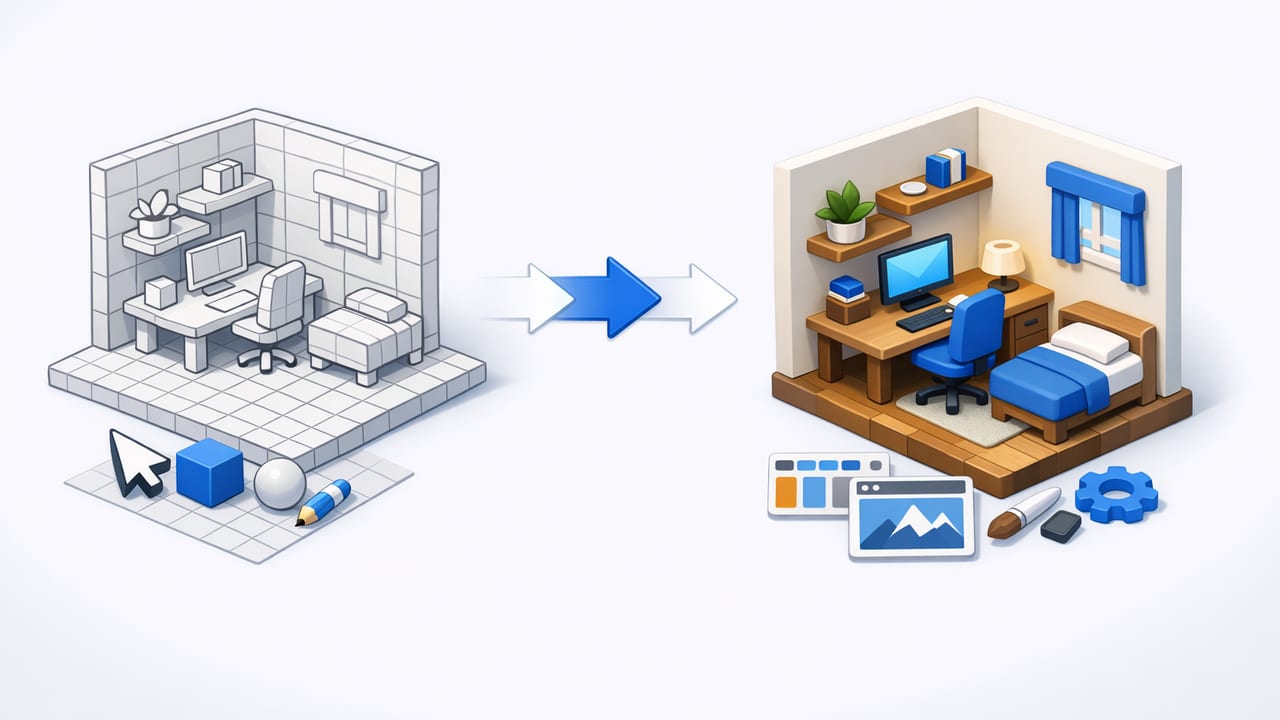
Small homes, studios, ADUs, and compact apartments are unforgiving: one oversized sofa can block a walkway, a door swing can ruin a storage wall, and a “clever” desk nook can become unusable once you account for chair clearance. That’s why small space 3D planning has become the most practical way to design compact interiors. A basic 2D plan can tell you where the walls are; a 3D layout shows you how you’ll actually live in the space.
This guide walks through a repeatable, design-first workflow for converting a floor plan into a small space 3D model, testing layout options, and making decisions with confidence—whether you’re rearranging furniture, planning built-ins, or preparing a renovation concept.
Why small spaces benefit more from 3D than large spaces
In a larger home, small errors are often absorbed by extra square footage. In a compact footprint, every inch is functional. Using small space 3D helps you:
- See circulation problems (pinch points, blocked paths, tight corners) before you buy or build.
- Validate scale so furniture isn’t visually “fine” but physically impossible.
- Check door and drawer interactions (cabinet doors vs. entry doors, fridge doors vs. aisles).
- Compare multiple layouts quickly without guessing from a flat drawing.
- Communicate clearly with a partner, contractor, or landlord using images instead of explanations.
Rule of thumb: In small homes, the best layout is usually the one that protects circulation first—then optimizes storage and seating around it.
Start with a trustworthy 2D base (accuracy is everything)
Your 3D model can only be as reliable as the floor plan underneath it. Before you build a small space 3D view, confirm these essentials:
- Wall lengths (including jogs, alcoves, and angled walls)
- Ceiling height and any soffits or beams
- Door widths, swing direction, and clearances near corners
- Window widths, sill heights, and how far they are from adjacent walls
- Fixed elements like radiators, electrical panels, HVAC returns, or columns
Quick measuring method (when you don’t have a dimensioned plan)
If you’re working from a photo of a plan or a rough sketch, establish one known dimension (for example, a standard 36-inch entry door) and scale the rest proportionally.
// Simple scale factor approach
// If the door measures 1.5 inches on paper and is 36 inches in real life:
scaleFactor = 36 / 1.5 = 24
// Multiply any paper measurement by 24 to estimate real inches
realLengthInches = paperLengthInches * 24
This won’t replace real measurements for construction, but it’s often sufficient for layout exploration and furniture fit checks.
A practical small space 3D workflow (that avoids redesign loops)
Here’s a dependable sequence that keeps you from endlessly moving furniture around without progress.
1) Define the “non-negotiables”
Small spaces work best when you decide what matters most before placing anything. Examples:
- A true dining surface (even a compact one)
- Work-from-home desk with proper chair clearance
- Guest sleeping option (sleeper sofa, Murphy bed, daybed)
- More closed storage (wardrobes, pantry, cleaning closet)
- Space for hobbies (yoga mat, instruments, pet zone)
Write down your top three. In small space 3D planning, clarity beats creativity.
2) Protect circulation with minimum clearances
Before you “decorate,” lay out walkways. Use these common interior guidelines as a starting point (adjust for your needs):
- Main pathways: ~36 in (90 cm) where possible
- Tight secondary paths: ~30 in (76 cm) minimum
- Chair pull-back: ~24–30 in (60–76 cm) behind dining chairs
- Bed side clearance: ~24 in (60 cm) on at least one side if possible
- Kitchen work aisle: ~36–42 in (90–107 cm) depending on traffic
In a small space 3D model, these clearances become obvious—especially at corners and near door swings.
3) Place the biggest items first (and label them)
Start with the bulkiest pieces: bed, sofa, wardrobe, fridge, desk. Give them simple labels like “Sofa A (78 in)” so you can swap sizes quickly without losing track.
Tip: If you love a furniture piece online, copy its exact dimensions into your 3D layout. “Looks small” is not a measurement.
4) Run three scenario tests: day, night, and storage
Small spaces often fail because they’re only designed for one moment in time. Test each layout like this:
- Day mode: working, cooking, moving through the space
- Night mode: sleeping, bathroom path, lighting zones
- Storage mode: where coats, shoes, cleaning tools, and bulk items live
If one layout only works in “day mode,” it’s probably not the best option long-term.
Layout strategies that shine in small space 3D
These strategies are easier to validate in 3D because you can judge depth, sightlines, and visual clutter.
Use one “anchor wall” for tall storage
Instead of scattering tall pieces everywhere, concentrate them on one wall (or one zone). This keeps the rest of the room feeling open. In small space 3D, you’ll notice how distributed tall furniture creates a “corridor” effect and makes ceilings feel lower.
Choose furniture that does double duty—without adding bulk
- Storage ottoman instead of a coffee table
- Lift-top table for dining + work
- Bed with drawers (but confirm drawer clearance in 3D)
- Wall-mounted shelves above desks and dressers
The key is net gain: you’re adding function without stealing circulation.
Mind sightlines: the “visual width” trick
A room can feel wider if you preserve a clear line of sight from the entry. In 3D, test whether a tall cabinet blocks the first view into the room. Sometimes rotating a sofa or swapping a bookcase for open shelving makes the space feel dramatically larger without changing square footage.
Common small-space mistakes that 3D reveals fast
- Ignoring door swings: entry doors colliding with closets or bathroom doors.
- Over-deep furniture: a 40-inch deep sofa in a narrow living room.
- Floating furniture with no purpose: extra chairs that create obstacles.
- Undersized dining: a table that technically fits, but no one can sit comfortably.
- Storage without access: drawers that can’t open fully, hampers that block paths.
Compare layout options with a simple scoring table
To prevent “analysis paralysis,” score each option consistently. Below is a lightweight rubric you can copy into notes or a spreadsheet.
| Criteria | What to check in 3D | Score (1–5) |
|---|---|---|
| Circulation | Clear paths, no pinch points, door swings work | |
| Daily function | Comfortable cooking, working, relaxing zones | |
| Storage | Closet access, drawer clearance, vertical storage | |
| Flexibility | Guests, rearrangement, multi-use furniture | |
| Visual calm | Sightlines, clutter hotspots, balance of open/closed |
Add the scores. The “winner” is often obvious once you rate layouts side-by-side.
A mini example: studio apartment zoning in small space 3D
Imagine a 22 m² (about 237 ft²) studio with one window wall and a small entry corridor. In 2D, you might fit a bed, a sofa, and a desk. In small space 3d, you can test zoning options such as:
- Option A: Bed against the far wall, sofa facing a compact media console, desk under the window.
- Option B: Daybed near the window, small loveseat, folding wall desk, tall storage along the entry wall.
- Option C: Murphy bed wall with integrated storage, leaving open floor area for dining/work.
The 3D view often reveals that Option A “fits” but feels cramped because the sofa blocks the main sightline. Option B may feel more open but lacks storage. Option C might cost more but yields the best daily function. The value is not that 3D chooses for you—it makes tradeoffs visible.
Exporting and sharing: make your 3D work usable
Once you have a preferred layout:
- Export images from 2–3 angles: entry view, main living area, and any tight corner.
- Annotate decisions (e.g., “Swap to 72-inch sofa,” “Move desk 8 inches left”).
- Keep a ‘version’ name such as “Layout B2—more storage.”
This makes it easier to get feedback and avoids the classic problem of “Which one was the good one?”
Checklist: a fast small space 3D sanity pass
- Can you enter, close the door, and place keys/shoes without obstruction?
- Is there one clear primary path through the space?
- Do any doors/drawers collide?
- Can two people pass or work without constant sidestepping?
- Is there at least one dedicated spot for cleaning tools and laundry?
- Does the layout still work at night (lighting, paths, privacy)?
Conclusion
Designing compact interiors is less about finding a “perfect” arrangement and more about proving a layout works across real life: movement, storage, comfort, and flexibility. With a consistent workflow and a reliable floor plan, small space 3D planning helps you make decisions faster, avoid expensive mistakes, and communicate ideas clearly.
If you want to test this workflow on iPhone, an app like Floor Plan to 3D can convert a black-and-white 2D plan into a proportion-true 3D view you can use for layout comparisons and exportable images.
