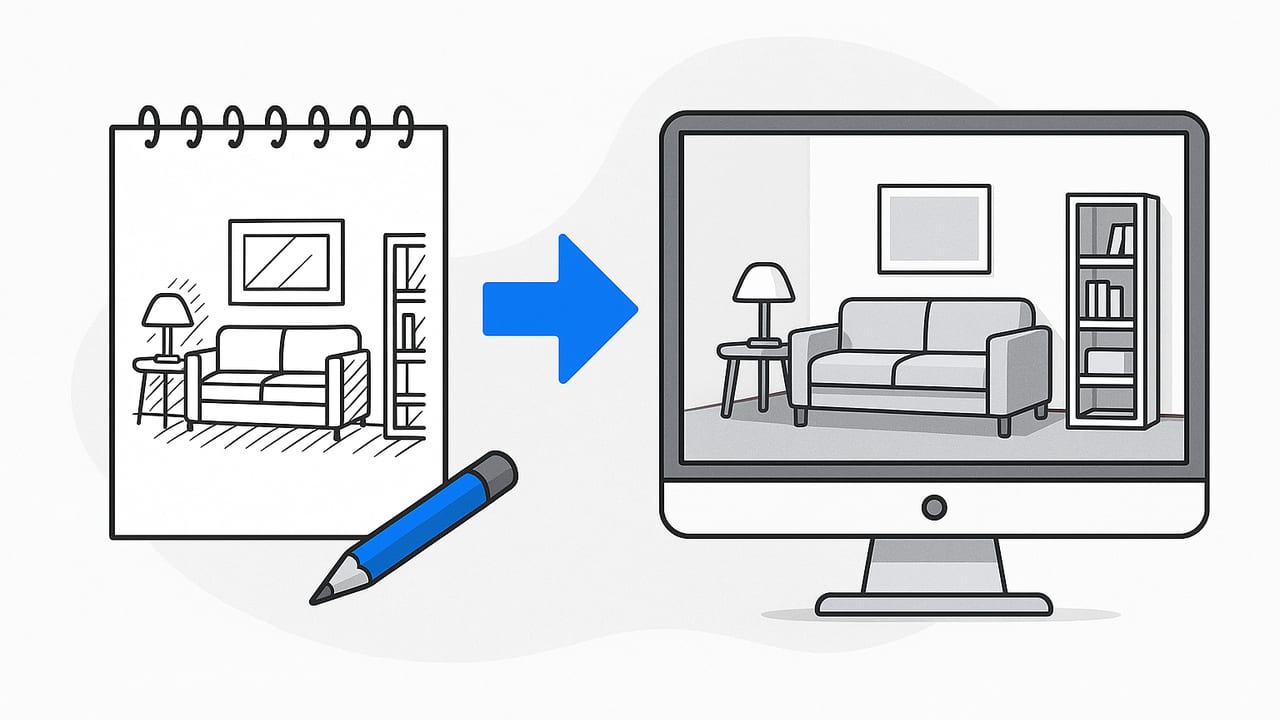
Speed is a competitive advantage in interior design. The faster you can turn a hand sketch or rough floor plan into a believable 3D concept, the sooner you can align stakeholders, secure approvals, and move a project forward. This guide distills a practical, repeatable workflow that lets you go from paper (or napkin) to a client-ready 3D visualization in under an hour—while preserving scale, proportions, and design intent.
Clients buy what they can visualize. Quick 3D helps you test ideas, nip objections early, and keep momentum.
If you’re searching for “interior designers quick 3D concept from sketch,” this article covers tools, steps, export targets, and QA checks that balance speed with accuracy.
Why Rapid 3D Concepts Matter
- Shorten feedback loops: Move from abstract talk to concrete visuals in the same meeting.
- De-risk design choices: Trial materials, layouts, and lighting scenarios before committing budget.
- Win stakeholder confidence: Visual alignment reduces friction with clients, contractors, and vendors.
- Maintain design integrity: Working at real-world scale early prevents costly downstream revisions.
Which Approach Fits Your Project?
There are multiple ways to transform a sketch into a 3D concept. Choose based on time, fidelity, and deliverable requirements.
| Approach | Typical Time | Accuracy | Pros | Cons | Best For |
|---|---|---|---|---|---|
| Manual modeling in 3D software | 2–6 hours | High (depends on measurements) | Full control; custom geometry; photoreal potential | Slow; steep learning curve | Bespoke spaces, complex forms, final visuals |
| CAD/DWG import into a 3D tool | 1–3 hours | High if CAD is clean | Accurate walls/doors/windows; layer control | Requires CAD; cleanup time | Projects with existing construction docs |
| Floor plan to 3D (AI-assisted) | 15–45 minutes | Medium–High (with scale calibration) | Fast; preserves proportions; minimal setup | Limited custom geometry; relies on clean input | Early concepts, space planning, quick client reviews |
| Hybrid: AI plan + manual tweaks | 45–90 minutes | High (best of both) | Speed + precision; editable | Requires toolfluency | Iterative concepts that evolve toward final |
Step-by-Step: From Sketch to 3D in Under an Hour
-
Capture the sketch cleanly
Use a phone or tablet to scan your plan in bright, even light. Avoid skew by shooting directly above. Boost contrast so walls read as crisp black lines on white. Include at least one known dimension (e.g., 10' wall) directly on the sketch. -
Establish scale
In your 2D-to-3D tool, set the scale using the known dimension. If measurements are missing, quickly measure one or two critical spans on-site or from a realtor plan. Calibrating scale at the start keeps everything—from furniture to door swings—believable. -
Convert to 3D
Import the scan/photo into a floor-plan-to-3D solution. Let the software trace walls, openings, and room boundaries. Verify default wall height; set it to the project’s typical height (e.g., 9' or 2.7 m). Add thickness values if the project requires structural realism. -
Clean up geometry
Correct misread corners, align door swings, and place window sill and head heights. Snap any off-angle walls to expected axes unless the design requires intentional angles. Confirm stair direction if present. -
Place core elements
Add doors, windows, and partitions from a parametric library. Keep it simple: fewer, accurate elements are better than many approximate ones. Add major utilities (sink, cooktop, WC) so adjacencies and clearances are obvious. -
Material and color pass
Apply a minimal palette: one flooring, one wall paint, and one accent material. Use neutral white (e.g., 5000K) for walls during concept reviews to prevent color bias. Save stylized palettes as presets to swap quickly. -
Lighting for clarity
Use a simple sun-and-sky system or an HDRI with soft, even light. Keep shadows soft to reveal form without overpowering the scene. For interiors, a key sun angle plus ambient fill often reads cleanly without noise. -
Furniture and decor (kitbashing)
Drop in scaled assets from a curated library. Favor low- to mid-poly models for speed. Ensure seating heights (17–19 inches), table heights (29–30 inches), and counter heights (36 inches) match reality. Avoid visual clutter—feature 1–2 hero pieces. -
Compose views
Frame 3–5 views that tell the story: overall perspective, key seating area, kitchen work triangle, primary sightline from entry, and one vignette. Keep verticals vertical by using a two-point perspective or camera correction. -
Export
Render stills at 1920×1080 for quick review and 3000–4000 px on the long edge for boards. If supported, generate a plan+3D split image and a brief walkthrough (10–20 seconds) for motion context.
Scale Calibration That Sticks
Pick one longest uninterrupted wall as your reference, then cross-check with one secondary dimension (e.g., door-to-corner). If variances exceed 2%, adjust before furnishing. Correct scale early; every downstream decision depends on it.
Quality Assurance: Fast Checks for Accuracy and Believability
- Measurements: Keep critical dimensions within a ±2% tolerance.
- Clearances: Circulation ≥ 36 inches; dining chair pullback ≥ 36 inches; kitchen work aisles ≥ 42 inches (48 inches for multiple cooks).
- Door swings: Verify no clashes with furniture or adjacent doors.
- Window heights: Align sill and head with code and design intent; confirm backsplash meets sill in kitchens.
- FOV & lens: 24–35 mm equivalent for interiors; avoid ultra-wide distortion.
- Vertical alignment: Enable vertical correction; crooked verticals read as amateur.
- Lighting temperature: Keep consistent white balance to prevent color casting.
Speed Boosts Without Sacrificing Accuracy
- Room templates: Save standard kitchens, baths, and living rooms with correct clearances.
- Material presets: Keep a small library of vetted finishes (matte wall paint, oak floor, marble, stainless steel) with calibrated roughness and reflectance.
- Asset packs: Use a minimalist, scale-checked furniture kit. Tag by style (Scandi, Transitional, Contemporary) for quick swaps.
- Render presets: One fast draft preset (denoise, low samples) and one clean concept preset (moderate samples) cover 90% of reviews.
- Batch exports: Automate rendering of your standard five cameras.
Presentation-Ready Outputs That Sell the Concept
- Hero stills: 3000–4000 px; compress to webp for email and web; keep a TIFF/PNG for print boards.
- Plan + perspective: Combine a simplified plan with one hero perspective for immediate spatial clarity.
- Before/after slider: Pair the original sketch with the 3D view to dramatize improvement.
- Short walkthrough: 10–20 seconds at 1080p for motion context; keep camera moves slow and steady.
Common Pitfalls (and How to Avoid Them)
- Over-modeling: Don’t chase photoreal in concept rounds. Reserve time for design decisions, not micro-detailing.
- Uncalibrated scale: A single wrong dimension compounds everywhere. Calibrate once and verify.
- Lighting noise: Use softer, even lighting for speed; avoid complex emissive setups in the first pass.
- Cluttered styling: Too many props obscure the plan’s logic. Less is more.
- Mixed color temps: Keep consistent Kelvin across image-based lighting and fixtures to avoid color shifts.
File Naming and Versioning Mini-Standard
Consistent naming speeds retrieval and reduces errors during revisions. Adopt a simple pattern and stick to it.
# Example: Project naming and exports
ProjectCode_Space_View_V##_YYYYMMDD.ext

# Samples
HWD101_Living_Overall_V02_20250115.png
HWD101_Kitchen_Triangle_V03_20250115.mp4
HWD101_Plan3D_Sheet_V01_20250115.pdf
FAQ: Quick 3D from Sketch
Do I need exact field measurements?
No—but you do need at least one reliable dimension to set scale. Add a second dimension to cross-check. Tighten measurements as the design matures.
How real should a concept render be?
Concepts should be credible rather than photoreal. Focus on layout, scale, and key materials. Reserve high-detail, photoreal work for later phases.
What about curved walls and irregular rooms?
Trace curves as segmented arcs for speed, then refine later if needed. Ensure furniture clearances still work along the curve.
How do I handle last-minute client changes?
Use room templates, material presets, and named cameras. Swap finishes and assets without touching the base structure. Batch re-render only the affected views.
Is data privacy a concern?
Use tools that process locally or clearly state cloud handling. Redact client names on shared files and avoid sharing geolocation data in file metadata.
A Practical 45-Minute Timeline
- Minutes 0–5: Scan the sketch, boost contrast, import.
- Minutes 5–10: Calibrate scale and wall height; quick geometry cleanup.
- Minutes 10–20: Insert doors, windows, and key fixtures; verify clearances.
- Minutes 20–30: Apply base materials; set even lighting; drop essential furniture.
- Minutes 30–40: Compose 3–5 cameras; adjust exposure and white balance.
- Minutes 40–45: Export hero stills and a short walkthrough; assemble a plan + perspective sheet.
Tool Stack to Consider
- Capture: Smartphone or tablet camera with a scanning app for flat, high-contrast images.
- Plan-to-3D conversion: An app that reads black-and-white plans and reconstructs rooms at correct proportions.
- Asset libraries: Curated furniture and materials that you’ve pre-checked for scale and PBR parameters.
- Lighting resources: Neutral HDRIs and a simple sun-and-sky preset for quick, noise-free results.
- Export pipeline: Presets for 1080p (review), 4K stills (boards), and compressed web formats (email/portfolio).
When you’re ready to formalize this workflow on iPhone or iPad, one subtle option to explore is Floor Plan to 3D—an iOS app that converts black-and-white 2D plans into scaled 3D rooms and lets you export high-resolution images for proposals.
