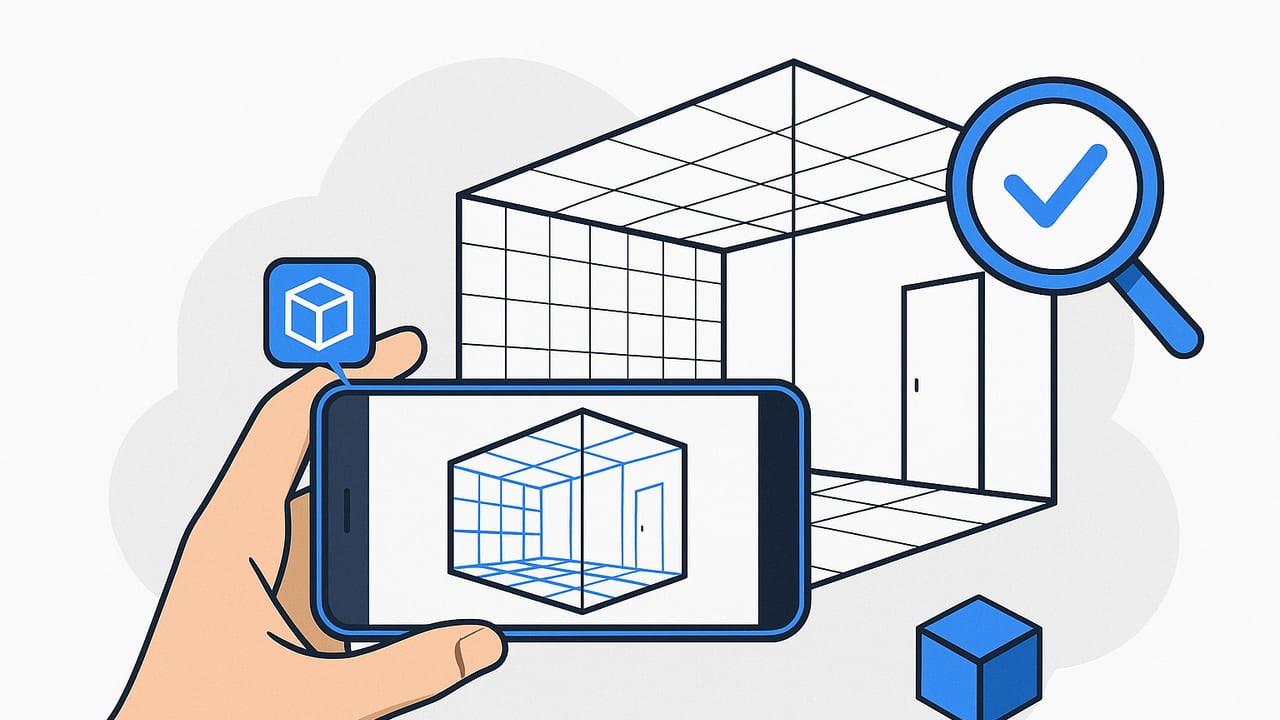
“Scan to 3D” has become a catch-all phrase, but it actually spans several distinct workflows. Whether you’re digitizing a printed floor plan, scanning a room with a phone, or reconstructing an object with photos, the goal is the same: transform real-world information into a reliable, measurable 3D model. This guide explains capture techniques, accuracy fundamentals, QA checklists, and export practices so you can move from raw scans to consistent 3D deliverables.
Principle: A successful scan to 3D workflow is 50% capture discipline and 50% post-processing rigor.
What “Scan to 3D” Really Means
There are three common capture-to-model pathways, each suited to different inputs and outcomes:
- 2D Plan to 3D: Scan a black-and-white floor plan (paper or PDF) and convert it into a structured 3D layout. Ideal for space planning, real estate, and interior design mockups.
- LiDAR Room Scanning: Use a phone or tablet with LiDAR to capture interiors quickly. Great for room geometry and basic context.
- Photogrammetry: Reconstruct 3D from overlapping photos. Best for objects or detailed surfaces when you need high texture fidelity.
Capture Fundamentals That Drive Accuracy
Regardless of method, these fundamentals reduce errors and rework:
- Plan scale references: Include at least one known dimension or a scale bar in-frame. Without it, absolute dimensions are guesswork.
- Lighting: Even, diffuse lighting reduces shadows and boosts edge detection (for plans) and feature matching (for photos).
- Stability: Lock exposure and focus for photos. Avoid motion blur. For LiDAR, move smoothly and avoid abrupt turns.
- Coverage and overlap: Target 70–80% overlap in photos; with LiDAR, circle the room and sweep ceilings and corners to minimize occlusions.
- Flatness and orthogonality: For 2D plans, ensure the page is flat and camera is perpendicular to avoid keystone distortion.
Best Practices: 2D Plan Capture
- Resolution: Scan at 300–600 DPI; avoid lossy compression. TIFF or PNG preferred.
- Contrast: Black-and-white plans yield the cleanest line detection. Remove stains, folds, or shadows.
- Deskew and crop: Align edges so horizontal/vertical lines are true; crop margins and unrelated notes if possible.
- Layers and legends: Keep keys and legends visible; they help with door/window symbols and thickness inference.
Best Practices: LiDAR Room Scans
- Path planning: Start at the entry, circle clockwise, then capture the center with a slow 360 sweep. Don’t forget corners and ceilings.
- Problem materials: Mirrors, glass, and glossy surfaces cause data dropouts. Angle your device to avoid direct reflections.
- Stability: Maintain a consistent speed; keep the sensor within 0.5–3 m of surfaces for optimal returns.
- Anchors: Place a few targets (e.g., checker markers) to help alignment across rooms in larger scans.
Best Practices: Photogrammetry
- Camera settings: Lock ISO and shutter; use a small aperture if available for depth-of-field. Avoid rolling shutter artifacts.
- Pattern: Walk in arcs, then change elevation; ensure 70–80% image overlap.
- Feature-rich scenes: Textureless walls or glossy objects are challenging; add temporary texture (e.g., paper dots) if needed.
Scale, Units, and Dimensional Accuracy
Scans only become useful models once their dimensions are trustworthy. Tie your model to reality with explicit scale and unit handling.
- For 2D plans: Use the drawing’s scale (e.g., 1:100) and the scan DPI to convert pixels to meters.
- For LiDAR: Device sensors typically record metric scale natively, but verify against a known wall length.
- For photogrammetry: Insert a scale object (e.g., a meter stick) or define two points with a known distance.
Simple conversion for scanned plans:
# Given: image_dpi, drawing_scale (e.g., 1:100), pixels_between_points
# Step 1: inches per pixel = 1 / image_dpi
# Step 2: real_world_in_inches = pixels_between_points * (1 / image_dpi) * drawing_scale_denominator
# Convert to meters: real_world_m = real_world_in_inches * 0.0254
Example: At 300 DPI with a 1:100 plan, 1181 pixels between two walls translates to (1181 / 300) inches × 100 × 0.0254 ≈ 10 meters.
From Scan to 3D: Workflows That Work
2D Floor Plan to 3D Layout
- Pre-process: Deskew, denoise, and ensure clean line art.
- Detect walls, doors, windows: Use vectorization or AI inference to convert raster lines into vector segments with thickness.
- Set heights and levels: Define story height, slab thickness, and ceiling rules.
- Generate 3D: Extrude walls; insert parametric doors and windows; add stairs openings and structural columns.
- Furnish with proxies: Use simple placeholders to validate circulation and zoning before detailed assets.
LiDAR Room Scan to Clean Geometry
- Import the point cloud (e.g., E57/PLY).
- Clean: Remove noise, clip stray points (outside room), and align to axes.
- Segment: Detect planes for walls, floors, ceilings; merge co-planar surfaces.
- Mesh: Generate a watertight mesh; apply decimation while preserving edges.
- Retopology: Create low-poly, axis-aligned walls; fill holes behind furniture.
Photogrammetry to Model
- Calibrate: Run structure-from-motion; verify camera alignment and reprojection error.
- Dense reconstruction: Build a dense cloud and mesh.
- Scale and orient: Use known distances; set ground plane and up-axis.
- Texture: Generate high-res textures; bake ambient occlusion for clarity.
Comparison of Capture Methods
| Method | Best For | Typical Accuracy | Capture Time | Deliverables | Gear |
|---|---|---|---|---|---|
| 2D Plan to 3D | Space planning, layouts | High (if scale is known) | Minutes | Parametric rooms, walls | Scanner/phone camera |
| LiDAR Scan | Rooms, quick geometry | Good (±1–3 cm) | Minutes per room | Point cloud, mesh | Phone/tablet with LiDAR |
| Photogrammetry | Objects, textures | High (sub-centimeter possible) | Longer | Textured mesh, PBR | Camera/phone |
QA: A 10-Step Checklist
- Scale check: Measure at least two non-parallel distances; confirm within tolerance.
- Squareness: Verify orthogonal walls; correct if alignment drifted.
- Door/window semantics: Ensure openings are cut and hinge swings make sense.
- Wall thickness: Consistent per building standard; check load-bearing vs partition differences.
- Level heights: Story and ceiling heights consistent; stairs and landings align.
- Topology: Watertight mesh where needed; no inverted normals or self-intersections.
- Texture quality: No major seams, stretching, or mismatches.
- Clipping and occlusions: Fix holes behind furniture or mirrors; add inferred geometry if needed.
- Coordinate system: Units and up-axis set; origin placed logically (e.g., at entry corner).
- Export test: Round-trip to a consuming app to ensure materials and scale survive.
File Formats, Units, and Coordinate Systems
- 2D inputs: TIFF/PNG (lossless). Keep PDF vectors when available.
- Point clouds: E57, PLY, LAS/LAZ. Include unit metadata.
- Meshes: OBJ/MTL, GLB/GLTF (preferred for portability), FBX when needed.
- Textures: PNG/JPG; name consistently (albedo, normal, roughness).
- Units: Choose meters or millimeters and stick to it throughout the pipeline.
- Axes: Some tools use Z-up, others Y-up. Convert once, document the choice, and keep it consistent.
Common Pitfalls and How to Fix Them
- Skewed plan scans: Use perspective correction; re-scan if folds introduce curvature.
- LiDAR drift in long corridors: Insert loop closures—return to your start point to re-anchor the scan.
- Missing ceilings: Do a dedicated overhead sweep; maintain sensor alignment.
- Mirrors and glass: Mark as non-geometric; patch using planar inference from surrounding walls.
- Texture seams: Increase padding during texture atlas baking; ensure consistent white balance between images.
- Wrong scale on import: Check for implicit unit conversions (e.g., centimeters imported as meters).
An End-to-End Example: Apartment Room
- Inputs: A black-and-white floor plan and a quick LiDAR room scan on a phone.
- Capture: Scan the plan at 600 DPI. For LiDAR, walk clockwise, then center; avoid mirrors directly.
- Plan processing: Deskew the plan, detect walls/doors, set wall thickness (e.g., 120 mm partitions, 200 mm structural), set level height (2.7 m).
- LiDAR processing: Denoise, align to axes, detect planes for walls and floor; export a simplified reference mesh.
- Combine: Use the plan as the authoritative layout and the LiDAR mesh to verify bay windows, beam drops, or irregularities.
- 3D generation: Extrude walls, place windows with correct sill/head heights, add a simple furniture set to check circulation (900 mm clearances).
- QA: Cross-check the living room width and bedroom length against tape measurements; verify door swing clearances.
- Lighting and materials: Add neutral materials to evaluate daylight; ensure units are in meters and up-axis is Z.
- Export: Produce a GLB for web/AR and a 4K still render for client review. Confirm size and materials on import.
- Iterate: Adjust any mismatches and lock a “v1.0” model with documented tolerances.
Automation, AI, and When to Override
Modern scan to 3D tools leverage AI to detect walls, doors, windows, and infer thickness and topology. Automation accelerates the process, but expert oversight matters:
- Trust automation for repetitive tasks: vectorizing walls, locating standard symbols, and extruding geometry.
- Override where small errors propagate: misread wall corners, angled partitions mistaken for orthogonal, or mislabeled openings.
- Document assumptions: Ceiling height defaults, stair rules, structural vs non-structural walls—these choices affect downstream analysis.
Pro Tips for Consistent Results
- Start with scale: Set units and a reference dimension before modeling anything.
- Name things: Consistent layer/object naming (e.g., A-WALL, A-DOOR) simplifies export and collaboration.
- Model for intent: Early on, use low-poly proxies. Only add detail once circulation and zoning are validated.
- Snapshots: Save incremental versions before major changes; keep a small “QA scene” with dimension lines.
- Export small first: Test a single room before committing to full-building exports.
FAQ: Quick Answers
Do I need LiDAR for interiors? It helps, but you can combine a plan-based model with a few targeted measurements for strong results. LiDAR speeds up capture and reduces guesswork.
How accurate are phone-based scans? Expect ±1–3 cm in typical interiors with good technique; verify critical dimensions manually.
What if my plan has no scale? Add rulers or measure two known distances on-site, then back-calculate the scale factor.
Which format is best for sharing? GLB is broadly compatible for web and AR. Use OBJ/MTL for DCC workflows; E57/PLY for point clouds.
Bringing It All Together
Scan to 3D spans multiple capture types and toolchains, but the core recipe is the same: capture cleanly, set scale early, model with intent, and validate with a tight QA loop. With disciplined inputs and clear export targets, you can reliably translate drawings and rooms into accurate 3D that supports design decisions, presentations, and collaboration.
If you specifically work from black-and-white floor plans on iPhone, the app Floor Plan to 3D can convert those scans into dimensionally faithful 3D layouts and export high-resolution visuals for proposals.
