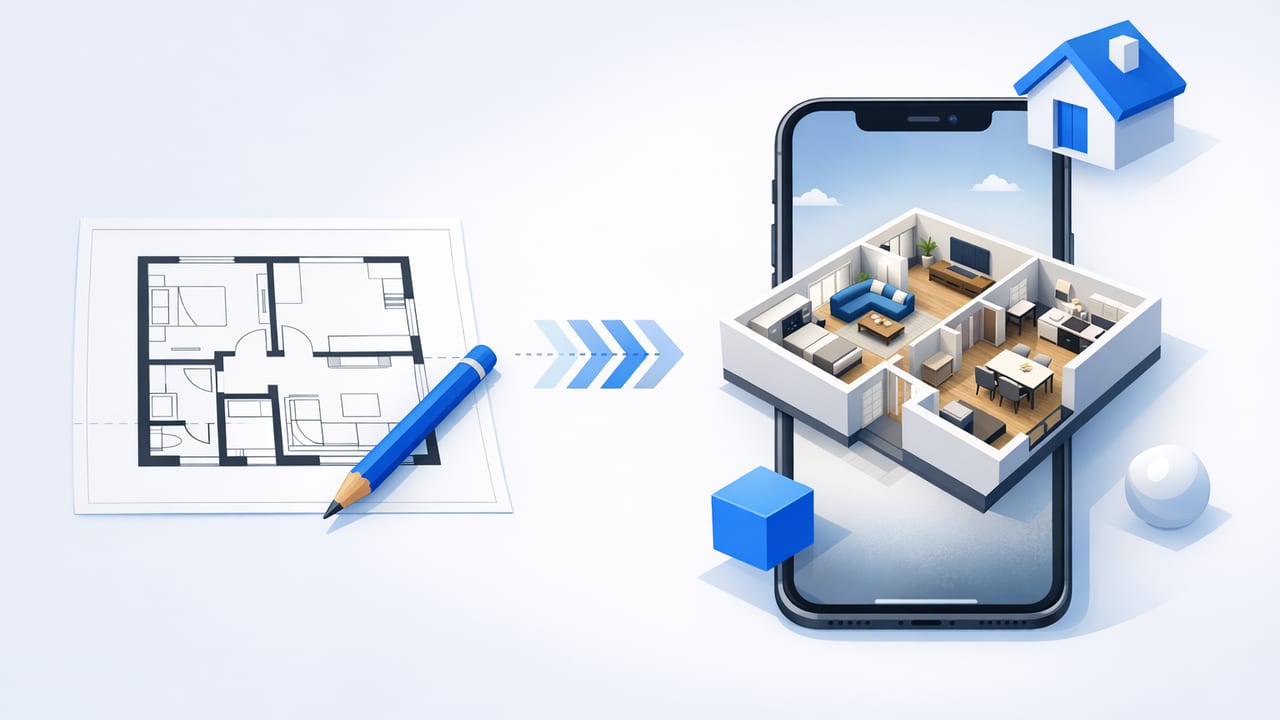
Turning a printed plan into a buildable redesign used to mean tracing, modeling, and lots of back-and-forth. Today, a floor plan to 3d iOS app can convert a black-and-white floor plan or blueprint into a clean 3D view quickly—making it far easier to evaluate layout changes, furniture fit, and renovation options before you commit.
This guide walks through a practical, accuracy-first workflow you can use on iPhone or iPad: how to capture a readable plan, set scale correctly, validate room geometry, explore AI-assisted room planning, preview interior and exterior updates, and export high-resolution 3D renders for presentations.
Why convert a 2D floor plan to 3D on iOS?
2D plans are great for precision, but they’re hard to “feel.” A 3D conversion adds context: wall height, sightlines, circulation paths, and how a sofa or island actually sits in space. With 3D renovation previews, you can:
- Spot layout problems early (tight clearances, awkward doors, blocked windows).
- Compare options faster (open-concept vs. partial wall, bedroom swap, kitchen layouts).
- Communicate clearly with contractors, clients, or family using renders instead of sketches.
- Reduce change orders by validating assumptions before demo or ordering.
Step 1: Prepare the floor plan image (scan quality matters)
The conversion is only as good as the input. Whether you’re importing a PDF, taking a photo of a printed plan, or using a screenshot, aim for a clean, high-contrast image.
Best practices for a clean capture
- Flatten the paper and avoid shadows; natural light from the side is often best.
- Photograph straight-on to minimize perspective skew (keep the camera parallel to the page).
- Increase contrast if the plan is faint (many scan apps offer “B&W document” mode).
- Include labels and dimensions in the capture—don’t crop them out unless necessary.
Tip: If the plan has a thick border, legend, or notes block, consider making two images: one full page for reference and one tightly cropped to the plan area for conversion.
Step 2: Import the plan and set the correct scale
Most 2D-to-3D workflows fail in one predictable place: incorrect scale. If the app asks you to calibrate using a known dimension (for example, a wall labeled 12' 0"), choose a dimension that is long and clearly marked.
Scale calibration checklist
- Pick a long reference (a main wall length is better than a doorway width).
- Use the printed dimension from the plan, not an assumption.
- Confirm units (feet/inches vs. meters) before proceeding.
- Re-check after conversion by measuring another labeled wall inside the 3D view.
Step 3: Validate geometry (walls, doors, windows, and room labels)
After conversion, do a quick “sanity pass” to ensure the model matches the plan’s intent. You don’t need perfection for early ideation, but you do need a reliable base.
What to check first
- Exterior perimeter: Are the outside walls aligned and proportional?
- Wall thickness: Is it consistent with the plan (especially for older homes)?
- Openings: Do doors swing into the right rooms? Are key windows placed correctly?
- Room labels: Do labeled spaces match the correct areas (Kitchen, Bath, Bedroom)?
Common issues and quick fixes
| Issue | Why it happens | How to fix it |
|---|---|---|
| Rooms look “stretched” | Scale set from a short/unclear dimension | Recalibrate using a longer labeled wall, then re-check another known dimension |
| Missing door/window | Low contrast or cluttered symbols | Enhance contrast, re-import, or manually add openings where needed |
| Walls merged or broken | Faint lines or overlapping annotations | Use a cleaner crop; remove marks; ensure the wall lines are continuous in the image |
| Incorrect room label placement | Labels too close together | Edit labels manually and keep them centered within each room footprint |
Step 4: Use an AI room planner to test layout options (without guessing)
Once the base 3D model is accurate enough, AI-guided room planning becomes truly useful. Instead of starting from an empty space, you can generate layout suggestions that respect typical clearances and circulation paths—then refine based on your goals.
Layout rules worth enforcing
- Main walkways: keep comfortable circulation paths through living areas.
- Dining clearance: allow enough pull-back space behind chairs.
- Kitchen work zones: keep sink/cooktop/fridge relationships practical.
- Door swings: ensure furniture doesn’t block doors or pinch corners.
Try generating two to three variants per room (for example, “TV wall,” “conversation-first,” and “work-from-home corner”) and compare them in 3D. The fastest wins often come from subtle changes: shifting a sofa 12 inches, rotating a bed, or resizing an island to improve circulation.
Step 5: Preview renovation concepts room-by-room
3D is most powerful when you isolate decisions. Instead of redesigning the entire house at once, go room-by-room and lock in the big constraints first.
Kitchen: start with constraints, then style
- Constraints: appliance locations, plumbing wall, venting, window height.
- Geometry checks: aisle widths, island clearance, door/drawer conflicts.
- Style pass: cabinet color, counters, backsplash, lighting.
Bathrooms: verify functional clearances early
- Door swing vs. vanity/toilet placement.
- Shower door clearance and towel storage zones.
- Mirror/lighting alignment for a realistic elevation feel in 3D.
Living rooms: test “real life” viewing and circulation
In a 3D walkthrough, you’ll quickly notice problems 2D hides—like a TV wall that creates glare, or a pathway that cuts through seating. Use the 3D camera to view from the entry point of the room, not just from above.
Step 6: Don’t forget the exterior refresh (curb appeal in 3D)
If your plan includes elevations or you’re modeling a simple exterior massing, 3D previews can accelerate exterior decisions too. Even a basic model helps you compare changes that are difficult to imagine from samples alone.
- Siding and paint: test light vs. dark schemes and contrast trims.
- Roof and fascia: check how color choices affect perceived height.
- Entry updates: door style, lighting, and simple landscaping blocks.
Step 7: Export renders that stakeholders can actually use
For proposals, contractor discussions, or client reviews, exports should be consistent and easy to compare. Create a repeatable naming system so you can find the right version later and avoid “Which file is the latest?” confusion.
A simple export naming convention
ProjectName_Room_View_Option_V##.png
Example:
MapleSt_Kitchen_IslandView_OptionB_V03.png
When exporting, include:
- At least one overall view (shows layout context).
- Two decision views per room (materials/lighting/cabinet faces).
- One “problem check” view highlighting tight clearance or door conflicts.
A practical checklist for a reliable floor plan → 3D workflow
- Capture: straight-on, high contrast, minimal skew.
- Scale: calibrate using a long labeled dimension; verify with a second one.
- Structure: confirm exterior perimeter and major interior partitions.
- Openings: check doors/windows and their swings/placements.
- Room labels: ensure each space is correctly identified.
- Iterate: generate 2–3 AI layout options; keep the best elements from each.
- Decide: lock constraints (clearances, appliance zones), then style.
- Export: consistent filenames; include context + close-ups.
Choosing the right iOS approach (what to prioritize)
If you’re evaluating tools or comparing workflows, prioritize these capabilities:
- Accuracy controls: scale calibration, dimension handling, and proportional conversion.
- Readable outputs: clean 3D renders that make layout decisions obvious.
- Fast iteration: quick variant testing for room planning and redesign ideas.
- Export quality: high-resolution images suitable for presentations and proposals.
For many homeowners, agents, and designers, an iPad-based process is “enough 3D” to decide confidently—without the overhead of heavy CAD modeling.
Final thoughts
A floor plan-to-3D workflow on iOS works best when you treat it like a decision pipeline: start with a clean plan, lock the scale, validate key geometry, then iterate through layout and style options in 3D. Do that, and the 3D renders become more than visuals—they become a practical way to reduce rework and align everyone on the same plan.
If you’re looking for a streamlined way to convert black-and-white plans into clean 3D previews and explore AI-guided redesign options on iPhone or iPad, Floor Plan to 3D & Home Redesign is one example of an iOS tool built for that workflow.
