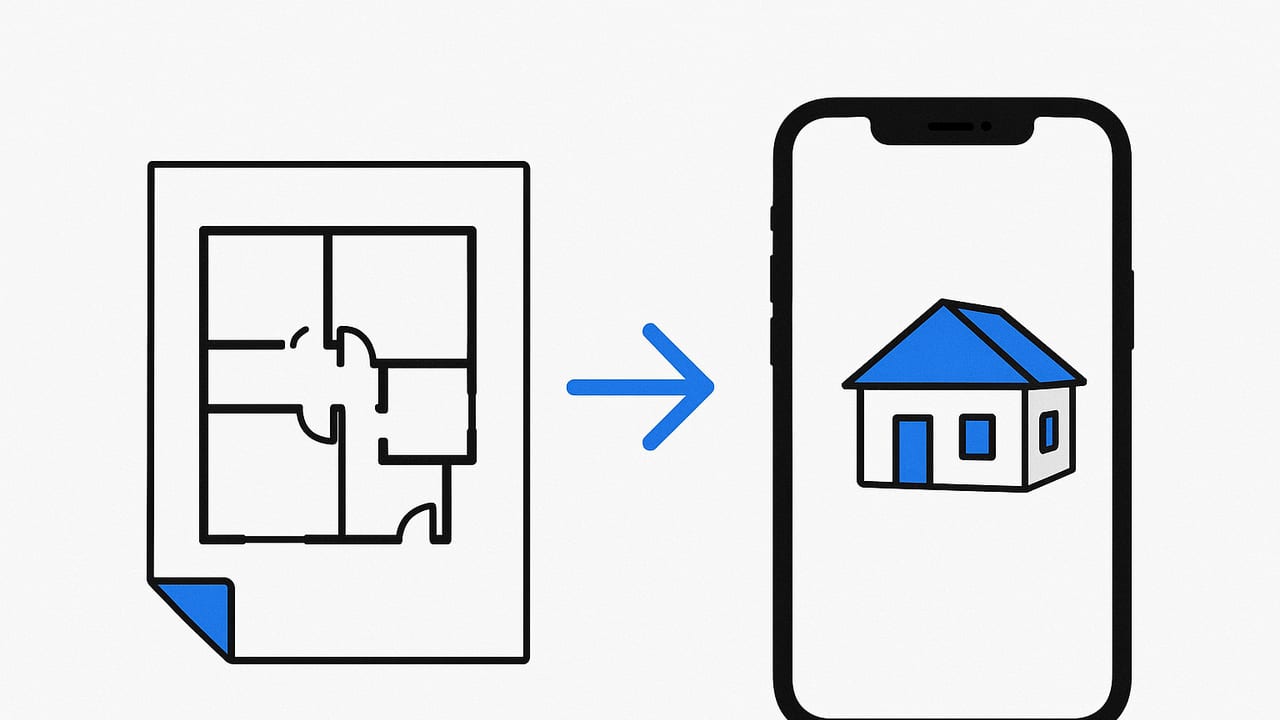
Need a client-ready 3D floor plan today and only have your iPhone? Whether you’re a listing agent prepping for a twilight open house, an interior designer refining a concept meeting, or a landlord marketing a unit, you can go from a paper or PDF floor plan to a polished 3D render the same day—entirely on mobile. This guide outlines a practical, repeatable workflow that balances speed, accuracy, and presentation quality.
Goal: a same day floor plan to 3D iPhone workflow that preserves scale, produces clear renders, and holds up under client scrutiny.
What “Same-Day” Really Means
“Same-day” isn’t about cutting corners; it’s about making smart tradeoffs. Expect to spend 60–120 minutes for a typical apartment or small home if your source plan is legible and roughly to scale. Larger or irregular layouts may take longer, but mobile tools and a tight checklist will keep you on schedule.
| Method | Speed | Accuracy | Best For | Notes |
|---|---|---|---|---|
| AI conversion app (iPhone) | Fast (minutes) | High (with good scan + scale) | Most same-day projects | Needs clear black-and-white plan; calibrate scale |
| Manual mobile tracing | Moderate (1–3 hrs) | High (depends on user) | Complex layouts or noisy scans | More control; slower |
| Desktop CAD/BIM modeling | Slow (half-day+) | Very high | Construction sets, detailed MEP | Not same-day friendly if starting from scratch |
| LiDAR/Room scanner (iPhone) | Moderate | Good, room-dependent | When no 2D plan exists | Best as a backup; needs walkthrough time |
Step 1: Capture a Clean Floor Plan with Your iPhone
Start with the best possible input. The cleaner your source image, the faster and more accurate the 3D result.
- Use Notes or Files to Scan: In Notes, tap the camera icon > Scan Documents. In Files, tap the ellipsis > Scan Documents. Let the auto-crop lock onto the page edges.
- Shoot in bright, diffused light: Avoid shadows and glare; remove plastic sleeves; flatten folds.
- Keep it orthogonal: Hold the phone centered and parallel to the page to minimize perspective distortion.
- Prefer black-and-white: High contrast linework helps AI recognition. If you have color, enable a grayscale filter or increase contrast in Photos > Edit.
- Max out resolution: Don’t compress. If importing a PDF, export the page as a high-resolution image from Files or a PDF app.
Capture Pro Tip: Embed a Known Dimension
Annotate a single trustworthy dimension on the plan before scanning. If none exists, measure a door width on-site (typical interior door is ~30–36 in / 762–914 mm) and write it on the plan. This becomes your calibration reference inside the 3D tool.
Step 2: Calibrate Scale Before You Model
Scale is the difference between a convincing demo and a costly mistake. Calibrate once and everything downstream—wall lengths, furniture fit, camera views—becomes reliable.
- Import the scanned plan into your mobile 3D tool.
- Set the scale by picking two points that match a known dimension (e.g., bedroom width 12'–0" or 3.66 m). Enter the value precisely.
- Confirm wall thickness (typically 4–6 in or 100–150 mm for interior; 8–10 in or 200–250 mm for exterior).
- Check a second distance as a sanity check. If it’s off by more than 2–3%, re-scan or re-calibrate.
Rule of thumb: One accurate reference dimension is mandatory. Two is better. Three turns your “render” into a reliable planning tool.
Step 3: Convert the Floor Plan to 3D on iPhone
Most mobile tools support AI-assisted detection or manual tracing. Here’s a generic, vendor-neutral sequence that works across apps:
- Walls & boundaries: Trace or auto-detect all perimeters and interior partitions first. Lock the plan background if supported to avoid accidental shifts.
- Openings: Add doors and windows next. Match widths from the plan; set sill and head heights to defaults if missing (e.g., 2.1 m / 7' head for many windows).
- Room heights: Assign consistent ceiling heights; define special conditions (vaulted areas, soffits) only if they materially affect views.
- Stairs: Ensure directionality (up/down arrow) matches the plan; set riser count and overall rise where indicated.
- Labels & zones: Name rooms and set flooring categories to speed up material assignments later.
Time budget: 25–40 minutes for a typical 2–bed apartment if the scan is crisp and AI detection is used; 45–75 minutes if fully manual.
Step 4: Quick Materials and True-Scale Furniture
For same-day deliverables, aim for clarity over perfection. Use a restrained palette and true-scale furniture to communicate layout logic fast.
- Surfaces: Keep to three neutral materials (flooring, walls, countertops). Subtle contrasts read better in exports than hyper-real textures.
- Lighting: Use default global illumination or a single directional sun. Avoid heavy point-light setups; they slow rendering.
- Furniture: Place only the key pieces to test circulation and fit. Verify sizes against industry norms:
| Item | Typical Size (W × D) | Notes |
|---|---|---|
| Sofa (3-seat) | 84" × 36" (213 × 91 cm) | Allow 30–36" (76–91 cm) clearance in front |
| Queen bed | 60" × 80" (152 × 203 cm) | Min 24–30" (61–76 cm) walking clearance sides |
| Dining table (4) | 48" round or 60" × 36" (152 × 91 cm) | 36" (91 cm) chair clearance perimeter |
| Kitchen island | 36" depth (91 cm) | 42" (107 cm) aisle to counters |
Step 5: Camera Framing and Export Settings
Plan your outputs before you start styling to avoid rework. For listings and proposals, clarity wins over cinematic drama.
- Views to capture: 2–3 perspective shots per key room, plus a bird’s-eye axon or top-down 3D for overall context.
- Aspect ratio: 16:9 or 4:3 for slides and MLS; A4 portrait for handouts.
- Resolution: Export at high resolution (e.g., 3000–4000 px wide). If your tool supports DPI, set 150–300 DPI for print.
- Background: Plain or sky gradient; avoid heavy post-processing for same-day cycles.
- Deliverables: PNG/JPG for images; optional PDF sheets; share link for interactive 3D if available.
Consistent Naming Speeds Approval
Use a tidy naming convention so clients can respond quickly:
project-client_room-view_rev01_YYYYMMDD.png
example: mason-apt_living-perspA_rev01_20251216.png
On-Site “90-Minute Sprint” Template
Here’s a practical breakdown for a fast same-day session using only your iPhone:
- 0–10 min: Scan the plan (Notes/Files). Increase contrast in Photos. Mark one known dimension if missing.
- 10–20 min: Import and set scale. Confirm one additional dimension.
- 20–45 min: Auto-detect or trace walls; add doors/windows; set ceiling height; name rooms.
- 45–65 min: Drop in essential furniture; assign three core materials.
- 65–80 min: Compose 4–6 camera views (top-down + room vignettes).
- 80–90 min: Export high-resolution images; share via Messages, Mail, or Drive.
Quality Assurance: A 10-Point Checklist
Before you send the renders, run this quick QA to avoid costly revisions:
- Scale lock: Verify one known dimension in 3D with a measurement tool.
- Gross area: Compare total square footage/meterage to the plan’s stated area (±3%).
- Door swings: Confirm hinge side and swing arc; ensure egress routes aren’t blocked.
- Window heights: Keep consistent sill/head heights unless the plan specifies otherwise.
- Wall alignment: Perimeter corners meet cleanly; no micro-gaps or overlaps.
- Stair direction: Up/down arrows match labels; headroom makes sense.
- Plumbing cores: Stacks and wet walls align across levels if modeling multi-floor.
- Ceiling height: Verify for each room; avoid accidental mix of imperial/metric.
- Furniture fit: Beds and sofas clear circulation paths per the table above.
- View clarity: Camera angles show usable space and focal features (windows, kitchen, primary bed).
Troubleshooting Fast
- Skewed or warped scans: Re-scan with the iPhone parallel to the page. Use the Perspective tool in Photos to correct minor skew.
- No dimensions on plan: Measure a known element (door, fridge niche) on-site and use it to calibrate scale.
- Curved or angled walls: Switch to polyline/arc wall tools; approximate with short segments if the arc tool is limited.
- Multi-level plans: Model one level at a time; copy shared grids/outer walls to maintain alignment.
- Faint linework: Increase contrast; if AI detection fails, trace manually over the background image.
- Time overrun: Defer materials; finish layout, scale, and clean camera shots first.
FAQ: Same-Day Floor Plan to 3D on iPhone
Do I need LiDAR for accurate results?
No. LiDAR helps when you have no plan, but a clear, scaled 2D plan converted with AI or precise tracing is often more consistent for true-to-plan 3D.
How accurate can mobile 3D be?
With proper scale calibration and clean inputs, expect ±1–3% on overall dimensions—sufficient for space planning, staging, and marketing renders.
Can I do this fully offline?
Many apps require connectivity for AI conversion or cloud rendering. For time-critical projects, ensure you have a stable connection or a tool with on-device processing.
What file formats should I export?
PNG or JPG for images, PDF for sheets, and optionally a shareable link to an interactive model if your tool supports it.
How do I handle missing ceiling heights?
Use a common default (e.g., 8'–0" / 2.44 m or 9'–0" / 2.74 m). If the building is newer, 9' is common for living spaces; older apartments may be 8'. Note assumptions in your deliverable.
SEO Tip for Your Process: Use the Right Keywords in Deliverables
If you’re posting your results to a listing site or sending a proposal, label files and captions with intent-rich phrases like “3D floor plan,” “true-scale layout,” and “rendered room plan.” Including the exact intent phrase once—same day floor plan to 3D iPhone—can help stakeholders and searchers understand the speed and platform of your workflow.
Deliverable Templates You Can Reuse
- Top-Down 3D Plan: Shows flow and furniture; great for MLS and brochures.
- Two Hero Perspectival Views: Living/kitchen and primary bedroom, framed to emphasize light and circulation.
- Optional Detail View: Bath or entry drop zone to highlight upgrades or storage.
Add a small caption on each image describing assumptions (ceiling height, standard appliance sizes) to minimize follow-up questions.
Common Pitfalls to Avoid
- Over-styling: Heavy materials and lighting slow you down and can distract from layout clarity.
- Skipping scale checks: One wrong calibration can invalidate furniture fit across the model.
- Too many camera angles: Six strong views beat a dozen inconsistent ones.
- Ignoring door swings: This small miss undermines trust quickly.
Wrap-Up
Converting a floor plan into 3D on iPhone the same day is realistic with a clean scan, a reliable scale calibration, and a focused modeling sequence. Prioritize structure (walls, openings, heights), then minimal materials and true-scale furniture, and finish with clear camera framing and high-resolution exports. With this workflow, you can move from paper or PDF to a persuasive, client-ready set of 3D images in under two hours.
If you prefer an iOS app designed specifically for black-and-white plan conversion with AI-assisted accuracy and high-resolution export, consider Floor Plan to 3D as a streamlined option.
