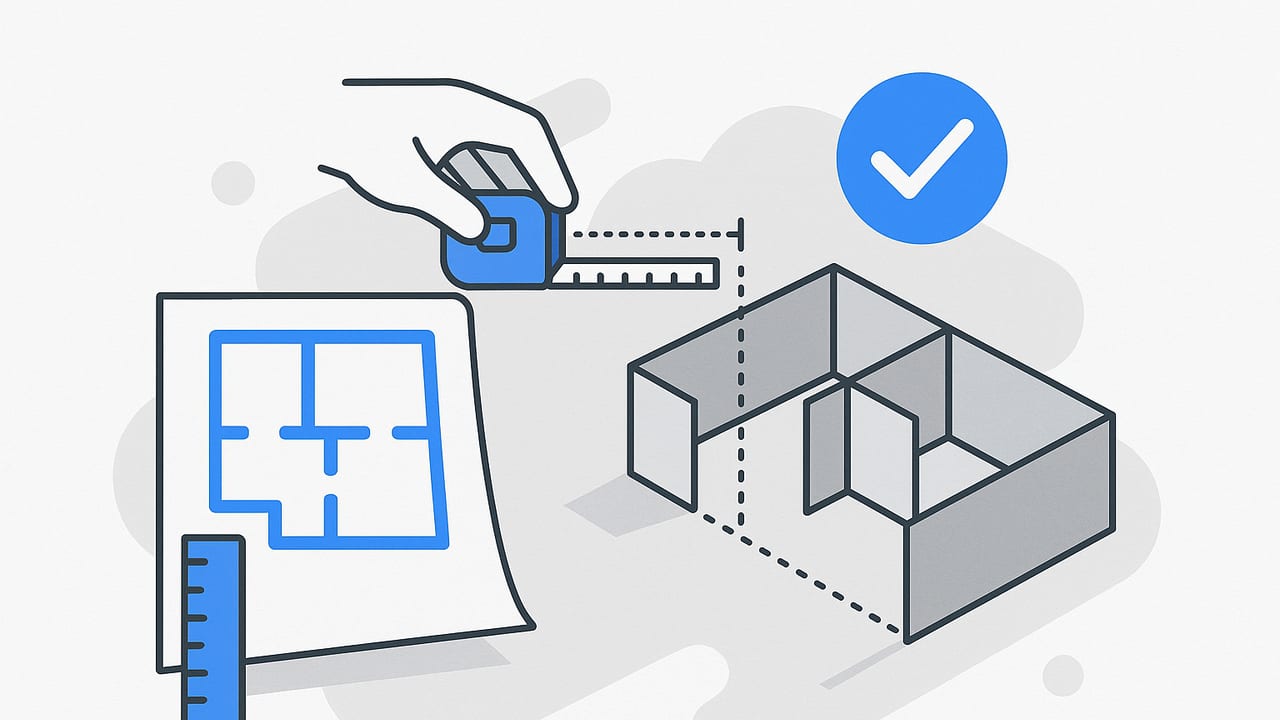
Whether you are staging a property, planning a remodel, or preparing a presentation, the reliability of your 3D floor plan hinges on one thing: room scale accuracy. If the virtual room is even a few percent off, furniture won’t fit, circulation may be misjudged, and renovation estimates can drift. This guide explains what room scale accuracy means in practice, how to set realistic tolerances, and exactly how to go from a 2D plan or quick site measurements to a dimensionally trustworthy 3D model.
What is “Room Scale Accuracy”?
Room scale accuracy is the degree to which the sizes and proportions of a 3D room match the real space or its authoritative plan. It’s not just about a single wall measurement; it’s about preserving the relationships between lengths and ensuring that global dimensions (width, depth, height) and diagonals are within a defined tolerance across the entire room.
Think of it as two parts:
- Absolute accuracy: A 3.00 m wall in reality is modeled as 3.00 m ± tolerance.
- Relative accuracy: Proportions remain true. If one wall is exactly twice another, the model preserves that ratio within tolerance.
In interior visualization, a practical target is ±1–2% across a room. For a 5 m span, that means being within 50–100 mm. For millwork or permitting, aim for ±0.5% or better.
Set a Clear Accuracy Goal Before You Start
Different projects demand different tolerances. Define your room scale accuracy goal up front to guide your measurement and modeling method.
- Real estate staging/marketing: ±2–3% (fast turnaround, visually correct fit).
- Concept interior planning: ±1–2% (furniture fit, circulation checks).
- Cabinetry or built-ins: ±0.5–1% (tight fit, site verification recommended).
- Permitting/technical documentation: Follow local standards; often ≤±0.5% with labeled tolerances.
Choosing a Source: Plans vs. As-Builts vs. Scans
Your achievable room scale accuracy depends heavily on the source material and capture method. Below is a quick comparison of common sources and typical outcomes when executed correctly.
| Source/Method | Typical Room Scale Accuracy | Strengths | Watch-outs |
|---|---|---|---|
| Laser distance meter (as-built) | ±0.3–1% | Fast, precise, good for diagonals | Human transcription errors; needs method |
| Tape measure (as-built) | ±1–3% | Inexpensive, universal | Sag, parallax, difficult solo |
| Smartphone LiDAR scan | ±1–2% | Fast capture, good for complex spaces | Sensor noise, drift on long spans |
| Architect’s PDF (to-scale) | ±0.5–1% | Authoritative dimensions | Print/scan scaling errors; design vs as-built |
| Printed plan + flatbed scan | ±1–2% | Good if DPI known & deskewed | Printer distortion; camera perspective skew |
Build a Simple Error Budget
An error budget helps you anticipate and control where accuracy is lost. Treat the following as independent contributors and keep each small:
- Measurement error (device precision, user technique)
- Drawing distortion (old prints, paper warp)
- Scan/photograph scaling (unknown DPI, camera perspective)
- Scale calibration error (using a short reference length)
- Tracing/modeling error (snapping to wrong lines, wall thickness assumptions)
If errors are uncorrelated, a rough overall error can be approximated by the square root of the sum of squares (RSS). Keep each contributor below your goal divided by the square root of the number of contributors.
A Quick Scale Calculator (Code Snippet)
Two common calibration approaches:
- Known-length calibration: Use a drawn dimension (e.g., a 4000 mm wall). The scale factor is simply real_length / pixel_length.
- DPI + print scale: If you know the plan’s print scale and scan DPI, you can convert pixels to real-world length.
# Python 3: scale calibration helpers
# 1) Calibrate from a known dimension measured in pixels

def scale_from_known(px_length, real_length_mm):
    """Return mm per pixel."""
    return real_length_mm / float(px_length)

# 2) Calibrate from scan DPI and plan scale (e.g., 1:50)
#    real_mm = (px / dpi) * 25.4 mm/inch * scale_ratio

def mm_per_pixel_from_dpi(dpi, scale_ratio):
    return (25.4 * scale_ratio) / float(dpi)

# 3) Estimate total relative error (RSS of contributors)
#    pass fractional errors, e.g., 0.005 for 0.5%

def total_relative_error(*fractional_errors):
    return (sum(e*e for e in fractional_errors)) ** 0.5

# Example usage:
# known feature is 4000 mm, measured as 985 px in the image
mm_per_px = scale_from_known(985, 4000)
# length of another feature of 612 px in mm
other_length_mm = 612 * mm_per_px

# Error budget example: 0.5% measurement, 0.6% scan, 0.3% tracing
err = total_relative_error(0.005, 0.006, 0.003)
print("Estimated overall error:", round(err*100, 2), "%")
Tip: Whenever possible, calibrate using the longest available known length in the plan to minimize percentage error.
Step-by-Step Workflow for Room Scale Accuracy
1) Capture or Source the Plan
- Prefer a vector PDF from the architect or builder.
- If photographing a printed plan, shoot square-on with good lighting and minimal lens distortion; avoid “fit to page” prints.
- For as-built, prioritize a laser distance meter and capture at least perimeter lengths and two diagonals per room.
2) Prepare the Image or Drawing
- Deskew the image so horizontal/vertical lines are true; correct perspective if photographed.
- Note the scan DPI or camera resolution; keep originals uncompressed to avoid resampling errors.
3) Establish Units and Scale
- Choose metric (mm) or imperial (in/ft) and stick with it throughout.
- Calibrate scale using a long known dimension or scale bar. Verify by measuring a second, non-parallel dimension.
4) Trace Structural Geometry
- Trace walls first; lock angles or snap to orthogonal where appropriate.
- Input wall thicknesses explicitly if known; otherwise infer from drawing conventions or callouts.
5) Add Openings with Dimensions
- Place doors/windows using centerline or reveal-to-reveal dimensions.
- Confirm head heights for 3D realism; default to typicals only if not provided.
6) Validate with Cross-Checks
- Measure key room spans and diagonals; compare to plan or field notes.
- If differences exceed your tolerance, revisit calibration and deskewing.
7) Populate Furnishings at True Scale
- Use manufacturer dimensions for larger items (sofa, refrigerator, bed).
- Check clearances: 600–900 mm (24–36 in) for walkways is a common target.
8) Apply Heights and Volumes
- Set floor-to-ceiling height, soffits, and stair risers/treads to spec.
- Model sloped ceilings by referencing eave/ridge heights if available.
9) Run a Final QA Pass
- Re-measure the longest room span and diagonal in the 3D/plan view.
- Confirm that summed segment lengths match overall spans within tolerance.
10) Document and Export
- Annotate critical dimensions and include a scale bar on plan views.
- Export high-resolution images with consistent aspect ratio for presentations.
Calibrating from a Scanned Plan: Practical Tips
- Use two references: Calibrate with one known length, then validate with a second that’s not parallel to the first. If both agree, your scale and aspect are sound.
- Correct for stretch: If the second test deviates more along one axis, the image may be non-uniformly scaled. Apply independent X/Y scaling during deskewing if your tool supports it.
- Avoid short references: A 600 mm cabinet is less reliable for calibration than a 6000 mm wall. Percentage error shrinks with longer baselines.
- Check DPI metadata: Scanners and phones can strip or fake DPI tags. Don’t trust metadata alone; always validate with a known-length check.
When Dimensions Are Missing
Plans often omit interior dimensions. You can still reach room scale accuracy with smart inference:
- Sum and subtract: If the outer width is known and wall thicknesses are known, compute interior spans by subtracting thicknesses and adjacent room widths.
- Use diagonals: Combine two perpendicular spans to validate with the Pythagorean theorem; this reveals skew quickly.
- Door schedules: Standard door widths (e.g., 762 mm/30 in, 813 mm/32 in) help sanity-check scales.
Quality Assurance Checklist for Room Scale Accuracy
- Global span (widest room dimension) within target tolerance.
- Diagonal checks within tolerance for at least two rooms.
- Sum-of-segments equals overall span within tolerance on two axes.
- Known furniture footprints match catalog dimensions in plan view.
- Area computations (L×W or poly area) match plan annotations within tolerance.
Common Pitfalls (and How to Fix Them)
- “Fit to page” distortion: Reprint at 100% scale or work from the original PDF; never from photographs of reduced prints without calibration.
- Perspective skew in photos: Use a flatbed scanner or correct perspective in software before tracing.
- Mixed units: Confirm mm vs. cm vs. inches. Convert once and stick with a single unit for modeling.
- Ignoring wall thickness: Inferred wall centerlines can shift interior spans; apply correct thicknesses early.
- Short calibration segments: Always calibrate from the longest available dimension or a scale bar.
- LiDAR drift on long captures: Break large areas into smaller scans and align to hard references.
Exporting with Confidence
Once your 3D model achieves room scale accuracy, preserve it through export:
- Resolution: Use high-resolution exports (e.g., 300 DPI equivalent for printed boards). For screen, 1920–3840 px on the long side balances clarity and file size.
- Scale markers: Include a scale bar or key dimensions on plan overlays. For renders, a small annotation with room width helps viewers trust the image.
- View consistency: Keep field of view consistent across shots to avoid size illusions.
How Precise Is “Precise Enough”?
- Staging and marketing: Visual plausibility rules; ±2% typically fine.
- Space planning and code checks: Aim for ≤±1% and verify critical clearances (egress widths, appliance swing).
- Fabrication/fit-out: Target ≤±0.5% and perform on-site verification prior to orders.
“Calibrate from the longest line you trust, validate with a second line you didn’t use, and only then start furnishing.”
Key Takeaways
- Define your tolerance before modeling; it determines your capture method.
- Use the longest reliable dimension for scale; always run a second validation.
- Control distortions early (deskew, verify DPI) to protect room scale accuracy downstream.
- Confirm with diagonals and segment sums; annotate exports for trust.
If you’re starting from black-and-white floor plans and need a fast way to visualize true-to-scale layouts in 3D, the iOS app Floor Plan to 3D converts 2D plans into dimensionally faithful 3D views and lets you export high-resolution renders for proposals.
