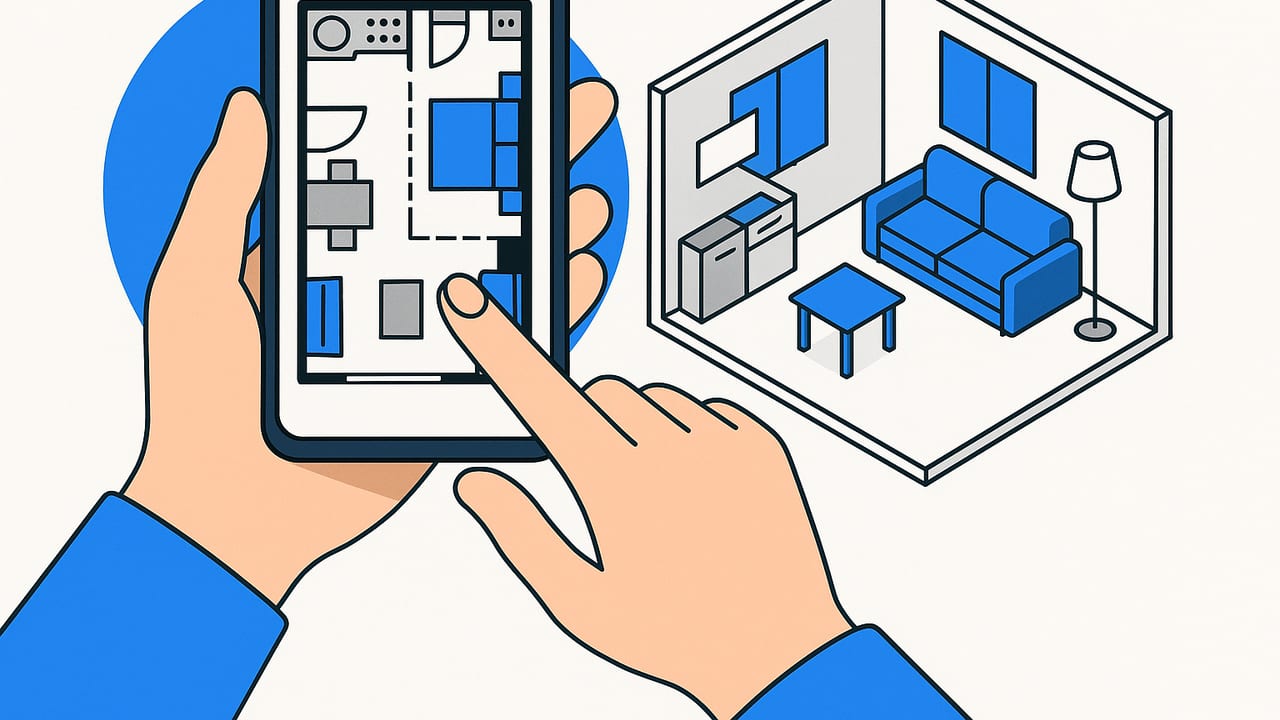
A well chosen room planning app for small studio apartments can turn a cramped space into a comfortable, flexible home. With the right features and a practical workflow, you can test multiple layouts, validate clearances, and visualize finishes before buying a single piece of furniture. This guide walks you through choosing the right tool, measuring accurately, building smart zones, and stress testing layouts in 3D so your studio feels bigger, brighter, and easier to live in.
What to look for in a room planning app for small studios
Studios leave little margin for error, so the planner you use must handle precision and quick iteration. Prioritize these capabilities.
| Feature | Why it matters in a studio | What to check |
|---|---|---|
| True scale and dimensions | Every inch counts; mistakes cascade into daily annoyances | Units, wall thickness, snapping, typed input, dimension readouts |
| 2D to 3D with matched proportions | See line drawings come alive; verify sightlines and bulk | Does 3D match the 2D plan exactly when measured |
| Furniture library with real sizes | Prevents optimistic guesswork | Standard bed sizes, sofa depths, table heights, editability |
| Collision and clearance visuals | Ensures doors, chairs, and drawers open freely | Clearance guides, walking path heatmaps, door swing arcs |
| Material and lighting previews | Bright finishes and light placement can expand perceived space | Adjustable materials, simple lighting controls, sunlight orientation |
| Easy import from scans or photos | Saves time if you already have a floor plan | Photo import, scale calibration, wall tracing accuracy |
| High quality export | Share with landlords, stagers, or contractors | PNG or PDF exports, resolution control, annotations |
Measure once, plan forever: capturing an accurate base
Start with precise measurements. In small spaces, a 2 in error can break a layout.
- Use a laser measure for room length and width, plus diagonals to check squareness.
- Measure wall thickness where visible, as well as window and door openings and swing directions.
- Note ceiling height, soffits, radiator depths, and any ledges or columns.
- Record utilities: outlets, switches, HVAC registers, and plumbing stacks that constrain furniture.
- If using a paper floor plan, take a flat, glare free photo from directly above, then calibrate scale using two known dimensions.
Once your envelope is correct, add fixed items first: kitchen base units, closet frames, bathroom walls, radiators, and built ins. Fewer unknowns equals fewer redesigns later.
A simple workflow for studios: envelope, zones, then furniture
Instead of dragging furniture immediately, move through three quick phases.
- Envelope: validate room boundaries, doors, and windows in 2D. Confirm overall square footage by multiplying width by length and cross checking with your lease.
- Zones: mark functional areas with colored rectangles or layers. Most studios benefit from three: sleep, lounge, and eat or work. Keep a minimum main circulation path of 36 in connecting entry to kitchen and bathroom.
- Furniture: place only one candidate per zone at a time. Set critical clearances and test door swings. Then add secondary pieces like side tables and lamps.
Clearance rules you can trust
Use these minimums as baseline checks inside your app. Many planners let you draw guidelines or set snapping offsets to enforce them.
- Main walkway: 36 in
- Bed side access: 24 to 30 in on at least one side
- Dining chair pull back: 24 in from edge of table to wall or obstruction
- Sofa to coffee table: 16 to 18 in
- Desk knee space: 30 in width by 18 in depth minimum
- Wardrobe door swing: object depth plus 24 in standing room
- TV viewing distance: roughly 1.2 to 1.6 times screen diagonal
Space saving furniture that actually fits
Multi use pieces help a studio flex between daytime and nighttime functions. The table below lists footprint targets and clearances to simulate in your planner.
| Item | Typical footprint | Key clearance | Notes |
|---|---|---|---|
| Full bed or Murphy bed | 54 x 75 in mattress; wall bed cabinet 16 to 20 in deep | 24 to 30 in on access side | Side access beats foot access in narrow rooms |
| Sofa bed | 72 to 84 in wide; 36 to 40 in deep | Pullout requires 84 to 90 in total depth | Test full open mode in 3D before buying |
| Drop leaf table | 12 to 18 in deep closed; 30 to 36 in deep open | 24 in chair pull back | Mount against wall to save space daily |
| Nesting coffee tables | Two at 16 to 20 in diameter | 16 to 18 in from sofa edge | Slide apart when hosting, nest daily |
| Storage ottoman | 18 to 24 in square | Maintain 12 to 16 in to seat edges | Doubles as extra seating and linen storage |
| Loft bed with desk | Bed platform at 72 to 84 in height | 30 in desk width under bed | Check ceiling and fan height carefully |
Layout patterns for common studio shapes
Use your room planning app to try these proven templates, then tweak to your dimensions.
Narrow rectangle
Works well with a linear sequence of zones.
- Entry to kitchen along one wall with a 36 in corridor.
- Low storage or console behind sofa to subtly divide lounge from sleep zone.
- Sleep area at the quiet end; use a bookshelf or curtain as a soft divider.
- Wall mount the TV and fold down table to keep the corridor clear.
Square studio
Anchor the bed to a corner and float a small sofa facing away to create implied rooms.
- Use a 5 x 7 ft rug to define the lounge within the square.
- Place the dining or desk zone near the brightest window to improve work comfort.
- Choose a loveseat 60 to 66 in wide to avoid overfilling the center.
L shaped studio
Put the sleep area in the short leg to gain privacy without building walls.
- Ensure at least 24 in access around the bed edge.
- Keep the lounge and dining in the longer leg to protect circulation.
Studio with an alcove
Alcoves are perfect for Murphy beds, wardrobes, or a desk nook.
- Install shallow wardrobes 20 to 22 in deep if 24 in will pinch walkways.
- Use mirrored doors to bounce daylight back into the main space.
Light, materials, and vertical storage
Small studios ride on perception. Use your planner to test finishes and lighting.
- Keep large surfaces light: walls, ceiling, big rugs, and the largest cabinet fronts. Dark accents in small doses add depth without shrinking the room.
- Elevate storage: wall shelves 14 to 16 in deep above desks or sofas, and tall bookcases that stop 12 in below the ceiling.
- Choose leggy furniture to reveal more floor area; this reads as spaciousness in 3D.
- Use glass or open shelving as dividers that let light pass through.
- Place mirrors opposite windows to extend daylight deeper into the plan.
From 2D to 3D: why the third dimension matters
2D is great for dimensions, but 3D is where your instincts get validated. With a proper 3D view you can:
- Check sightlines from the entry and kitchen to avoid visual clutter.
- See how tall pieces near windows might block light or feel oppressive.
- Evaluate head clearance under lofts and shelves.
- Previsualize fabric colors and wood tones under warm and cool lights.
Use camera presets to mimic real positions: eye height at about 63 in, corner shots to show zones at once, and low angle views to assess furniture bulk. If your app supports simple sunlight simulation, set north orientation and test morning versus afternoon; this helps place the desk or dining nook for comfort.
Stress test your layout before you commit
Run these checks to ensure the plan feels as good as it looks.
- Full motion test: animate or mentally walk the path from entry to kitchen to bath to bed while opening any doors or drawers encountered.
- Two person scenario: add a temporary second figure or measure clearances to confirm you can pass each other without stepping aside.
- Host mode: deploy the drop leaf, pull out the sofa bed, and slide out dining chairs. Screenshot this state; it often reveals conflicts.
- Noise and privacy: place a soft divider or bookcase if the bed is visible from the entry. In open studios, a visual buffer keeps the space calm.
- Cleaning and maintenance: confirm vacuum and mop storage, and ensure you can reach window hardware safely.
Exporting your plan and keeping inventory organized
Good exports make communication easy. Save a 2D annotated plan for measurements and a few 3D angles for mood and scale. Keep an inventory list to track purchases and ensure everything fits.
| Export | Use case | Tip |
|---|---|---|
| 2D plan with dimensions | Landlord approvals and contractor questions | Include door swings and clearances |
| 3D perspective | Visualizing bulk and finishes | Use consistent camera heights for comparison |
| Top down 3D | Quick orientation for friends or movers | Label zones and major furniture sizes |
| Materials board | Shopping decisions | Group swatches with item links and prices |
Here is a simple inventory CSV you can paste into a spreadsheet and keep alongside your plan.
Item,Width in,Depth in,Height in,Placed Zone,Status,Budget USD
Loveseat,64,36,32,Lounge,Need to buy,650
Drop leaf table,32,18,30,Dining,Owned,0
Storage ottoman,20,20,18,Lounge,Need to buy,120
Wardrobe,36,22,80,Sleep,Need to buy,450
Bookshelf divider,48,12,72,Lounge Sleep boundary,Owned,0
Rug,84,60,0,Lounge,Need to buy,200
LED floor lamp,10,10,65,Lounge,Need to buy,90
Common mistakes to avoid
- Chasing oversized statement pieces that lock the layout. Pick compact anchors first, then layer smaller accents.
- Ignoring swing and pullout volumes. Always test drawer, door, and sofa bed modes.
- Placing tall storage near windows and then compensating with bigger lamps. Keep vertical mass away from glazing when possible.
- Skipping scale calibration when importing a scanned plan. If your 10 ft wall reads as 9 ft 6 in in the app, fix it before adding furniture.
- Designing for hosting at the cost of daily comfort. Default the plan to single occupant needs, then create a quick host mode with transformable pieces.
Quick start checklist
- Measure room, doors, windows, ceiling height, and obstacles.
- Import or trace the plan and calibrate scale with two known dimensions.
- Place fixed elements first: kitchen, closets, bathroom walls, radiators.
- Draw three primary zones: sleep, lounge, eat or work.
- Insert one furniture candidate per zone and apply clearance rules.
- Switch to 3D and test sightlines, light, and host mode states.
- Export 2D with dimensions and 3D perspectives; build an inventory list.
Final thoughts
A thoughtful room planning app for small studio apartments acts like a rehearsal stage. You try, adjust, and learn how the space behaves before any heavy lifting. Start with measurements and scale, structure the plan with zones, validate clearances, and lean on 3D for reality checks. With a systematic workflow, even the tightest studio can support sleep, work, and relaxation without feeling cramped. If you already have a black and white floor plan and want a true to scale 3D preview on iPhone, the Floor Plan to 3D app can convert a photo or scan into a detailed model so you can iterate with confidence.
