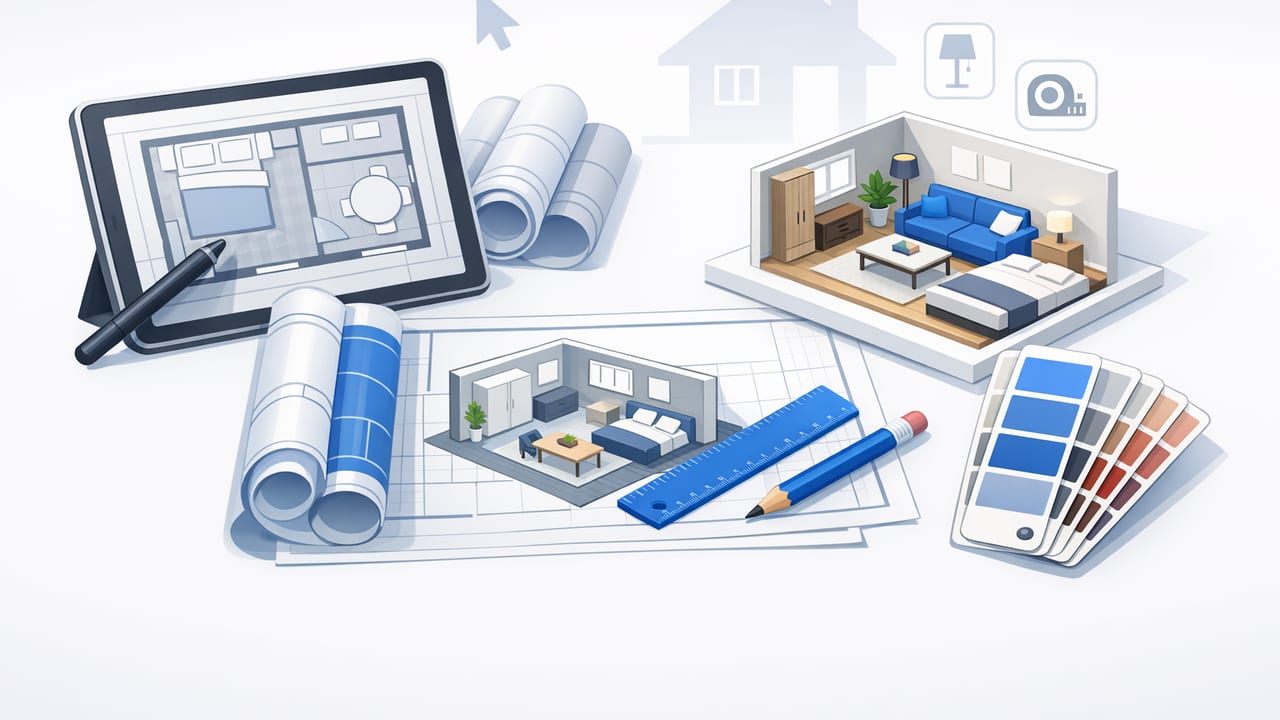
A good room planner isn’t just a place to drag furniture icons around. It’s a decision system: you translate real constraints (dimensions, doors, windows, circulation paths, storage needs) into a layout you can trust—then you iterate quickly until it supports the way you actually live or the way a buyer will experience the space.
This guide walks through a practical, repeatable workflow that works whether you’re redesigning one bedroom, staging an empty living room, or planning a larger renovation. You’ll learn what to measure, what to prioritize, how to avoid common planning mistakes, and how to validate ideas using 3D previews—without turning the process into a full-time CAD project.
Why a room planner beats “guess-and-buy” design
Most expensive design mistakes are predictable: a sofa blocks a doorway, a dining table leaves no clearance, a kitchen island looks great on social media but breaks the working triangle, or a new built-in reduces natural light.
A room planner helps you:
- Validate fit (furniture footprint + real clearance)
- Test multiple layouts fast (A/B/C options)
- Coordinate finishes (flooring, paint, lighting) with fewer surprises
- Communicate clearly with partners, contractors, or clients using visuals
Step 1: Capture constraints before you design
Design freedom comes after accuracy. Start with the constraints that will affect every layout option:
Measure what changes circulation
- Room dimensions (length/width; note any alcoves or angled walls)
- Door swings (hinge side + swing arc; note pocket or sliding doors)
- Window locations (width + sill height if you’ll place furniture below)
- Built-ins and fixed elements (radiators, fireplaces, columns)
Note utilities and “can’t-move” zones
- Electrical outlets and switches (especially for TV walls and bedside lamps)
- HVAC vents/returns
- Plumbing walls (critical for kitchens, baths, laundry)
Rule of thumb: If an element is expensive to move (plumbing, structural, major HVAC), treat it as fixed during early room planner iterations.
Step 2: Define the room’s “job” in one sentence
Before you pick styles, write a single sentence that defines success. Examples:
- “This living room must seat 6, keep a clear path to the patio door, and hide toys quickly.”
- “This bedroom must fit a queen bed, two nightstands, and a desk, while keeping the closet fully accessible.”
- “This empty room should stage as a flexible guest + office space for resale.”
This one sentence keeps your room planner from becoming a mood-board-only exercise.
Step 3: Build a simple requirements list (the fastest way to avoid rework)
Create three columns: Must have, Nice to have, Avoid. You can do this in notes, a spreadsheet, or directly inside a planning tool.
Here’s a compact template you can copy and reuse:
{
  "room": "Living room",
  "must_have": [
    "3-seat sofa",
    "Reading chair",
    "Rug 8x10",
    "Clear 36in path to hallway"
  ],
  "nice_to_have": [
    "Wall storage",
    "Place for plants near window"
  ],
  "avoid": [
    "TV above fireplace",
    "Blocking floor vent"
  ]
}
This is not technical for the sake of it—it’s a quick way to make tradeoffs explicit when you compare layout options later.
Step 4: Start with circulation, not furniture
Most layouts fail because traffic flow is an afterthought. In a room planner, sketch (or visualize) the main paths first:
- Primary path: entry to exit points (doors, hallways, patio)
- Secondary path: access to closets, windows, and frequently used storage
Then apply these clearance targets (adjust for your needs):
- Main walkways: ~36 in / 90 cm (comfortable), ~30 in / 76 cm (tight but workable)
- Behind dining chairs: ~36 in / 90 cm for easy movement
- Around beds: ~24–30 in / 60–76 cm minimum on accessible sides
- Kitchen work aisles: ~42 in / 107 cm typical, more for multiple cooks
Step 5: Create three layout options (A/B/C) on purpose
Don’t hunt for the “perfect” plan immediately. A reliable room planner workflow is to generate three options quickly, each with a different logic:
- Option A (Function-first): Best circulation and daily use.
- Option B (Feature-first): Highlights a focal point (window, fireplace, view wall).
- Option C (Flex-first): Prioritizes adaptability (folding desk, sleeper sofa, modular storage).
When you compare them, you’ll see tradeoffs clearly instead of endlessly nudging furniture by inches.
Step 6: Validate with 3D (because 2D can lie)
Even experienced planners get surprised by scale, height, and sightlines. A 3D preview helps you confirm:
- TV height and glare relative to windows
- Cabinet and sconce height relative to headboards, mirrors, and art
- How “full” the room feels once furniture volume is visible
- Natural light impact (tall pieces near windows)
If you’re planning an exterior refresh or a bigger renovation, 3D can also help you preview siding colors, trim contrast, entry updates, or landscaping massing before committing.
Room planner comparisons: choose the right level of tool
Not every project needs the same complexity. Use this table to pick a workflow that matches your risk level and timeline.
| Approach | Best for | Pros | Cons |
|---|---|---|---|
| Paper sketch + tape measure | Quick brainstorming | Fast, cheap, flexible | Hard to validate scale; no 3D sightlines |
| 2D room planner | Furniture fit and circulation | Clear footprints; easy option comparisons | Height, lighting, and “feel” can be misleading |
| 3D room planner / renders | Renovation previews, staging, presentations | Better realism; checks proportions and focal points | Needs accurate inputs; can tempt style decisions too early |
| Full CAD/BIM | Permitted remodels, complex builds | Construction-grade documentation | Steep learning curve; slower iteration |
Common room planner mistakes (and how to avoid them)
1) Designing for the photo, not the path
If your best-looking angle blocks a doorway or forces a zig-zag route, you’ll feel it daily. Re-check walkways after every major placement.
2) Ignoring door swings and drawers
Closet doors, cabinet doors, dishwasher doors, and dresser drawers all need space. In your room planner, model those arcs or leave clearance zones.
3) Using “default” furniture sizes
Many libraries include generic pieces that don’t match your actual selections. Use real product dimensions, especially for sectionals, beds, vanities, and appliances.
4) Forgetting vertical space
Wall shelves, tall wardrobes, pendant lights, and curtain heights change the perception of space. Even basic 3D renders can reveal top-heavy or cramped choices.
5) Choosing finishes before layout is stable
Lock the layout first. Then decide lighting layers, paint, and materials. Otherwise, you’ll keep redoing style boards every time the plan changes.
A practical example: planning a multifunction guest room
Let’s say you have a 10' x 12' room with a closet and one window, and you want it to function as both office and guest space.
- Must have: full-size sleeper sofa OR daybed, desk, task lighting, easy closet access
- Nice to have: storage for files, blackout shades
- Avoid: desk facing a blank wall (if possible), blocking window with tall storage
Option A: Desk near window for natural light; sleeper sofa on the longest uninterrupted wall; storage in low units under the window if the sill height allows.
Option B: Daybed under window (only if it won’t block heat/AC); desk on opposite wall; add a tall wardrobe near the door to create a mini “entry zone.”
Option C: Murphy bed wall unit (if budget permits) to reclaim floor space; larger desk and better circulation.
Once these are mocked in a room planner, a quick 3D check often reveals the real winner: the layout that feels calm when you “stand” at the doorway and that keeps the window visually open.
Checklist: your final pre-purchase validation
- All doors open fully (including closets and key cabinets)
- Main walkway clearance is consistent end-to-end
- Seating and surfaces support real use (where do drinks, bags, remotes go?)
- Lighting is layered (ambient + task + accent), even if you upgrade later
- At least one 3D view from each doorway to confirm sightlines and scale
- Measurements match your floor plan or in-room measurements (not assumptions)
Putting it all together
The most effective room planner workflow is simple: capture constraints → define the room’s job → draft A/B/C layouts → validate in 3D → finalize with a checklist. This keeps creativity high while protecting you from costly misfits and awkward circulation.
If you prefer doing this on iPhone with quick floor plan conversion and 3D previews, an app like Floor Plan to 3D & Home Redesign can help you move from a black-and-white plan to shareable visuals without heavyweight modeling tools.
