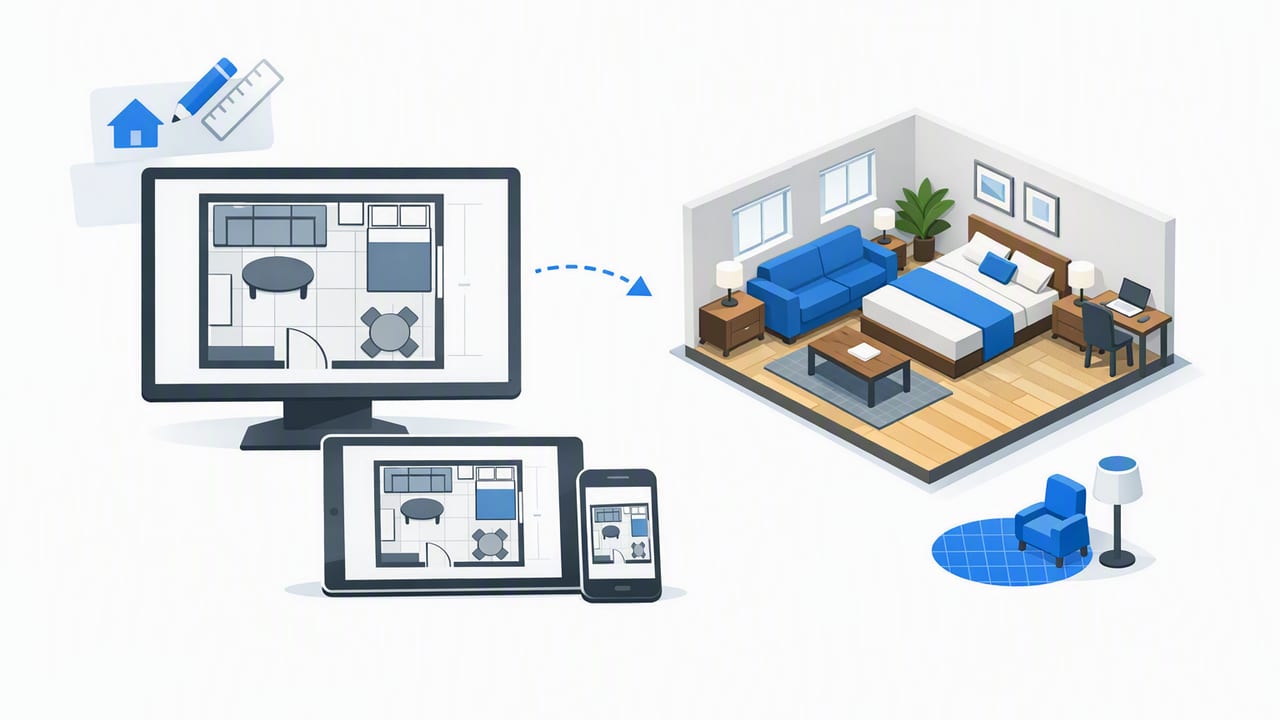
A room planner is most useful when it does two things at once: keeps your layout accurate and helps you explore redesign options quickly. Whether you’re planning a renovation, rearranging furniture, or preparing a staging concept, the fastest path to confidence is a repeatable workflow—starting from the floor plan and ending with a 3D-ready layout that respects real-world constraints.
This guide walks through a practical, accuracy-first room planner process. You’ll learn what to capture from a floor plan, how to convert it into a clean layout, how to test furniture and circulation, and how to produce renovation previews that are easy to share with contractors or clients.
What a “good” room planner actually solves
Many people think a room planner is just drag-and-drop furniture. In reality, the best results come when a room planner helps you answer:
- Will it fit? (dimensions, clearances, door swings, window placement)
- Will it work? (walkways, sightlines, functional zones, storage access)
- Will it feel right? (scale, balance, lighting, material choices)
- Can I explain it? (shareable 3D renders, annotated plans, visual alternatives)
That’s why the workflow matters as much as the tool. When you structure inputs correctly, your room planner outputs become far more reliable.
Step 1: Start with the right inputs (and avoid the #1 accuracy trap)
The biggest cause of room planner frustration is simple: people design on a plan that’s not to scale. Before you place a single sofa, collect these essentials:
Checklist: what to capture from a floor plan
- Overall room dimensions (length/width)
- Wall thickness (especially for older homes or load-bearing walls)
- Door locations and swings (door arc matters for furniture clearance)
- Window sizes and sill heights (affects desks, beds, and built-ins)
- Fixed elements (radiators, columns, fireplaces, HVAC returns)
- Ceiling height (critical for tall cabinetry, lighting, and loft beds)
Design decisions feel “subjective” until the measurements are correct. Once the plan is accurate, most layout choices become obvious.
Accuracy trap: relying on a scanned or printed plan without verifying at least one known dimension (like a clearly labeled wall length). If the scan is slightly stretched, everything downstream is wrong—even if it looks right.
Step 2: Convert the floor plan into a clean, editable layout
If you’re working from a blueprint, a real estate plan, or a hand-drawn sketch, your goal is to create a clean base layout that preserves proportions, labels, and dimensions. A room planner works best when the plan is simplified into “design geometry”:
- Walls become straight segments with correct lengths
- Openings (doors/windows) are placed precisely
- Rooms are clearly defined as zones
Common cleanup moves
- Remove duplicates: double-lines from thick walls can cause offset errors.
- Normalize angles: slightly skewed walls in scans should be squared (or set to their true angle).
- Confirm one reference measurement: scale the entire plan based on a trusted dimension.
If you’re using AI-based floor plan conversion, still do a quick sanity check: verify at least three distances (e.g., room width, window-to-corner, door width). It takes two minutes and can prevent expensive mistakes.
Step 3: Apply room planner rules that professionals use
Once your plan is clean, the room planner stage becomes about constraints and clearances. Use these professional rules-of-thumb to keep layouts realistic.
Clearances that make layouts feel “right”
- Main walkways: aim for ~36 in (90 cm) where possible.
- Secondary paths: ~24–30 in (60–75 cm) can work in tight spaces.
- Dining chair pull-back: ~36 in (90 cm) behind chairs for comfortable use.
- Bed side clearance: ~24 in (60 cm) minimum; ~30 in (75 cm) feels better.
- Kitchen work zone spacing: keep key paths between sink–stove–fridge unobstructed.
Zone planning: the easiest way to “fix” awkward rooms
Instead of trying random furniture placements, define zones first:
- Function zone: what happens here (sleep, work, dine, relax).
- Anchor element: bed/sofa/dining table that sets the layout.
- Support elements: storage, side tables, lighting, rugs.
- Circulation paths: how you enter, move through, and exit.
This approach makes even small rooms easier to plan because you stop treating every piece of furniture as equal.
Step 4: Use 3D to catch problems that 2D hides
A 2D room planner is great for fit and flow, but 3D is where you notice scale, height conflicts, and visual weight. A few examples:
- Window conflicts: a headboard may block a low sill; curtains may hit furniture.
- TV mounting height: looks fine in 2D, feels wrong in 3D if the wall is short.
- Entry compression: a console might technically fit but makes the entry feel cramped.
- Lighting realism: you can preview if the room feels dim or if glare is likely.
When you generate simple 3D renders, you’re not chasing photorealism—you’re validating the design before spending money.
Step 5: Compare layout options with a simple decision table
Most redesign decisions get stuck because it’s hard to compare options objectively. A quick table forces clarity.
| Option | Pros | Cons | Best for |
|---|---|---|---|
| Layout A: Sofa facing window | Bright seating, easy conversation area | TV placement tricky, possible glare | Social living rooms without heavy TV use |
| Layout B: Sofa facing media wall | Ideal TV viewing, clean focal point | May narrow walkway near entry | Media-first living rooms |
| Layout C: Floating sofa + desk zone | Creates work nook, flexible zones | Needs careful rug/lighting coordination | Hybrid living/work spaces |
In a room planner, save each option as a separate scene or version. Small differences (a 6-inch shift, a rotated chair) can dramatically improve circulation.
Step 6: Generate renovation previews (without overcommitting)
Room planning often leads to bigger questions: “What if we remove this wall?” “Should we add built-ins?” “What exterior changes match the interior style?” Renovation previews are most helpful when you keep them concept-level first, then refine.
Concept preview checklist
- One change at a time: wall removal, window enlargement, or kitchen island—separate versions.
- Keep fixed constraints visible: plumbing walls, structural columns, stair openings.
- Label assumptions: “Island is 84 in x 36 in,” “New opening is 6 ft wide.”
- Export a shareable set: one top-down view + two interior angles.
This reduces the risk of falling in love with a design that can’t be built—or costs far more than expected.
Practical example: planning a small bedroom with a desk
Here’s a fast room planner method that works for many small bedrooms:
- Place the bed first using a real mattress size and headboard depth.
- Reserve a minimum path from the door to the closet (avoid squeezing past corners).
- Fit the desk to the window wall if possible (natural light helps). Confirm sill height.
- Add storage vertically (tall dresser or wall shelving) to keep floor area open.
- Validate in 3D to ensure the desk chair clears and the room doesn’t feel top-heavy.
In many cases, the best “upgrade” isn’t new furniture—it’s correcting the layout so the room has a clear entry path and a defined work zone.
Room planner data you can reuse (a simple format)
If you’re iterating across multiple rooms, it helps to store key measurements and furniture sizes in a reusable structure. Here’s a simple example you can adapt:
{
  "room": {
    "name": "Living Room",
    "dimensions_in": {"length": 180, "width": 144, "ceiling_height": 96},
    "openings": [
      {"type": "door", "width": 36, "swing": "in", "wall": "south"},
      {"type": "window", "width": 60, "sill_height": 30, "wall": "east"}
    ]
  },
  "furniture": [
    {"item": "sofa", "size_in": {"w": 84, "d": 36}},
    {"item": "coffee_table", "size_in": {"w": 48, "d": 24}},
    {"item": "rug", "size_in": {"w": 96, "d": 120}}
  ],
  "rules": {
    "main_walkway_in": 36,
    "min_clearance_in": 24
  }
}
You don’t need to code to benefit from this idea—think of it as a “design brief” that keeps your room planner choices consistent.
Common room planner mistakes (and quick fixes)
- Mistake: Oversized furniture everywhere.
Fix: Scale down one anchor piece or use fewer items; keep negative space. - Mistake: Ignoring door swings and cabinet clearances.
Fix: Add swing arcs and test “open” positions in 3D. - Mistake: Centering everything by default.
Fix: Align furniture to functional zones (TV wall, conversation area, work nook). - Mistake: Skipping lighting.
Fix: Add a layered plan (ambient + task + accent) before finalizing finishes.
FAQ: room planner workflow questions
Do I need 3D to plan a room?
You can start in 2D, but 3D helps validate height, scale, and “feel.” Even simple 3D renders can reveal issues a 2D plan hides.
How do I keep my room planner layout accurate from a scanned plan?
Use at least one trusted reference dimension to scale the plan, then verify two or three additional measurements before placing furniture.
What should I export to share with a contractor or client?
Export one annotated top-down view (with key dimensions) plus a few 3D angles that show circulation paths, built-ins, and important clearances.
Putting it all together
A reliable room planner process is less about endless experimentation and more about structured inputs and repeatable checks: capture accurate dimensions, convert the floor plan cleanly, place anchors with clearance rules, validate in 3D, and compare options objectively. Do that, and you’ll spend less time second-guessing—and more time refining a design that actually works.
If you want a lightweight way to go from a black-and-white floor plan to clean 3D renders with AI-guided planning, an app like Floor Plan to 3D & Home Redesign can help you prototype layout ideas and export visuals for presentations.
