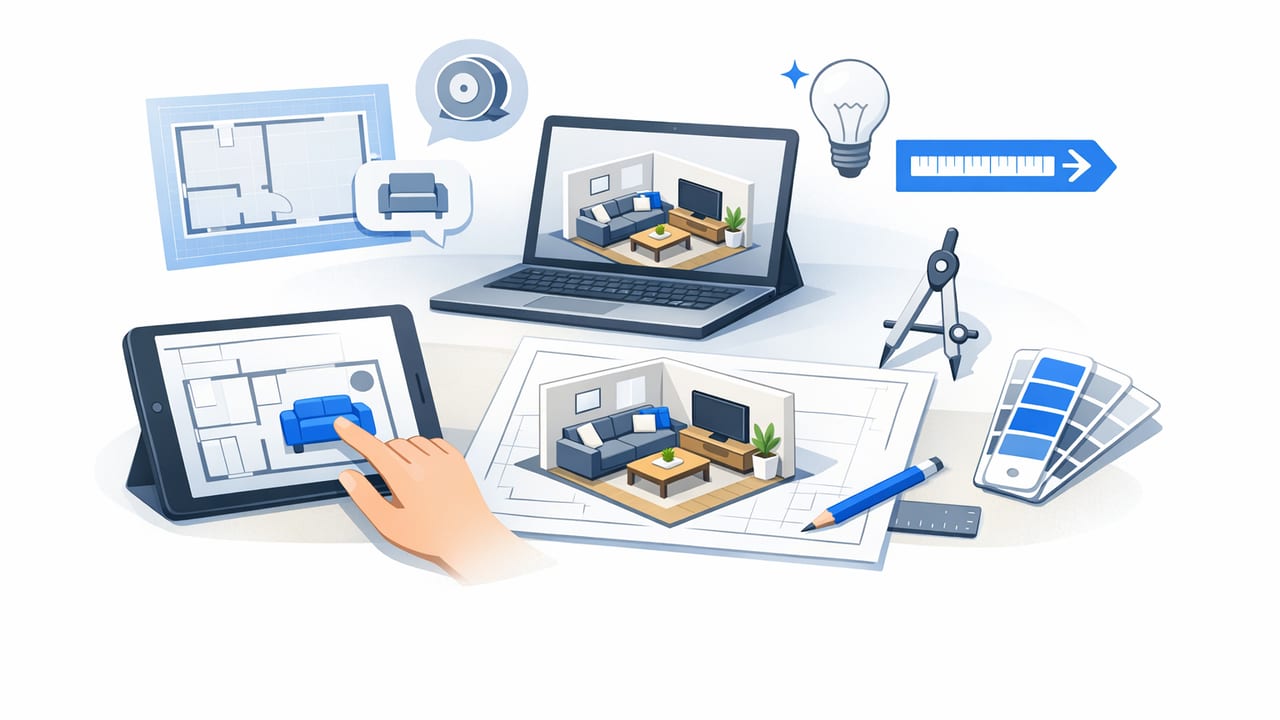
A good room planner does more than place furniture on a grid. It helps you translate a real space (with real constraints) into a visual model you can test, iterate, and communicate. The challenge is that most planning starts from a 2D floor plan—a scan, a PDF, or a photo of a printed drawing—while decisions (traffic flow, sightlines, scale, light) are easier in 3D.
This guide walks through a practical, accuracy-first workflow for moving from a 2D plan to reliable 3D layouts, with checkpoints you can use whether you’re planning a remodel, staging a listing, or preparing design concepts for stakeholders.
Why a room planner works better in 3D (when it’s accurate)
2D floor plans are excellent for dimensions and compliance, but they’re not always intuitive for everyday decisions. A 3D-based room planner helps you:
- Validate scale: Sofas that “fit” in 2D can feel oversized once you see height and clearance.
- Test circulation: Door swings, pinch points, and “bottlenecks” become obvious.
- Compare options: Multiple layouts can be evaluated quickly using consistent camera angles.
- Communicate clearly: Non-technical reviewers understand 3D renders faster than drawings.
The key phrase is when it’s accurate. If the model drifts from the original plan—walls shift, proportions warp, openings move—your decisions become risky. The rest of this article focuses on maintaining dimension-truth while still moving fast.
Start with the right 2D input: what to capture (and what to avoid)
Your room planner results are only as trustworthy as the plan you feed into it. Whether your source is a blueprint, a survey, a real estate plan, or a hand sketch, aim for:
- Clear wall lines with consistent thickness (avoid heavy shadows or fold creases).
- Labeled openings (doors/windows) and their widths when possible.
- At least one reliable dimension per room (or a scale bar) to anchor the entire model.
- Room boundaries that are unambiguous (no overlapping annotation clutter).
Quick capture checklist for scans/photos
- Photograph from directly above when possible (reduce perspective distortion).
- Use bright, even lighting (avoid glare on glossy paper).
- Include the full page edges (helps with de-skewing and scale).
- Prefer black-and-white or high-contrast images for easier line detection.
Accuracy rule: if you can’t confidently read the wall intersections and at least one dimension, don’t trust the output without manual verification.
The accuracy-first room planner workflow (2D to 3D)
Use this workflow to keep your 3D plan faithful, even when you iterate quickly.
Step 1: Establish a scale anchor
Before you place a single object, confirm a scale reference. Common anchors:
- One labeled wall length (e.g., “12'–6"”).
- A standard opening width (e.g., interior door often ~30–36 inches, but verify when possible).
- A scale bar printed on the plan.
If multiple dimensions conflict (it happens), prioritize the most “official” source: survey > construction drawing > marketing plan > sketch.
Step 2: Validate wall topology (the invisible source of most errors)
Room planner models go wrong when the structure graph is inconsistent: walls don’t meet, corners aren’t square where they should be, or small gaps exist due to scan artifacts. Look for:
- Unclosed rooms (tiny breaks in a perimeter)
- Double lines caused by shadows or bold strokes
- Non-right angles that are actually scanning distortions
Fixing topology early prevents downstream issues like mis-sized floors, strange ceiling seams, and misplaced openings.
Step 3: Place openings and “functional constraints”
Doors and windows are not decorations—they define how you can use a room. In your room planner, treat them as constraints:
- Door swing + clearance: allow space for handle-side access and swing path.
- Window height: affects desk placement, headboards, and TV mounting.
- Radiators/returns/outlets (if known): keep furniture from blocking them.
If your plan doesn’t include these details, add simple placeholders to reflect reality.
Step 4: Add fixed elements before furniture
In most rooms, fixed elements drive layout more than furniture preferences:
- Kitchen runs, islands, and appliance clearances
- Bathroom fixtures and door clearances
- Built-ins, fireplaces, columns, and stair landings
Once fixed items are in place, furniture layout becomes a structured puzzle rather than guesswork.
Step 5: Build layout options using a repeatable template
To compare layouts objectively, keep variables controlled. Use the same:
- Camera angles (e.g., entry view, corner overview, eye-level seating view)
- Lighting (consistent time-of-day or neutral lighting)
- Object library (same sofa model across options)
Then change only one “big idea” per option: rotate the dining set, swap chaise orientation, shift the bed wall, etc. You’ll get clearer pros/cons and fewer opinion-based debates.
Room planner standards: recommended clearances (quick reference)
Exact requirements vary by region and building type, but these commonly used planning ranges help you sanity-check a 3D layout quickly:
| Element | Typical planning clearance | Why it matters |
|---|---|---|
| Main walkways | 36 in / 90 cm+ | Comfortable two-way movement |
| Minimum pinch point | 24–30 in / 60–75 cm | Temporary tight spots (avoid where possible) |
| Dining chair pull-back | 30–36 in / 75–90 cm | Seating without hitting walls/furniture |
| Sofa-to-coffee table | 14–18 in / 35–45 cm | Reachable surface without crowding |
| Bed side clearance | 24–36 in / 60–90 cm | Access, making the bed, nightstands |
| Kitchen work aisle | 36–48 in / 90–120 cm | Cooking flow, appliance door opening |
Use these ranges as red flags: if your model shows 12 inches between a sofa and a wall “walkway,” the room planner layout may be technically possible but functionally frustrating.
How AI changes room planning (and what it still can’t guess)
AI-assisted room planners can speed up the hardest steps: interpreting walls from images, converting outlines to 3D, and suggesting layout variants. But accuracy depends on what the AI can reliably infer versus what you must confirm.
AI is strong at
- Detecting consistent wall lines and generating clean geometry
- Maintaining proportional relationships when a scale anchor exists
- Producing fast 3D previews for option comparison
AI is weak at (unless explicitly provided)
- Ceiling height and soffits
- Window sill height and door swing direction
- Built-in elements not clearly drawn (radiators, beams, niches)
- Real-world measurement drift (old homes rarely match drawings perfectly)
Best practice: treat AI as a geometry accelerator, then apply a short verification pass before you commit to decisions or share outputs.
Common room planner mistakes (and how to avoid them)
1) Trusting “looks right” over measured truth
In 3D, perspective can trick you. Fix this by adding at least two dimension checks per room (one length, one width) and verifying openings line up with the plan.
2) Ignoring wall thickness
Many plans show walls as thick lines; if your model treats them as centerlines, room sizes can shift. Decide early whether dimensions are to the inside face, outside face, or centerline, and remain consistent.
3) Overfurnishing early
Start with circulation-first planning: entry path, door swings, and key zones. Then furnish. Your final layout will feel calmer and more realistic.
4) Comparing options with different camera views
This creates biased evaluations. Save camera presets and reuse them across options.
A simple naming and versioning system (so options don’t get lost)
Room planning produces lots of variants. Use a file naming convention that encodes the option and the key change. Here’s a lightweight pattern you can adopt:
project-room-option-change-view.ext

Example:
MapleSt-LivingRm-OptB-SectionalRight-EntryView.png
MapleSt-LivingRm-OptC-TVWallSwap-CornerView.png
If you’re collaborating, add initials and date stamps, but keep the “option-change-view” core intact so stakeholders can compare apples to apples.
Exporting visuals that actually help decision-making
A room planner output is most useful when it answers a question. Before exporting, ask what the viewer needs:
- “Does this feel spacious?” Use an eye-level view and a wide corner view.
- “Will we fit the dining table?” Use a top-down 3D view with chairs pulled out.
- “How does light affect the room?” Use two lighting presets (day vs evening).
- “Which option is better?” Export a consistent set of 3–4 views per option.
For presentations, include one annotated image that calls out key dimensions and clearances—this reduces subjective pushback and speeds approvals.
Room planner mini-checklist: “Is my 3D layout trustworthy?”
- Scale anchored: at least one verified dimension applied correctly.
- Topology clean: walls connect, rooms close, no micro-gaps.
- Openings verified: door/window positions match the plan.
- Clearances checked: walkways and swing paths are functional.
- Options controlled: consistent cameras, lighting, and object sizes.
- Exports purposeful: views answer the decision at hand.
Putting it all together
The best room planner workflow is repeatable: start from a readable 2D plan, anchor scale, confirm geometry, then build and compare 3D options under consistent viewing conditions. AI can dramatically reduce the time it takes to get from plan to model, but the winning approach combines automation with a few human verification steps—especially around dimensions, openings, and constraints.
If you’re looking for an iOS tool that converts black-and-white floor plan images into dimension-faithful 3D renders for room planning and exportable visuals, Floor Plan to 3D is one option to explore.
