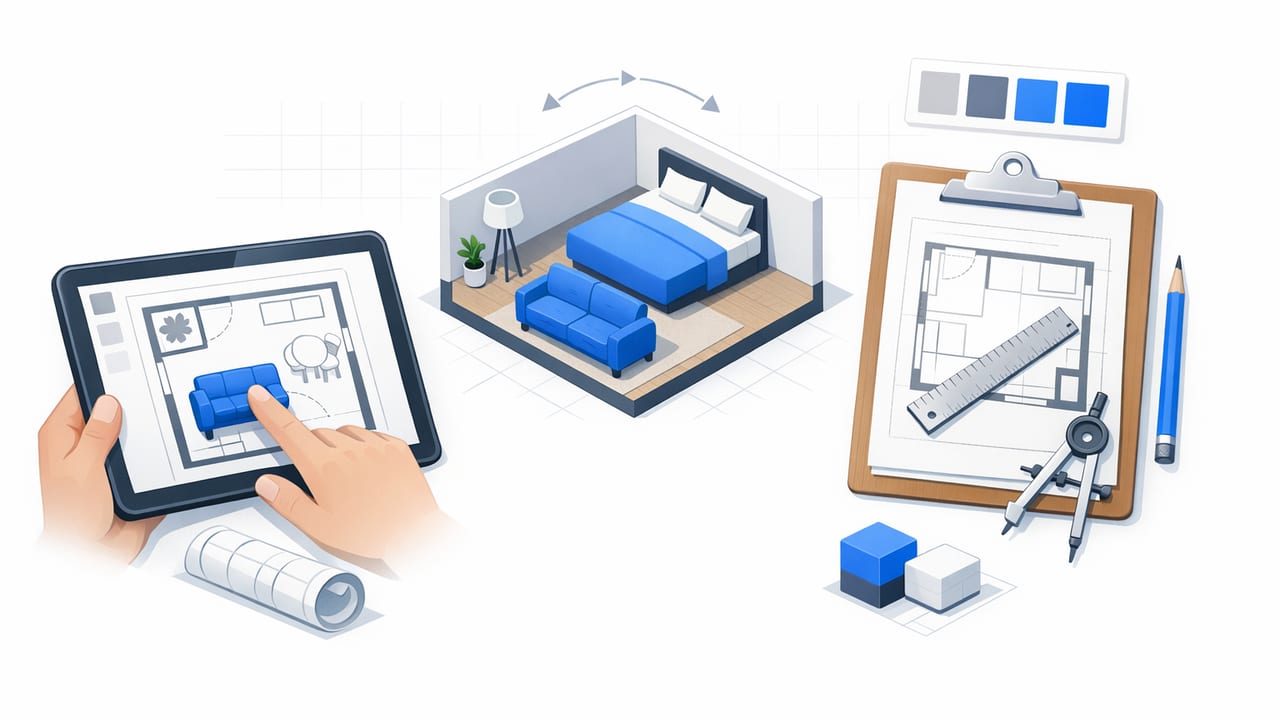
A good room planner does more than drag-and-drop furniture. It helps you translate real constraints—walls, windows, doors, circulation paths, and sightlines—into a layout that feels effortless in daily life. The fastest way to waste money in a redesign is to make decisions from mood boards alone. The fastest way to make confident decisions is to combine measured inputs with layout rules and then validate everything using 3D renders for realistic renovation previews.
This guide walks through a practical, accuracy-first workflow you can use with any room planner (including an AI room planner) to plan interiors, stage empty rooms, and even sanity-check exterior-facing changes like window placement or patio doors—without committing to heavy 3D software.
Why a room planner fails (and how to prevent it)
Most disappointing room layouts happen for predictable reasons:
- Measurements are missing or inconsistent (especially door swings, window heights, and radiator/HVAC locations).
- Clearances aren’t enforced (walkways shrink after you add furniture).
- Real-world constraints are ignored (outlets, return vents, structural posts, sloped ceilings).
- 2D-only decisions hide problems like blocked light, cramped seating, or awkward sightlines.
Rule of thumb: If you can’t explain your layout in terms of circulation, zones, and clearances, it’s not a finished plan—it’s a collage.
The accuracy-first room planner workflow (step-by-step)
Use this sequence whether you’re working from a scanned blueprint, a black-and-white floor plan, or your own measurements.
1) Start from a reliable base plan
If you already have a floor plan, confirm these items before placing anything:
- Scale (a single wrong dimension can distort the entire room).
- Wall thickness (important for door/window positioning and built-ins).
- Openings: door width, door swing direction, window width, window sill height.
- Fixed elements: radiators, columns, fireplaces, built-in closets, electrical panel, plumbing stacks.
If you’re converting a plan into a model, treat this as “data entry”: accuracy here saves hours later when you begin renovation previews.
2) Define the room’s job in one sentence
Before furniture: write a single sentence describing the room’s priority. Examples:
- “A living room for 4–6 people with a clear path to the kitchen.”
- “A bedroom that fits a queen bed, two nightstands, and a small desk.”
- “A home office optimized for video calls and storage.”
This sounds basic, but it prevents the most common room planner trap: trying to optimize for everything and achieving nothing.
3) Zone the room before you pick furniture
Zoning is what separates “placed objects” from a functional plan. Sketch zones using simple rectangles:
- Primary activity zone (sofa + coffee table, bed area, dining table).
- Circulation zone (paths to doors, hallways, and adjacent rooms).
- Storage zone (wardrobes, shelving, media console, entry drop zone).
- Flex zone (reading chair, workout corner, play area).
Many AI room planner tools do this implicitly; you’ll get better results if you provide the intent (e.g., “keep a clear walkway from entry to patio door”).
4) Apply clearance rules (the part most people skip)
Clearances are what make a room feel “easy.” Use the table below as practical planning targets. (Your local building codes and accessibility needs may require more.)
| Scenario | Recommended clearance | Why it matters |
|---|---|---|
| Main walkway through a room | 36 in / 90 cm (minimum), 42 in / 105 cm (comfortable) | Prevents bottlenecks and “sideways shuffling.” |
| Space behind dining chairs | 36 in / 90 cm from table edge to wall/furniture | Lets people sit and stand without collisions. |
| Between sofa and coffee table | 14–18 in / 35–45 cm | Comfortable reach without bruised shins. |
| Bed side clearance (one side) | 24 in / 60 cm (minimum), 30 in / 75 cm (better) | Improves daily movement and linen changes. |
| Kitchen work aisle (one cook) | 42 in / 105 cm | Safer workflow and fewer blocked drawers. |
| TV viewing distance | Roughly 1.5–2.5× screen diagonal | Reduces eye strain and improves comfort. |
Tip: Treat clearances as “no-build” zones in your room planner. If your furniture overlaps them, the layout is not finished—no matter how good it looks.
5) Choose furniture by footprint (not vibes)
When layouts fail, it’s often because the furniture you imagined is larger than the furniture you measured. Work from real dimensions:
- Pull sizes from product listings (width × depth × height).
- Prefer modular components in tight rooms (loveseat + chair vs. oversized sectional).
- Use a “swap list” of alternates (Plan A sofa, Plan B sofa, Plan C compact sofa).
In a room planner, create a small library of your most likely items so you can compare layouts quickly without re-measuring every time.
6) Run three essential layout tests
Before you fall in love with a plan, test it like a skeptical reviewer.
- Path test: Can you walk from each door to the main destination (seat, bed, desk) without obstacles?
- Openings test: Do all doors, drawers, and closets open fully without hitting furniture?
- Daily-use test: Where do you put your keys, bag, laundry hamper, vacuum, or printer paper?
7) Validate in 3D (sightlines, light, and “feel”)
2D layouts are great for correctness; 3D renders are where you evaluate comfort and perception:
- Sightlines: Does the sofa face the focal point (TV, fireplace, window view) without awkward angles?
- Light: Do tall pieces block windows or create dark corners?
- Scale perception: Does the room feel cramped even if the math works?
This is where AI-guided redesign concepts can help: generate a few variants, then keep only the ones that also pass your clearance rules.
Common room planner scenarios (with practical fixes)
Small living room: “Why does it feel tighter than the measurements?”
- Issue: Oversized sofa depth steals circulation.
- Fix: Swap to a shallower sofa (often 34–38 in / 86–97 cm deep) and use wall-mounted or narrow media storage.
- 3D check: Confirm the seated eye line to TV height and that window light isn’t blocked by tall shelving.
Bedroom: “The bed fits, but the room doesn’t work.”
- Issue: Nightstands and closet doors compete for the same clearance.
- Fix: Use floating shelves as nightstands, or rotate the bed to protect closet access.
- 3D check: Ensure you can open drawers and still step into the closet comfortably.
Home office: “I hate my video call background.”
- Issue: Desk faces a blank wall or messy area; glare from windows.
- Fix: Rotate the desk to face into the room with a tidy storage wall behind you; place monitors perpendicular to windows.
- 3D check: Preview lighting direction and shadows at typical work hours.
A lightweight way to sanity-check clearances (mini formula)
If you like a more systematic approach, you can treat walkways as a simple constraint problem: ensure the “free width” never drops below a target.
// Pseudocode: clearance check along a path segment
// Inputs: roomWidth, obstacles[] with their projections into the path
minClearance = 36  // inches
freeWidth = roomWidth - sum(obstacle.widthInPath for obstacle in obstacles)

if freeWidth < minClearance:
  flag("Path too tight", freeWidth)
else:
  pass
You don’t need to code this—most room planner tools let you measure distances directly—but thinking this way helps you spot why a layout “almost works” but fails in daily use.
How to use an AI room planner without losing control
An AI room planner can be a powerful collaborator, especially when you want multiple styles or layout variations quickly. The key is to give it constraints and then evaluate the results like a designer, not a spectator.
Prompting checklist (copy/paste)
- Goal: “Create a conversational seating area for 4 with a clear walkway to the patio door.”
- Must-keep: “Keep the fireplace as the focal point; don’t block the bay window.”
- Dimensions: “Room is 12'6" × 15'0"; doorway is 32" wide on the north wall.”
- Clearances: “Maintain at least 36" main walkway and 30" around the dining table.”
- Style guardrails: “Warm minimal, light oak, no bulky recliners.”
Then run your layout tests and only keep variations that pass clearances and opening checks. AI is great at generating ideas; you’re responsible for functionality.
Export-ready outputs: what to capture for renovation previews
When you’re ready to share your plan with a contractor, realtor, or household decision-makers, capture visuals that answer real questions:
- Top-down plan view with key dimensions and labels.
- Two opposing 3D views (e.g., from entry and from window) to show how the room reads.
- One “problem shot” focused on a known risk area (tight corner, door clearance, narrow aisle).
- Option set: Layout A vs. Layout B, with a one-sentence tradeoff summary.
This turns the room planner into a decision tool, not just a drawing tool.
Final checklist: the 10-minute room planner review
- All walls, openings, and fixed elements are placed accurately.
- Main circulation path is at least 36 in / 90 cm.
- Doors, drawers, and closets open without conflict.
- Furniture footprints match real products (not guesses).
- Primary activity zone is clear (seating, sleeping, dining, work).
- Storage is planned where clutter actually happens.
- Lighting and window blocking checked in 3D.
- Sightlines feel intentional (focal point, TV, view).
- At least two viable layout options saved for comparison.
- Exports prepared for discussion (plan + 3D renders).
A gentle next step
If you’re starting from an existing blueprint or scanned plan, converting it into a clean 3D model can make these checks dramatically faster—especially when you want multiple layout iterations. Tools like Floor Plan to 3D & Home Redesign are designed for quick floor plan conversion, AI-guided room planning, and exportable 3D renders so you can evaluate renovation previews with less guesswork.
