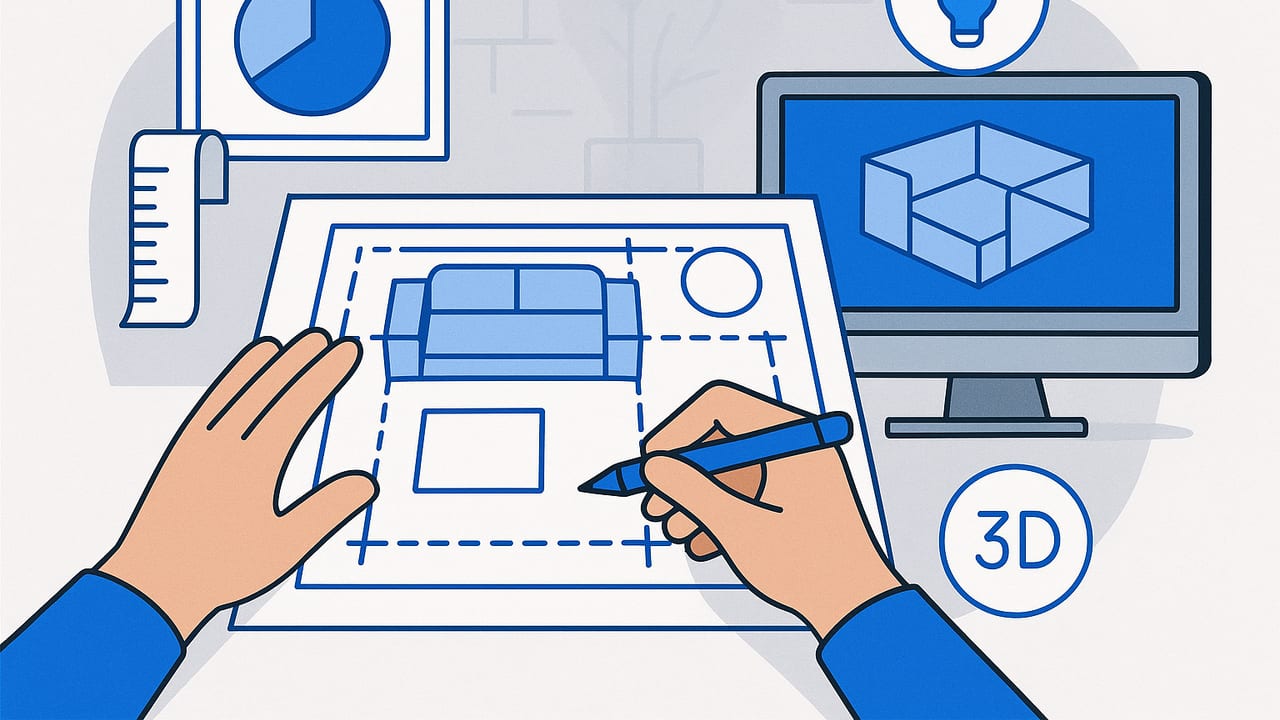
A great room is more than good furniture and pretty colors; it’s the result of deliberate planning. A room layout planner workflow helps you translate ideas into a comfortable, functional space that fits your lifestyle and dimensions. This blueprint walks you through a practical, end-to-end process: measuring, zoning, setting clearances, testing furniture configurations, and validating in 3D so your design feels right in real life—not just on paper.
Start with Constraints: Measure, Scale, and Structure
Before deciding on sofas or beds, capture the fixed parameters. Precision at this stage prevents costly layout changes later.
- Measure the shell: Room length, width, and ceiling height. Note any angles or jogs.
- Mark immovables: Windows, doors (include swing direction), radiators, vents, columns, built-ins, outlets, and switches.
- Record sill and header heights: Useful for window treatments, shelving, artwork, and TV placement.
- Check plumb and level: Older homes may have irregularities that affect cabinetry or tall wardrobes.
- Choose a scale: For hand sketches, 1/4" = 1'-0" (1:48) or 1/8" = 1'-0" (1:96). Keep a consistent scale across pages.
Photograph the space and highlight tricky spots (tight corners, narrow doors). Small bottlenecks often drive the entire room layout planner decision tree.
Plan by Purpose: Activity Zones and Adjacency
Organize the room into task-based zones to anchor the layout. Good adjacency reduces friction and creates intuitive flow.
- Conversation zone: Seating arranged for face-to-face interaction, with a coffee table within arm’s reach.
- Media zone: Seating oriented to a screen, with controlled glare and appropriate viewing distance.
- Work/Study zone: Desk and task lighting, near outlets and away from heavy traffic.
- Dining zone: Table centered under a pendant, with adequate chair pushback around the perimeter.
- Rest zone (bedroom): Bed wall with nightstands, clear paths to closet and bathroom.
Place higher-activity zones near entrances and lower-activity zones away from traffic. Use rugs, lighting, and furniture groupings to signal zone boundaries without building walls.
Clearances Cheat Sheet: The Comfort Numbers
Clearances ensure your layout feels easy and safe to navigate. Use these as starting points; adjust for household needs and local codes.
| Scenario | Recommended Clearance (Imperial) | Recommended Clearance (Metric) |
|---|---|---|
| Primary walkway | 36–42 in | 90–105 cm |
| Secondary walkway | 30–36 in | 75–90 cm |
| Sofa to coffee table | 14–18 in | 35–45 cm |
| TV viewing distance (1080p) | 1.5–2.5× screen diagonal | 1.5–2.5× screen diagonal |
| Dining chair pushback behind chair | 36–44 in | 90–112 cm |
| Bed sides clearance | 24–36 in | 60–90 cm |
| Door swing clearance | 30–36 in arc | 75–90 cm arc |
| Desk knee space depth | 18–24 in | 45–60 cm |
| Kitchen work aisle (one cook) | 42 in | 107 cm |
| Kitchen work aisle (two cooks) | 48 in | 122 cm |
Tip: Sketch these clearance bands right on your plan. If bands collide, you’ve discovered a bottleneck before moving a single piece of furniture.
Typical Furniture Footprints
Know the usual sizes for faster planning. Real products vary, so verify specs before purchasing.
| Piece | Common Sizes (Imperial) | Common Sizes (Metric) |
|---|---|---|
| Sofa (3-seat) | 78–90 in W × 34–40 in D | 198–229 cm W × 86–102 cm D |
| Loveseat | 60–72 in W × 32–38 in D | 152–183 cm W × 81–97 cm D |
| Armchair | 30–40 in W × 32–38 in D | 76–102 cm W × 81–97 cm D |
| Coffee table | 40–60 in L × 20–30 in W | 102–152 cm L × 51–76 cm W |
| Queen bed | 60 × 80 in mattress | 152 × 203 cm mattress |
| King bed | 76 × 80 in mattress | 193 × 203 cm mattress |
| Dining table (4–6) | 60–72 in L × 36–40 in W | 152–183 cm L × 91–102 cm W |
| Desk | 48–60 in W × 24–30 in D | 122–152 cm W × 61–76 cm D |
A Step-by-Step Room Layout Planner Workflow
- Survey and measure: Create a scaled plan capturing structure and utilities.
- Define goals: List the room’s must-dos (e.g., seating for five, media wall, reading nook).
- Zone the space: Draw conceptual blocks for each activity and sketch circulation paths.
- Place the anchors: Position the largest piece first (bed, sectional, dining table) relative to doors, windows, and focal points.
- Layer supporting pieces: Add chairs, storage, and tables; test clearances and walkway continuity.
- Balance lighting: Combine ambient, task, and accent lighting; check glare and shadow.
- Rug and acoustic plan: Use rugs to define zones and absorb sound, especially in open plans.
- Iterate alternatives: Create at least three layouts to reveal trade-offs; don’t settle on your first idea.
- 3D check: Validate sightlines, heights, and proportions with a quick render.
- Reality test: Tape outlines on the floor and live with them for a day; adjust before committing.
Flow, Sightlines, and Light: The Three Big Tests
- Flow: Can two people pass in primary routes without turning sideways? Avoid dead-ends and pinched corners.
- Sightlines: Walking into the room, what do you see first? Frame a focal point (art, window, fireplace) and keep major pathways visually clean.
- Light: Map natural light across the day. Place screens perpendicular to windows to reduce glare and locate desks where daylight aids focus.
Design isn’t just about what you add—clearances, pathways, and light are the “negative spaces” that make rooms livable.
Room-Specific Strategies
Living Room
Start with the focal point: fireplace, view, or media wall. Arrange primary seating in a U or L around a coffee table, then add occasional chairs to flex capacity. Keep 36–42 in for main walkways behind seating. Use layered lighting—ceiling, sconces, and table lamps—for mood and function.
Bedroom
Center the bed on the most continuous wall. Maintain at least 24 in on each side; more if it’s a shared space. If the closet is behind a swinging door, avoid placing dressers within its swing arc. Consider under-bed storage if the room is tight, and check sightlines from bed to window for a calming view.
Home Office
Orient the desk to avoid screen glare; daylight from the side is ideal. Provide at least 18–24 in knee clearance and 36 in behind the chair. Place a bookcase near but not in the primary walkway. Cable-manage early—power, data, and printer cords often dictate desk location.
Studio or Open Plan
Use rugs and lighting to “draw” rooms within the room. Floating sofas can define a living zone; back them with a console for storage and visual finish. A low bookshelf can act as a partial divider without blocking light. Keep a clear spine (primary walkway) through the space.
Advanced Tactics for a Polished Layout
- Modular grid: Draft a 12–18 in (30–45 cm) grid on your plan. Align furniture edges to the grid to reduce visual noise.
- Asymmetry with balance: If one side is heavy (e.g., a large sectional), balance with a tall plant or floor lamp on the opposite side.
- Focal hierarchy: Limit the room to one major focal point and one minor. Too many compete for attention.
- Vertical thinking: Tall shelves and art draw the eye up, especially in small rooms; check that the vertical scale fits ceiling height.
- Material rhythm: Repeat finishes (wood tone, metal, fabric) at least three times across the room to tie zones together.
3D Validation: Scale, Height, and Proportion
Even a textbook-perfect plan can falter when seen at eye level. Use a quick 3D pass to validate:
- Heights: Verify that pendants, shelves, and artwork sit comfortably relative to eye level and furniture tops.
- Proportion: Check that sofa back heights and chair arms align visually across groupings.
- Glare and shadows: Place virtual lights and sun to test screen glare and reading comfort across the day.
- Obstructions: Confirm doors, drawers, and appliance doors open fully without hitting other elements.
Scale Math You’ll Actually Use
If you’re drawing by hand or translating measurements into a digital canvas, these quick formulas help keep scale consistent.
// Convert real-world inches to drawing units (1/4" = 1'-0")
// 1 foot in reality = 0.25 inch on paper
paper_inches = real_feet * 0.25

// Example: 12 feet room width → 3 inches on paper

// Metric rough equivalence for 1:50 scale
// 1 meter in reality = 2 cm on paper
paper_cm = real_meters * 2

// Pixel mapping (for digital planners)
// canvas_pixels_per_foot = DPI * (paper_inches_per_foot)
// If DPI = 96 and using 1/4" scale → 0.25 in/ft → 24 px/ft
px = real_feet * 24
Pro tip: Keep a scale ruler or set your digital grid to match your scale so snapping furniture footprints is effortless.
Common Pitfalls and How to Avoid Them
- Overfilling the room: Leave at least one clean wall or visual breathing space.
- Ignoring door arcs: Draw the swing arcs—many layouts fail at the hinge.
- Rug too small: In living rooms, front legs of seating should land on the rug for cohesion.
- Single light source: One ceiling fixture creates harsh shadows; layer lighting.
- No cable plan: Without outlets and cable routing, desks and media units migrate into walkways.
Quick Checklist Before You Commit
- All primary walkways ≥ 36 in
- Dining chair pushback ≥ 36 in around table
- Bed access on both sides (shared bed)
- No door, drawer, or appliance collision
- Task lighting where tasks happen
- Rug sizes align with furniture groupings
- Cable paths planned to avoid trip zones
- 3D check confirms heights, views, and glare
FAQ: Room Layout Planner Essentials
How do I pick a focal point?
Choose the strongest existing feature: a view, fireplace, or balanced media wall. Arrange major pieces to reinforce that view, then add accents that support rather than compete.
What’s the best rug size for a seating group?
As a rule of thumb, the rug should be large enough for front legs of all seating to rest on it. For a 3-seat sofa plus two chairs, 8×10 or 9×12 often works; verify against your specific layout.
How far should a TV be from the sofa?
For 1080p screens, 1.5–2.5 times the diagonal; for 4K, you can sit closer, about 1–1.5 times the diagonal. Adjust for comfort and glare.
Is it okay to float furniture?
Yes. Floating sofas or desks can improve flow and zoning. Just maintain 36–42 in primary walkways around them and anchor with a rug or console table.
Bringing It All Together
A reliable room layout planner process connects measurements, zones, and clearances to lighting, sightlines, and real-world movement. Use the cheat sheets above to size and space with confidence, test at least three arrangements, and verify in 3D to catch issues that flat drawings miss. When your plan respects both math and mood, the result is a room that looks right and lives even better.
For an iOS-friendly way to validate proportions and sightlines, you can convert a 2D floor plan into a faithful 3D view to sanity-check heights, clearances, and furniture fit using Floor Plan to 3D.
