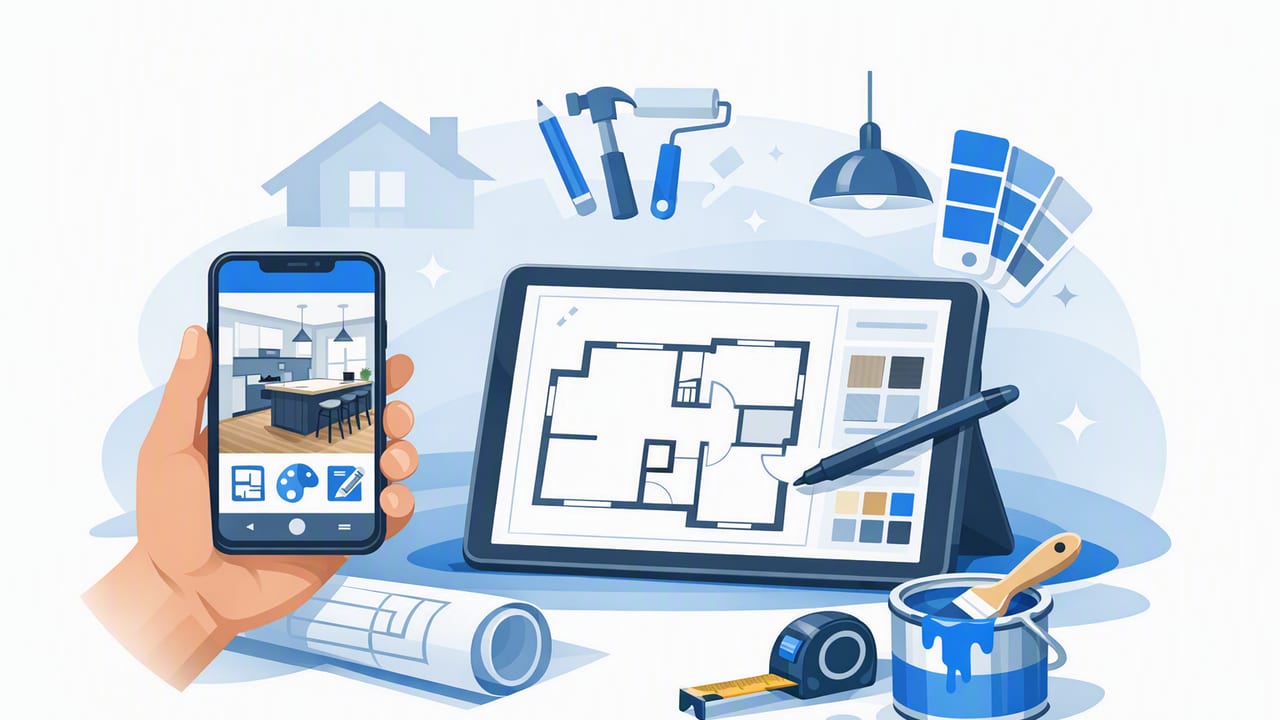
A renovation can stall for one simple reason: it’s hard to “see” the outcome from a flat plan, a few inspiration photos, and a contractor quote. A good renovation design app bridges that gap by turning an existing floor plan into 3D renders you can understand, compare, and share—without committing to heavy CAD tools.
This guide lays out a practical, repeatable workflow to go from floor plan conversion to decision-ready visuals. You’ll learn what to prepare, how to validate accuracy, how to test options quickly (interior and exterior), and how to export images that keep conversations productive with contractors, designers, and family members.
Why 3D-first planning beats “guess and build”
Most renovation mistakes aren’t about taste—they’re about mismatched expectations and unclear constraints. A 3D preview helps you catch issues early, such as:
- Traffic flow problems (tight corners, awkward door swings, pinch points near islands)
- Scale errors (furniture that doesn’t fit, oversized fixtures, narrow clearances)
- Lighting surprises (dark halls, glare, poor window-to-room balance)
- Budget creep (discovering late that a “small change” triggers plumbing or structural work)
Using a renovation design app with an AI room planner also helps generate layout options faster, so you’re comparing realistic scenarios rather than debating vague ideas.
Step 1: Gather the right inputs (and avoid common scan pitfalls)
Your results depend on what you feed into the app. Before you convert a plan to 3D, collect:
- A clean plan image (preferably black-and-white, high contrast, minimal shadows)
- At least one known measurement (e.g., overall width of the home, a room dimension, or a door width)
- Notes on what must stay (load-bearing walls, plumbing stacks, window locations)
- Photos of key rooms and exterior elevations (helps with finishes and context)
Scan/photograph checklist
- Flatten the paper and avoid curled edges.
- Photograph in even light; avoid harsh shadows.
- Keep the camera parallel to the paper to reduce distortion.
- Include the full page and margins; cropping can cut off dimensions and labels.
Rule of thumb: If you can’t clearly read room labels and dimensions on your phone screen, the app may struggle to preserve them during floor plan conversion.
Step 2: Convert the floor plan to 3D—then validate accuracy
When you import a floor plan into a renovation design app, the goal isn’t just a pretty 3D image. The goal is a layout-faithful model that respects proportions, labels, and dimensions so your renovation previews match reality.
Validate these four “accuracy anchors”
- Overall footprint: Confirm the exterior perimeter matches your known measurement.
- Wall thicknesses: Ensure interior vs. exterior walls are reasonable (this affects room sizes and cabinetry fit).
- Openings: Check doors/windows align with the plan; verify swings and widths where relevant.
- Stairs and wet areas: Stairs, bathrooms, and kitchens often drive constraints—verify placement early.
If your app allows it, lock critical dimensions once confirmed. That way, when you test layouts, the model stays grounded in the original plan.
Step 3: Define renovation goals as “decision questions”
Instead of starting with finishes, start with the decisions that will shape cost and usability. Write your project as a short set of questions your 3D previews must answer:
- Should we open the kitchen wall, or keep it and rework cabinetry?
- Do we gain more value from an extra bedroom or a larger living area?
- Is a powder room possible without moving the main plumbing stack?
- Which exterior refresh has the best curb appeal per dollar?
This framing prevents endless “pretty render” loops and keeps the renovation design app focused on measurable outcomes.
Step 4: Build option sets (A/B/C) you can actually compare
The fastest way to make confident choices is to limit options while increasing clarity. Create 2–3 variants per problem, then compare them with the same camera angles and lighting.
Example: Kitchen remodel option set
- Option A: Keep walls; optimize storage and appliance placement.
- Option B: Remove partial wall; add peninsula seating.
- Option C: Full open concept; island + pantry wall (higher cost, bigger impact).
In each option, keep one thing constant (e.g., appliance sizes) so you’re not comparing apples to oranges.
Use an AI room planner carefully
An AI room planner is great for generating starting points—especially for awkward rooms or open-plan furniture zoning. But treat outputs as drafts. Confirm:
- Clearances (walkways, door swings, aisle width around islands)
- Furniture scale (sofas, beds, dining tables)
- Real-world constraints (HVAC returns, radiators, structural columns)
Step 5: Compare options with a simple scoring table
When people disagree on a layout, it’s often because they’re optimizing for different things (storage vs. openness vs. budget). A quick table turns opinions into a structured decision.
| Criteria | Option A | Option B | Option C |
|---|---|---|---|
| Estimated cost impact | Low | Medium | High |
| Construction complexity | Low | Medium | High |
| Day-to-day usability | Medium | High | High |
| Resale appeal | Medium | High | High |
| Risk (permits/structural/plumbing) | Low | Medium | High |
Keep the scoring rough—its job is to reveal tradeoffs, not predict exact bids.
Step 6: Don’t forget the exterior—use 3D to test curb-appeal moves
Interior design decisions can be corrected later with paint and furniture. Exterior choices are often more expensive and more visible. A renovation design app that supports exterior refresh previews can help you test:
- Siding or paint color shifts (light vs. dark body, contrasting trim)
- Entry upgrades (door style, porch posts, overhangs)
- Window trim emphasis (modern black frames vs. traditional white)
- Material balance (stone veneer accents vs. clean modern planes)
Try one change at a time, then stack changes once you find a direction. This avoids the “too many variables” trap.
Step 7: Create presentation-ready exports (so decisions stick)
To keep a renovation moving, you need visuals that translate across stakeholders—partners, builders, and sometimes permitting reviewers. Export a small set of consistent views:
- Top-down 3D (overall layout understanding)
- Eye-level room views (kitchen, living, primary bedroom)
- 1–2 exterior angles (front and a corner perspective)
- A “before vs. after” pair for the highest-impact space
Optional: Use a filename convention to stay organized
When you generate multiple renovation previews, naming files consistently prevents version confusion.
Project_Room_Option_View_Revision.png
GreenSt_ChefKitchen_B_EyeLevel_r03.png
GreenSt_Facade_C_FrontAngle_r01.png
This small habit makes it easier to compare bids and communicate change requests without rework.
Common mistakes to avoid with any renovation design app
- Skipping dimension checks: If the model scale is off, every downstream choice is suspect.
- Designing around “ideal” furniture: Use real sizes you can buy (or already own).
- Changing layouts and finishes at the same time: Separate planning (walls/doors) from styling (materials/decor).
- Not documenting assumptions: Note what’s verified vs. estimated (especially wall types and window sizes).
A practical mini-workflow you can run in one weekend
- Saturday morning: Scan/photograph the plan, import it, run floor plan conversion.
- Saturday afternoon: Validate the four accuracy anchors; fix obvious misreads.
- Sunday morning: Create Options A/B/C for one key space (often kitchen or living).
- Sunday afternoon: Export 6–10 consistent renders; score options with the table; choose a direction.
By the end, you should have a clear “preferred option” plus a documented runner-up—useful when budget or structural realities force compromise.
FAQ: Choosing features that matter
Do I need photorealism or accuracy?
For renovation planning, accuracy comes first. Photorealism helps later when selecting materials, but early-stage decisions (walls, openings, flow) depend on trustworthy proportions.
Can an app replace an architect or interior designer?
A renovation design app supports faster iteration and clearer communication, but it doesn’t replace professional judgment for structural changes, code compliance, MEP coordination, and detailed construction documents.
What’s the best way to use AI-generated layouts?
Use AI to explore possibilities, then validate with real measurements and constraints. Treat AI suggestions as “concept sketches” that accelerate ideation.
Wrap-up: Turn ideas into decisions, not just images
The best renovation workflows aren’t about generating endless renders—they’re about answering the few decisions that unlock the project. With a solid floor plan conversion, a disciplined A/B/C option set, and consistent exports, a renovation design app becomes a practical planning tool instead of a novelty.
If you’re looking for an iOS tool that converts black-and-white floor plans into clean 3D and supports AI-guided room planning, Floor Plan to 3D & Home Redesign is one option to explore as part of your process.
