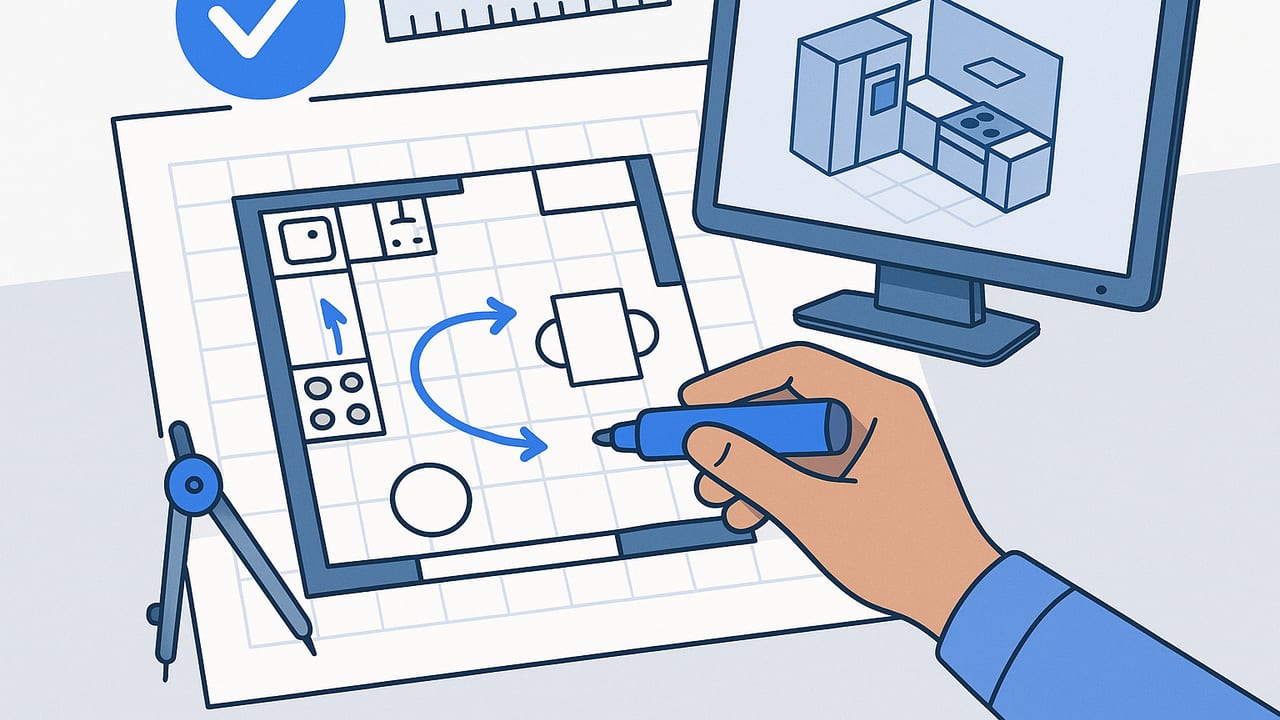
A successful remodel begins long before demolition. It starts with a clear, buildable plan that respects real-world constraints, preserves scale, and communicates intent. A remodel layout planner—whether a method, checklist, or software—helps you go from rough ideas to layouts you can price, permit, and build. This guide walks you through a practical, end-to-end workflow with accuracy checks, 3D verification, and professional tips to avoid costly changes later.
What a Remodel Layout Planner Actually Does
At its best, a remodel layout planner is a structured process for turning constraints into confident decisions. It doesn’t just make rooms look good; it ensures the design works in reality. Your output should include:
- Scaled plans (existing and proposed) with dimensions and annotations.
- Clearances, circulation paths, and verified door swings.
- Identified structural and MEP impacts (loads, plumbing, HVAC, electrical).
- 3D views for volume, sightlines, daylight, and furniture fit.
- A QA checklist proving what’s been measured, assumed, and validated.
Core Principles That Drive Effective Remodel Planning
1) Measure Twice: Scale and Tolerances
Set a reliable scale before anything else. Distinguish between hard dimensions (fixed: exterior walls, columns, stair locations) and soft dimensions (adjustable: partition thickness, cabinet depth). Work with tolerances: most residential remodels should assume a measured accuracy of ±1–2% and note where verification is pending.
2) Hidden Constraints: Structure and MEP
Structural spans, bearing walls, joist directions, stack locations, and HVAC runs often decide what’s possible. If you move plumbing fixtures or load-bearing components, expect cost/time implications. Flag each move: “relocate,” “modify,” or “leave.”
3) Zoning and Adjacencies
Group spaces by function (public, private, service) and map adjacencies (who wants to be near whom). A compact service core (kitchen, bath, laundry) reduces MEP complexity. Keep noisy areas away from quiet rooms.
4) Circulation and Ergonomics
Flow matters as much as square footage. Strive for intuitive routes, unblocked doors, and adequate widths. Avoid long dead-ends and allow natural progression from entry to living to private zones.
5) Daylight, Acoustics, and Privacy
Orient primary seating and work zones toward natural light. Use buffers (closets, bathrooms) between noisy and quiet spaces. Consider sound paths through doors and shared walls.
Typical Residential Clearances
| Element | Recommended Clearance | Notes |
|---|---|---|
| Main circulation path | 36–42 in (915–1065 mm) | Increase to 48 in in high-traffic areas |
| Interior door width | 30–36 in (760–915 mm) | Prefer 32–36 in for accessibility |
| Kitchen work aisle | 42 in (1065 mm) | 48 in if multiple cooks |
| Dining chair clearance | 36–44 in (915–1120 mm) | From table edge to obstacle |
| Toilet side clearance | 15–18 in (380–455 mm) | Wall to centerline of fixture |
| Shower interior | 36 x 36 in (915 x 915 mm) min | Larger is more comfortable |
| Stair headroom | 80 in (2030 mm) min | Check local code |
Pro Tip: Clearances are your first QA filter. If a beautiful layout fails a single critical clearance, it isn’t buildable—fix it early.
End-to-End Workflow for a Remodel Layout Planner
-
Capture Existing Conditions
Measure walls, ceiling heights, window/door sizes, and note structural features. Photograph each wall with a tape measure visible. Record utilities, shut-off valves, and panel locations. Use a consistent naming scheme for rooms and walls.
-
Set Scale Correctly
Draw or scan your plan into a digital canvas. Align to a known dimension (e.g., a 10' wall). Lock the scale before creating variants. Maintain a legend noting any assumed dimensions.
-
Map Constraints and Opportunities
Mark bearing walls, columns, joists, stacks, supply/return vents, windows with solar orientation, and property lines. Color code: red for fixed, amber for expensive to move, green for flexible.
-
Create Zoning and Adjacency Diagrams
Use bubbles or blocks to organize public, private, and service zones. Keep short adjacency lines between primary pairs (kitchen–dining, entry–coat closet, laundry–bath).
-
Draft 2–3 Layout Options
Develop distinct concepts: Minimal-change (budget), Moderate (function), Transformative (flow). Annotate each with pros/cons, estimated cost impact (low/med/high), and risk notes.
-
Run Clearance and Circulation Checks
Overlay path widths and door swing arcs. Verify furniture footprints plus movement space. If congestion occurs in more than one option, revisit zoning rather than shaving inches everywhere.
-
3D Verification
Extrude walls, place windows/doors, drop representative furniture volumes. Walk the model at eye height (approx. 5'6"/167 cm). Verify sightlines to windows, overhead clearances, and the feel of aisle widths.
-
MEP Feasibility Pass
Check plumbing runs (wet walls), HVAC supply/returns, electrical circuitry, and lighting layers. Identify conflicts early: soffit requirements, venting paths, and loading on existing circuits.
-
QA and Stakeholder Review
Prepare dimensioned plans, annotated 3D views, and a brief assumptions log. Ask stakeholders to confirm must-haves and trade-offs. Lock the concept before detailed selections.
Scenario: Opening a Galley Kitchen to the Living Room
Goal: Improve sightlines and social flow while maintaining storage and code-compliant clearances.
- Existing: 8' x 12' galley, 30" aisle each side, full-height wall to living room.
- Constraints: Bearing wall between spaces; plumbing stack on the sink wall; return vent near opening.
- Strategy: Replace the wall with a 10' opening and a flush beam; push base cabinets to 25" depth; aim for 42"–45" work aisles; add island with 36" clear both sides where possible.
Outcome: With a flush beam and a shifted return vent, you achieve a 9' opening, maintain 42" aisles, and gain an island with seating. A 3D walkthrough confirms sightlines from entry to windows, reduces visual clutter, and verifies stool clearance behind seated users (min 36").
Comparing Tools for a Remodel Layout Planner
| Tool Category | Best For | Pros | Limitations | Output |
|---|---|---|---|---|
| Graph paper + scale ruler | Quick sketches, early zoning | Tactile, fast, low overhead | Version control, no 3D, error-prone scale | Hand-drafted plans |
| 2D CAD | Precise drafting, dimensioning | High accuracy, layering, standards | Learning curve, limited spatial feel | DWG/DXF, PDFs |
| 3D planning apps | Spatial testing, client visuals | Immersive, furniture fit, sightlines | Requires accurate inputs | 3D views, renders |
| Scan-to-plan tools | Digitizing existing conditions | Fast capture, fewer manual errors | May miss small offsets; verify | Scaled 2D, base 3D |
Quick Rules of Thumb and Constraints
- Keep main circulation ≥ 36"; aim for 42–48" where possible.
- Kitchen: 42" work aisles; 48" for two cooks; 15" min landing areas at appliances.
- Bathrooms: 21" clear in front of fixtures; 30" x 48" approach for accessibility considerations.
- Stairs: 7" rise/11" run typical; 80" min headroom; verify local code.
- Lighting: layered approach—ambient, task, accent. Target 300–500 lux on task surfaces.
- Acoustics: use solid-core doors for bedrooms and add soft finishes in large, hard-surface spaces.
Representing a Remodel Layout Programmatically
While you don’t need code to plan, structuring constraints as data can improve consistency:
{
  "rooms": [
    {"name": "Kitchen", "size_ft": [12, 10], "min_aisle_in": 42},
    {"name": "Living", "size_ft": [16, 14], "min_path_in": 42}
  ],
  "constraints": {
    "bearing_walls": ["W1"],
    "plumbing_stacks": ["Kitchen_North"],
    "vent_locations": ["Hall_Return"],
    "door_min_width_in": 32
  },
  "clearances": {
    "table": {"chair_clear_in": 40},
    "island": {"rear_clear_in": 36}
  }
}
QA Checklist Before You Present Your Remodel Layout
- Scale locked: At least two cross-checked dimensions match field measures.
- Clearances verified: Paths, aisles, door swings, and fixture zones meet targets.
- Structure acknowledged: Any removed wall labeled bearing/non-bearing with header/beam note.
- MEP impact: Plumbing relocations, venting routes, and circuit loads considered.
- Lighting layers: Ambient, task, and accent shown; switch locations practical.
- 3D review: Walkthrough confirms sightlines, headroom, and furniture fit.
- Assumptions log: Tolerances, unverified items, and pending measurements are listed.
- Version control: Options clearly named; dates and changes recorded.
Exporting and Sharing: What Stakeholders Need
Package deliverables so builders, clients, and officials can act quickly. Include:
- Dimensioned floor plans (PDF) with scale bar and north arrow.
- Annotated elevations or sections for key areas (kitchens, bathrooms).
- 3D perspectives and a short walkthrough for spatial comprehension.
- Fixture/furniture schedule with sizes and clearances.
- Assumptions and constraints summary (one page).
Common Pitfalls and How to Fix Them
- Scale drift: Recalibrate to a known dimension and relock your canvas before continuing.
- Invisible wall thickness: Deduct stud + drywall in tight rooms; update net interior dims.
- Door conflicts: Switch swing direction or use pocket/sliding doors in tight corridors.
- Kitchen pinch points: Resize or relocate islands; maintain 42–48" aisles.
- Lighting shadows: Add under-cabinet task lighting; relocate cans; consider track or wall-washers.
- Headroom surprises: Model ceiling slopes and bulkheads; verify with sections in 3D.
- MEP dead-ends: Plan chase routes early; group wet zones; coordinate soffits with cabinetry.
How a Remodel Layout Planner Uses 3D to De-Risk Design
2D plans are necessary but not sufficient. 3D views reveal volume, sightlines, and ergonomics that flat drawings can hide. Use 3D early to test island seating, pendants over counters, window heights relative to backsplashes, and the feel of widened openings. Walkthroughs at eye-height catch claustrophobic hallways, awkward soffits, and inconsistent trim lines before they become expensive field changes.
Final Thoughts
Great remodels happen when planning respects both the tape measure and human experience. Treat your remodel layout planner as a disciplined workflow: measure, model, test, verify, and communicate. Lock scale, validate clearances, and use 3D to align decisions with reality. If you start from a black-and-white 2D plan and need quick, accurate spatial verification, the iOS app Floor Plan to 3D can transform your layout into detailed 3D renders while preserving dimensions—handy for reviews, proposals, and stakeholder buy-in.
