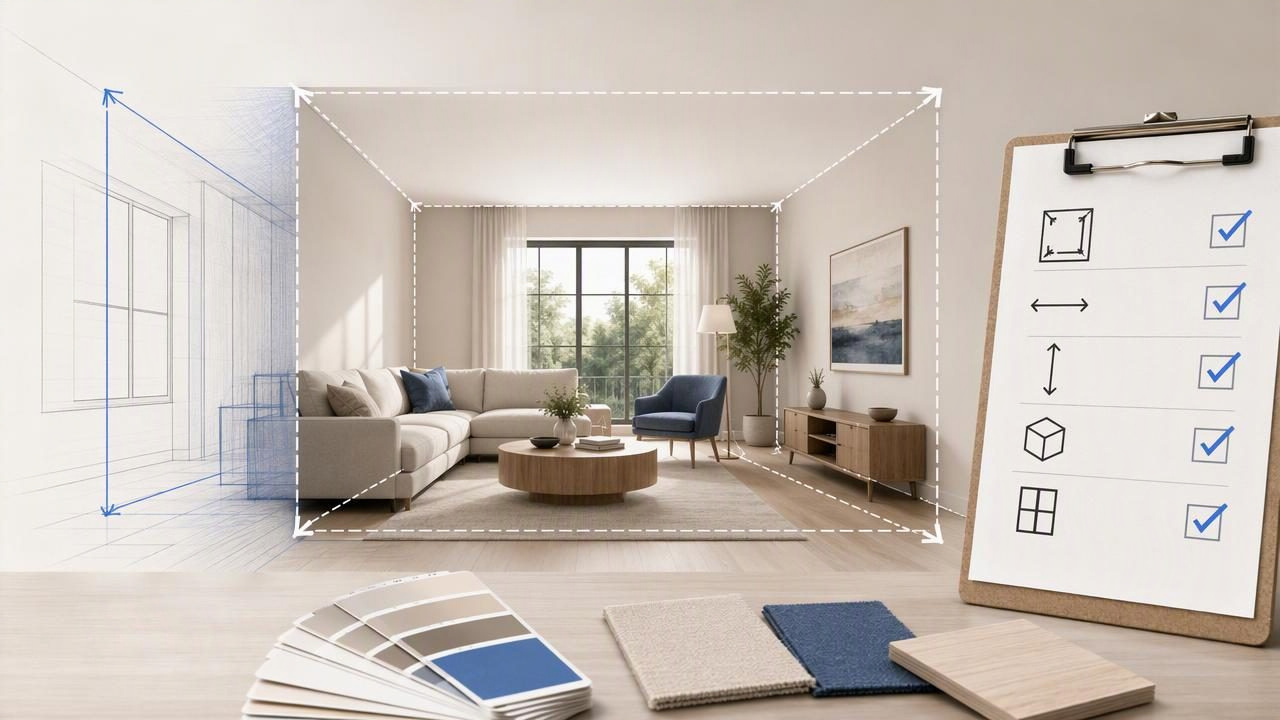
A room makeover render can make a redesign idea easier to understand than a mood board alone. You can see a new sofa placement, a different kitchen finish, a brighter wall color, or a refreshed exterior in the context of a recognizable space. But an attractive image is only useful when it still reflects the room you started with.
That is where proportion review matters. When you use a room makeover app, the generated concept may visually interpret a floor plan or room photo rather than produce a measured architectural model. A clear source image can help retain the basic layout, yet it does not guarantee exact wall lengths, ceiling heights, window sizes, or construction-ready geometry.
This checklist helps homeowners, property professionals, and interior design teams preserve room proportions in a render while using AI concepts for practical renovation previews. It focuses on the details that affect whether a design idea is believable, comparable, and worth discussing with a contractor or designer.
What “Preserving Room Proportions” Really Means
Room proportions are the visual relationships between the major elements of a space. They include the relative width and length of the room, the placement of openings, the depth of alcoves, and the amount of circulation space around furniture. In a floor plan-based render, proportion also includes the relationships between connected rooms, hallways, doors, and windows.
For a makeover concept, preserving proportions does not mean that the output is a certified drawing or a dimension-true CAD or BIM model. Instead, it means the image should remain consistent enough with the source to support an early-stage design conversation.
A proportionally useful render should help you answer questions such as:
- Does the proposed sectional appear too large for the living room?
- Does the new dining layout leave a believable path from the kitchen to the patio door?
- Has a window been moved, removed, or made much wider than in the source?
- Does the redesign still account for the existing fireplace, staircase, or structural column?
- Would the room feel noticeably narrower after adding an island, storage wall, or oversized bed?
If the answer to several of these questions is unclear, treat the image as inspiration rather than a dependable planning reference.
Start With the Right Source Material
The quality of the input affects how easily you can review the output. Before creating a room makeover concept, decide whether a floor plan, a room photo, or both best explain the space.
Use a floor plan when layout is the main concern
A floor plan is especially useful when you want to evaluate room relationships, door swings, room labels, and the footprint of furniture. Choose the cleanest available version. Lines should be readable, room boundaries should not be cropped, and dimensions or labels should remain visible when they are part of the original document.
Avoid photographing a printed plan at a steep angle. Perspective distortion, shadows, folds, and glare can make walls look uneven and obscure key symbols. A flat scan or a straight-on, well-lit photo is usually easier to interpret.
Use a room photo when visual context is the main concern
A room photo can better show ceiling height, existing finishes, natural light direction, and fixed features that may not be obvious on a plan. Stand far enough back to include major walls, windows, doors, and permanent elements. Do not rely on a close-up of one wall if the goal is to judge furniture scale across the entire room.
For complicated rooms, use the floor plan to establish the layout and photos to check visual details. Comparing both sources can reveal whether a generated redesign has overlooked an opening or changed the basic shape of the space.
Room Proportions Checklist Before You Generate a Concept
Take two minutes to inspect the source before generating a makeover render. This preparation reduces the chance that an appealing design idea distracts from a missing layout detail.
- Confirm the room boundary. Identify where the room starts and ends, especially in open-plan kitchen, dining, and living areas.
- Mark permanent features. Note fireplaces, stairs, columns, radiators, built-in cabinetry, plumbing walls, and major appliances.
- Identify every opening. Count doors, windows, patio doors, skylights, and large interior openings. Their positions strongly influence furniture placement.
- Read labels and dimensions. Keep original labels visible where possible. They provide a useful reference, but do not assume a render automatically corrects scale from them.
- Notice unusual geometry. Bay windows, angled walls, narrow corridors, sloped ceilings, and alcoves deserve extra review after generation.
- Choose one redesign goal. For example: improve seating flow, test a home office zone, refresh finishes, or stage an empty bedroom. A focused goal makes it easier to assess the result.
Review the Render in the Right Order
Do not begin by judging paint colors or decor. First review the layout-level features that determine whether the concept belongs to your actual room. This order prevents decorative details from hiding a major mismatch.
| Review priority | What to compare | Why it matters |
|---|---|---|
| 1. Room shape | Wall lengths, corners, alcoves, and open connections | A changed footprint can make every later furniture decision misleading. |
| 2. Openings | Door, window, stair, and patio-door locations | Openings control traffic flow, light, and usable wall space. |
| 3. Fixed elements | Fireplaces, kitchen zones, columns, plumbing-related fixtures | These may be expensive or impractical to move during renovation. |
| 4. Furniture scale | Bed, sofa, dining table, island, and storage depth | Large pieces can make a plausible room feel unusable. |
| 5. Clearances | Walkways, chair pull-out space, door swings, and cabinet access | Comfort depends on circulation as much as appearance. |
| 6. Style details | Materials, lighting, colors, and accessories | These are easier to revise after the layout concept is sound. |
Compare anchors, not every pixel
Choose three to five stable “anchors” from the source. In a living room, these could be the fireplace, two windows, the main entry door, and the opening to the kitchen. In a bedroom, they could be the door, closet, window, and radiator. Then compare the same anchors in the render.
If their relative positions have substantially changed, pause before relying on the furniture arrangement. The idea may still be useful for color, style, or material direction, but its layout should not guide purchasing or construction decisions.
A Concrete Example: Checking a Narrow Living Room
Imagine a 12-by-18-foot living room shown on a floor plan. The long exterior wall has two windows. One short wall has a fireplace, and the opposite short wall opens to a hallway. The homeowner wants a warmer modern look with a sectional and a reading chair.
The resulting room makeover render looks inviting: cream walls, oak shelving, layered lighting, and a large L-shaped sectional facing the fireplace. Before treating it as a furniture plan, the homeowner should compare it with the source:
- The fireplace remains on the short wall, which is a positive sign.
- The two windows are still on the exterior wall, although their spacing should be checked visually.
- The hallway opening appears narrower than in the original plan.
- The sectional extends deeply into the center of the room.
- The reading chair may reduce the path between the hallway and the window wall.
The design direction may be worth saving, but the exact sectional should not be ordered based on the image. A better next step is to record the concept as: “warm modern palette, low-profile seating, wall shelving around the fireplace,” then verify sofa depth and walking paths using actual room measurements. This separates the useful design intent from assumptions about scale.
Red Flags That Suggest a Layout Needs Another Look
Some differences are small stylistic interpretations. Others can change the feasibility of a renovation. Watch for these warning signs:
- A door, window, or staircase is missing, relocated, or blocked by furniture.
- An open-plan room has been visually divided by a wall or island that was not in the source.
- A kitchen island appears despite a narrow passage or conflicting door swing.
- A bed, dining table, or sectional looks dramatically larger than comparable elements in the source.
- Ceiling height, roof slope, or window placement changes enough to alter the room’s character.
- Built-ins, plumbing fixtures, or appliances appear on a different wall without being identified as a renovation assumption.
When a red flag appears, do not try to infer exact measurements from the render. Return to the source plan, room measurements, or a site visit. AI visuals are best used to explore options, not to replace professional surveying, engineering review, building approvals, or construction documentation.
Use a Simple Decision Record for Each Concept
A short record keeps renovation discussions grounded. Save it alongside each render so that a visually compelling image does not become mistaken for a final plan.
Concept: Soft contemporary living room with built-in storage.
Layout details preserved: Fireplace wall, two windows, hallway opening.
Details to verify: Sectional depth, chair clearance, shelving depth.
Decision: Keep material palette; compare smaller sectional options.
This approach is particularly useful when several family members, clients, or contractors are reviewing options. It makes clear which parts are confirmed features from the source and which parts are only visual proposals.
Final Checklist Before Sharing a Room Makeover Render
- Compare the room outline and key connections with the source.
- Count doors and windows, then check their general positions.
- Verify that fixed elements remain visible and plausible.
- Assess the scale of the largest furniture pieces first.
- Look for realistic paths through the room and around doors.
- Label assumptions, including any feature that would require renovation work.
- Use actual measurements and qualified professionals before ordering, building, or seeking approvals.
For an accessible way to turn a plan or room image into early visual concepts, Floor Plan to 3D & Home Redesign’s AI room design guide explains how to create and review redesign ideas. Treat generated images as a starting point for discussion, then check the resulting layout carefully against your original floor plan or room photo.
