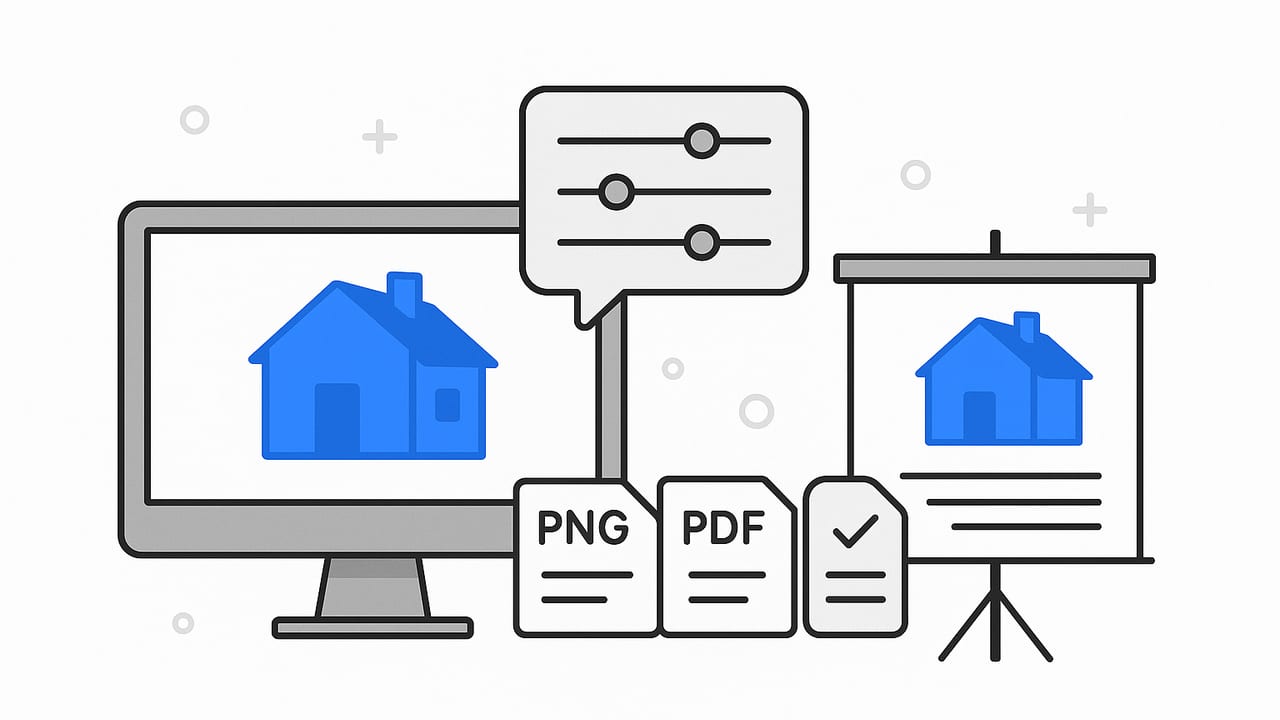
When your 3D visuals need to persuade—on a client call, in a pitch deck, or on a printed board—small export decisions make a big difference. This guide shows you how to achieve a premium 3D render export for presentations, with practical settings for resolution, file formats, color, annotation clarity, and a simple QA workflow that prevents last-minute surprises.
What “Premium” Looks Like in a Render Export
“Premium” isn’t just higher resolution; it’s about clarity, color fidelity, and true-to-scale accuracy. Your exported imagery should:
- Stay crisp at typical presentation sizes (slides, PDFs, print boards)
- Preserve proportions and measurements (no stretching, no guesswork)
- Maintain clean edges, noise-free surfaces, and realistic lighting
- Support annotations and brand elements without clutter
- Survive compression (email, platforms) without visible artifacts
Match the Export to the Destination
Before you tweak settings, define where the render will live:
- Slides (PowerPoint/Keynote, 16:9): Stable clarity on projectors and screens; target 1920–3840 px width.
- PDF pitch decks: High-resolution stills with embedded vector overlays; target 2–4K longer side.
- Print boards (A3/A2/A1): 200–300 PPI at final size; careful color and noise control.
- Web or portals: Efficient compression, fast load; consider WebP and sRGB.
Resolution, Aspect Ratios, and PPI—What to Use When
Resolution should fit both screen and print use. A common pitfall is exporting one image for everything. Instead, export per use case with the correct aspect ratio and pixel dimensions.
| Use Case | Aspect Ratio | Target Pixels | PPI (Print) | Notes |
|---|---|---|---|---|
| Slide decks (HD) | 16:9 | 1920 × 1080 | N/A | Baseline for projectors and webinars |
| Slide decks (Retina/4K) | 16:9 | 3840 × 2160 | N/A | Sharper on large screens; larger file size |
| Print A3 | Portrait/Landscape | 4961 × 3508 | 300 | Use 200 PPI if file size is a concern |
| Print A2 | Portrait/Landscape | 7016 × 4961 | 300 | High-detail boards and close viewing |
| Web or client portal | Varies | 1600–2560 width | N/A | Balance sharpness and load speed |
Tip: Always export at the final aspect ratio of your slide or board to avoid cropping or letterboxing later.
Choosing the Right File Format and Color Profile
Format determines both quality and portability. Use the right tool for the job:
| Format | Best For | Pros | Cons |
|---|---|---|---|
| PNG (sRGB) | Slides, web, transparent overlays | Lossless, crisp text/edges, transparency | Larger files than JPEG/WebP |
| JPEG (sRGB, quality 85–92) | Slides, web, email | Small file size, widely supported | Compression artifacts on fine lines |
| TIFF (sRGB/Adobe RGB) | Print boards | Lossless, robust for print | Large; less slide-friendly |
| WebP (lossless or Q80+) | Web portals | Great quality-to-size ratio | Older software compatibility varies |
| PDF (vector + raster) | Decks with annotations, print | Embeds fonts/vectors; shareable | Export settings can downsample |
| EXR (linear) | Post-processing, compositing | High dynamic range | Not for end-users |
Color guidance:
- Slides and web: Export in sRGB to match most screens and browsers.
- Print: Keep sRGB or Adobe RGB for renders, then convert to CMYK at the final layout stage if your print vendor requires it. Avoid CMYK exports directly from the render engine unless you manage profiles closely.
Render Settings That Actually Matter
Beyond resolution, these settings have the most visible impact on a premium look:
- Sampling/noise: Target a clean image with a noise threshold ≤ 2% or sufficient samples to avoid mushy shadows. Use a moderate denoiser (keep details like tile grout and wood grain).
- Ray depth/bounces: Enough for realistic light transport (e.g., 4–6 diffuse, 6–8 glossy, 8–12 total) without skyrocketing render time.
- Soft shadows and contact AO: Enable ambient occlusion subtly to ground objects; avoid dark halos.
- PBR materials: Use real-world roughness/specular values; clamp reflections slightly to prevent fireflies.
- Tonemapping: Use filmic or a gentle S-curve; avoid crushing blacks (projectors exaggerate contrast).
- Anti-aliasing: Ensure clean line edges and text overlays; avoid post-export sharpening unless needed.
Legibility: Text, Line Weights, and Annotation Strategy
A render can be beautiful yet unreadable. For presentations, clarity wins:
- Text size for slides: Minimum 18–24 pt equivalent on a 1920 × 1080 slide; scale up for large rooms.
- Text size for print: Minimum 9–11 pt for A3; 12–14 pt for A2 boards viewed at 1–1.5 m.
- Line weights: 0.5–0.75 pt for fine guides; 1–2 pt for callouts; ensure at least 3:1 luminance contrast.
- Color safety: Favor mid-tone palettes; extreme shadows and saturated reds can distort on projectors.
- Overlays: Export the render cleanly, then add vector labels/arrows in your layout tool (Keynote, PowerPoint, Figma, Illustrator) for crisp scaling.
- Scale aids: Include a scale bar, north arrow, or key dimension to keep stakeholders oriented.
Example: Simple Export Spec
Use a consistent export spec to reduce guesswork:
{
  "destination": "slide-deck",
  "aspect_ratio": "16:9",
  "pixel_size": "3840x2160",
  "format": "PNG",
  "color_profile": "sRGB",
  "compression": "lossless",
  "render": {
    "noise_threshold": 0.02,
    "denoise": "moderate",
    "ray_depth_total": 10,
    "ao_intensity": 0.2,
    "tonemap": "filmic"
  },
  "post": {
    "sharpen": 0.0,
    "overlay": "vector in presentation app"
  }
}
From 2D Layout to Premium 3D Export: A Practical Workflow
- Start with accurate scale: Import or trace the floor plan at real dimensions. Snap walls and fixtures to known measurements.
- Block in primary volumes: Walls, windows, and doors first; then key furniture at correct sizes to test circulation.
- Light early: Use a neutral HDRI or area lights. Balance daylight with practicals; watch for blown highlights on white walls.
- Material pass: Apply PBR materials with realistic roughness. Avoid overly glossy floors unless designed.
- Camera framing: Use 20–35 mm equivalent for interiors; keep verticals straight. Compose to show wayfinding and adjacencies.
- Draft render: Quick, noisy preview to validate scale, lighting, and composition.
- Refine and final render: Increase samples, clamp fireflies, apply filmic tonemapping.
- Export per destination: Produce separate exports for slide, print, and web, each at the correct aspect ratio and format.
- Annotate externally: Add labels, arrows, and dimensions as vector overlays in your layout tool for maximum clarity.
- QA (see below): Check scaling, legibility, and color on the target device or printer.
Pro tip: Calibrate your monitor and test one slide in an actual meeting room projector. Adjust gamma/contrast once, then reuse those settings for consistent results.
QA Checklist for a Premium 3D Render Export for Presentations
- Scale and proportions: Known dimension measures correctly on-screen and in print.
- Aspect ratio: No letterboxing or unintended cropping on slides.
- Noise and banding: Smooth gradients, clean shadows, no blotchy denoising.
- Edges and text: No jaggies; labels remain readable at viewing distance.
- Color profile: sRGB confirmed for slides/web; print profile handled at layout or vendor stage.
- Compression: JPEG/WebP quality set high enough; PNG used for transparency.
- File size: Under your platform’s limit (email, portal). If needed, downscale smartly or switch to efficient formats.
Common Pitfalls (and How to Avoid Them)
- Upscaling after export: Don’t export small and scale up; render at the final pixel size to avoid blur.
- Wrong aspect ratio: Rendering 4:3 for a 16:9 deck leads to awkward borders or cropping—set the camera frame to 16:9.
- Over-denoising: Excessive denoise smears textures. Reduce noise at the source (more samples, better lighting) and denoise lightly.
- Text baked into the image: If you need multiple languages or late changes, keep text as vector overlays, not rasterized inside the render.
- Color mismatch: Export in sRGB for screens; do not rely on Adobe RGB for slides. For print, proof with your vendor.
- Crushed blacks on projectors: Increase shadow lift slightly in tonemapping; avoid pure black backgrounds.
Cheat Sheet: Fast Settings for Typical Deliverables
| Deliverable | Pixel Size | Format | Notes |
|---|---|---|---|
| Internal review slide | 1920 × 1080 | JPEG (Q90) | Good balance of size/quality |
| Client pitch slide | 3840 × 2160 | PNG | Extra crisp for zooming on calls |
| Web portal | 2048 × auto | WebP (Q80) | Fast loading, excellent quality |
| A3 print board | 4961 × 3508 | TIFF (LZW) | Embed sRGB; add vector annotations |
Presentation-Ready Composition Tips
- Tell a spatial story: Pair an axon or plan-based render with 1–2 hero interior views to show flow and scale.
- Hierarchy: One focal image per slide; use supporting thumbnails sparingly.
- Consistent camera set: Reuse positions across iterations so stakeholders can compare changes.
- Branding: Reserve margins for titles/logos; avoid placing critical detail under them.
File Naming, Versioning, and Handoff
- Use structured names:
Project_Space_View_v03_3840x2160_sRGB.png - Keep a master: Maintain the highest-quality export; derive web/email versions from it.
- Bundle assets: Provide a short PDF deck plus individual PNG/TIFF files for flexibility.
- Document settings: Save your export spec next to the images (a small text/JSON file).
Putting It All Together
A premium 3D render export for presentations is the result of aligning destination, resolution, format, and render quality—with a final pass for legibility and color. Decide your outputs first, render at the correct aspect ratio, choose screen-safe color (sRGB) for slides, and keep text/graphics as vectors wherever possible. With a repeatable spec and quick QA, you’ll deliver images that remain sharp, readable, and persuasive across screens and print.
Many modern tools streamline this process from a simple 2D plan. For example, if you start from a black-and-white floor plan on iPhone and need accurate proportions, consider using a dedicated app to generate a true-to-scale 3D space and export high-resolution images for client proposals. One option is Floor Plan to 3D, which transforms scanned layouts into faithful 3D renders and lets you export presentation-ready stills.
