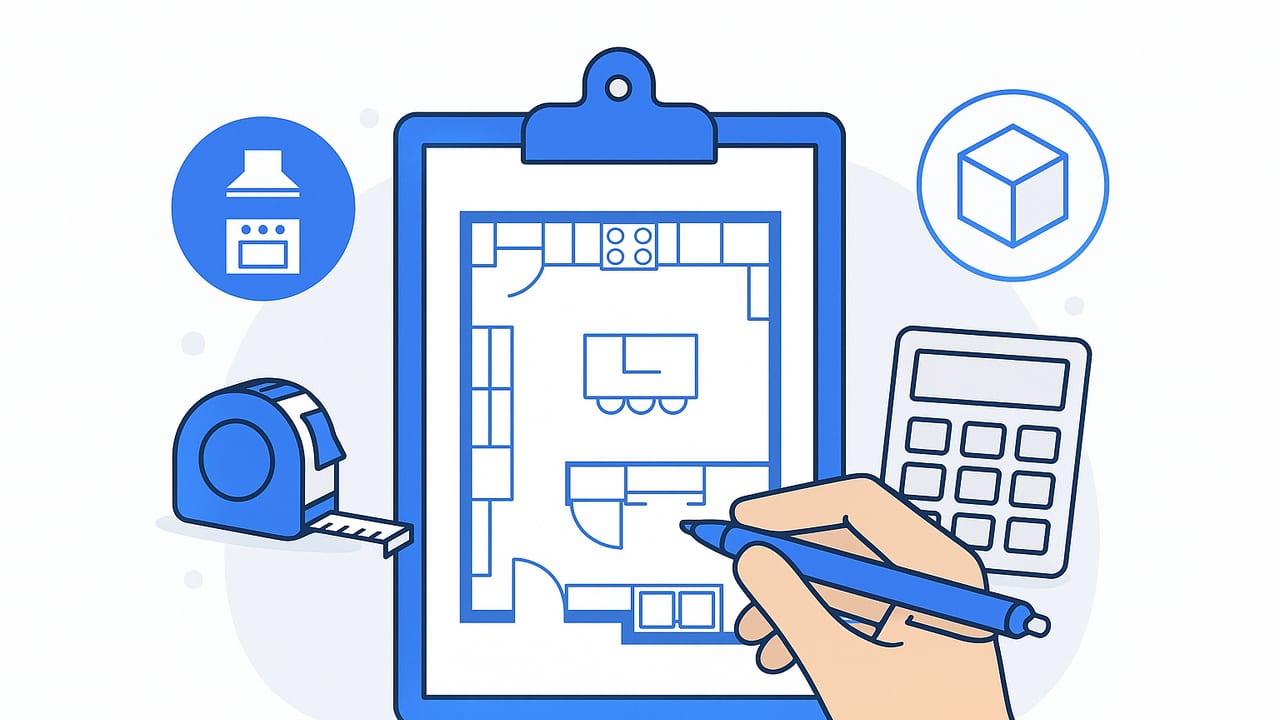
A successful kitchen renovation starts on paper. When you already have a drawing of your space, you hold a powerful head start. This guide walks you through kitchen remodel planning from existing floor plan documents, turning lines and dimensions into a clear, buildable vision. You will learn how to verify measurements, choose layouts that fit, respect plumbing and structural realities, estimate costs from the drawing, and stress test decisions in 3D before you order a single cabinet.
Step 1: Verify and Update Your As‑Built Floor Plan
Do not assume the old plan is accurate. Even a few inches off can ripple through appliance choices, island clearances, and cabinet orders. Begin by confirming scale and key dimensions, then mark any changes that have occurred since the plan was created.
- Confirm scale: If the plan states 1 4 inch equals 1 foot, measure a known length on the printed sheet with a ruler. Calculate a scale factor and note it in the margin.
- Field check walls: Measure overall room length and width, plus the distance between opposing walls at several points to detect bulges or out of square conditions.
- Locate openings: Measure window and door widths, heights, sill heights, and distances from adjacent walls. Record swing directions and any obstructions like radiators.
- Verify services: Note the exact positions of sink, gas line, vent stack, electrical panel, subpanels, and HVAC runs. Photograph under-sink plumbing, the range area, and any soffits.
- Ceiling height and drops: Measure finished height, check for beams or soffits that may affect tall cabinets or hood ducting.
Update the base drawing with corrected measurements. If the original is only a photo or a scan, redraw clean lines over it or trace it to keep the geometry legible. Accuracy here protects your layout choices later.
Step 2: Turn Goals Into Spatial Requirements
Bring your wish list into alignment with the constraints of your space. Translate goals into measurable needs you can test against the plan.
- Workflow and zones: Decide whether you prioritize classic work triangle or modern work zones such as prep, cooking, cleanup, coffee, baking.
- Clearances: Plan comfortable aisle widths. Typical guidance is 42 inches for a one-cook kitchen and up to 48 inches for two cooks. Between islands and counters, aim for 42 to 48 inches if doors and appliances will open into that aisle.
- Appliances and features: Choose sizes now. A 36 inch range or cooktop impacts hood width, ventilation, and upper cabinet spacing. A 33 inch sink needs base cabinet size to match. French-door fridges often need more swing clearance than counter-depth models.
- Storage capacity: Estimate linear feet of base and wall cabinets you need. Deep drawers for pots, tray dividers for baking sheets, pantry pullouts, and corner solutions affect cabinet mix.
Write these requirements alongside the plan so you can check every layout option against them.
Step 3: Choose a Layout Pattern That Fits Your Space
The existing room proportions and locations of doors and windows steer you toward certain kitchen patterns. Use the floor plan to test these common configurations.
- One-wall: Best for narrow rooms or studios. Add a large island parallel to increase prep area if you have the width for proper aisle clearance.
- Galley: Two parallel runs with balanced zones and short walking distances. Works well in long, narrow spaces, provided openings do not break the runs in the wrong places.
- L-shaped: Efficient for corner windows or when one wall contains services. Leave room for a small island or a peninsula if traffic allows.
- U-shaped: Maximizes counter space and storage in medium to large rooms. Ensure the U opening is wide enough for traffic and appliance doors.
- Island or peninsula: Use when the room width supports it. A peninsula can tame through-traffic by creating defined entry points and seating.
Overlay each candidate on your plan and confirm that major elements align with services and clearances remain intact when doors and drawers open.
Step 4: Respect Structural, Plumbing, and Electrical Realities
Remodels often succeed by smartly working with constraints rather than fighting them. Use the plan to identify what is costly to move and what can shift with modest effort.
- Load-bearing walls: If you want to open a wall, check whether it supports joists or roof loads. This may require a beam and posts with engineered calculations and permits.
- Plumbing: Moving a sink or drain across joists can be challenging. Keeping the sink and dishwasher close to the existing drain stack typically reduces cost and risk.
- Gas and ventilation: Gas lines can often be extended, but flue or hood duct runs need a clear path to the exterior. Longer runs may require stronger blowers and careful sound management.
- Electrical: Modern kitchens need multiple small-appliance circuits, dedicated circuits for major appliances, and GFCI protection. Map outlets and propose new ones now so you can calculate loads and panel space.
- Natural light: Window positions determine upper cabinet runs and hood choices. Consider whether enlarging or shifting windows is feasible within the wall structure.
Tip: Identify three zones you refuse to compromise on, such as a full-depth pantry, 36 inch range, and 42 inch aisle. Let these anchor your decisions.
Step 5: Create Scaled Test Fits You Can Compare
Develop two or three viable layouts and compare them objectively. Use overlays and consistent measurements to see which design best meets your requirements.
- Paper method: Print the plan to scale. Cut out scaled appliance and cabinet blocks and slide them around. Note aisle widths and door swings with a fine pen.
- Digital method: Recreate or trace the plan in a drawing app or a floor-plan tool. Lock the shell, then duplicate layers to explore layout options while preserving a baseline.
- Score each option: Rate on workflow, storage, light, cost impact, and ease of construction.
Common Appliance and Cabinet Sizes With Clearances
Use the following as a quick sizing reference while you test ideas. Always confirm manufacturer specifications before final decisions.
| Item | Typical Width | Depth | Key Clearance Notes |
|---|---|---|---|
| Refrigerator, standard | 30 to 36 in | 30 to 34 in | Door swing plus pull-out clearance; do not block island |
| Refrigerator, counter-depth | 36 in | 24 to 27 in | Check hinge clearance against adjacent walls |
| Range or cooktop | 30 to 36 in | 24 to 27 in | Maintain safety clearances to sides and hood width at least equal |
| Wall oven | 27 to 30 in | 24 in | Plan landing space adjacent to oven |
| Dishwasher | 24 in | 24 in | Leave 21 to 24 in clear beside sink for loading |
| Sink base cabinet | 30 to 36 in | 24 in | Align with plumbing and dishwasher location |
| Base cabinets | 12 to 36 in | 24 in | Standard countertop depth roughly 25 to 25.5 in |
| Island depth | 36 to 48 in | n a | Provide 42 to 48 in aisle on all working sides |
Remember to check vertical clearances too. For example, if you want a tall pantry by a window, confirm sill height and casing widths so doors open fully without hitting trim.
Budget and Phasing Based on the Plan
Your floor plan reveals where money will concentrate. Use it to sequence work and set realistic expectations.
- Cabinet runs: Longer runs and specialty inserts raise cost. Corner solutions can be pricier than straight cabinets.
- Service moves: Relocating the sink, gas, or major electrical circuits often has outsized cost impact.
- Surfaces: Square footage of flooring, backsplash, and countertops can be tallied directly from the plan for quick estimates.
| Scope Element | Cost Influence | Lead Time Considerations |
|---|---|---|
| Cabinetry | Medium to high | Semi-custom 4 to 10 weeks, custom longer |
| Countertops | Medium | Template after base install; fabrication 1 to 3 weeks |
| Appliances | Medium to high | Availability can vary; order early for specific models |
| Plumbing and gas | Medium | Coordinate with inspections if required |
| Electrical and lighting | Medium | Rough-in before close-up; fixtures may have long lead times |
| Flooring | Low to medium | Acclimation time for wood products |
Work backward from lead times to create a realistic schedule. For example, secure appliance specs first because cabinet design depends on them, then place cabinet orders before demolition so they arrive when the space is ready.
Lighting and Power From the Existing Plan
Layer lighting and plan circuits while the plan is flat and easy to read.
- Ambient: Even coverage via recessed or surface fixtures. Space them to avoid scalloping and shadows over work zones.
- Task: Under-cabinet lighting at prep zones and near the range. Confirm upper cabinet depths and valances for fixture concealment.
- Accent: Pendants over islands or peninsulas sized and spaced to avoid glare and head bumps.
- Switching: Group by use and avoid three-way switches across busy aisles if they clutter walls. Map each switch box on the plan.
- Outlets: Plan countertop receptacles along the backsplash and near seating. Place dedicated lines for microwave, dishwasher, disposal, and fridge.
Use the Plan to Calculate Materials
Your 2D drawing makes quantity takeoffs straightforward. A few quick calculations reduce surprises.
- Countertops: Add lengths of base cabinets, subtract gaps for ranges, multiply by depth to confirm square footage. Include overhangs and waterfall panels if desired.
- Backsplash: Height times linear feet of wall runs, minus windows and hood openings.
- Flooring: Room area plus a waste factor, commonly 5 to 10 percent depending on pattern and material.
# Sample takeoff checklist from plan
room:
  length_ft: 17.5
  width_ft: 12.0
  ceiling_ft: 8.0

counters:
  perimeter_linear_ft: 21.0
  standard_depth_in: 25.5
  approx_sq_ft: 44.6  # perimeter x depth inches ÷ 12

backsplash:
  height_in: 18
  linear_ft: 18
  approx_sq_ft: 27.0

flooring:
  area_sq_ft: 210
  waste_factor: 0.08
  order_sq_ft: 226.8
Validate Decisions in 3D Before You Commit
Even precise 2D plans cannot fully convey sightlines, headroom, and how tight a 42 inch aisle feels with doors open. A quick 3D validation helps you catch conflicts and refine details such as pendant heights, hood proportions, and end-panel thickness.
- Walk through: Check views from entries and seating. Confirm that the fridge does not visually dominate the space.
- Open it up: Simulate appliance and drawer openings at once to stress-test aisles.
- Finishes: Preview contrast and texture between cabinets, counters, backsplash, flooring, and trim under different lighting scenarios.
If you have only a black-and-white floor plan, an app like Floor Plan to 3D can convert the drawing into a dimensionally faithful 3D model so you can rearrange layouts, test clearances, and export high-resolution render images for proposals.
A Practical Step-by-Step Workflow
- Collect and scan your existing plan. Photograph key areas of plumbing, gas, and electrical.
- Verify critical dimensions on site. Update the plan to reflect true conditions.
- List goals and convert them into measurable requirements and clearances.
- Select two or three layout patterns appropriate to your room shape.
- Test-fit appliances and cabinets at scale. Protect aisles and door swings.
- Map services, lighting, and switching on the plan. Note any required moves.
- Calculate material quantities for counters, backsplash, and floors.
- Build a 3D test model to validate ergonomics and finishes.
- Sequence purchases based on lead times. Order appliances and cabinets early.
- Lock decisions with a dimensioned plan, elevations, and a spec sheet before demolition.
Quick Checklist
- As-built plan updated and scaled
- Appliance specs confirmed
- Clearances 42 to 48 inches in working aisles
- Service moves minimized or justified
- Lighting layered and switched logically
- Takeoffs and budget aligned
- 3D review completed with open-door tests
When you ground your kitchen remodel planning from existing floor plan documents, you make better layout choices, avoid costly rework, and achieve a kitchen that functions as beautifully as it looks. Start with the facts on paper, iterate thoughtfully, and validate in 3D to move from drawing to done with clarity.
