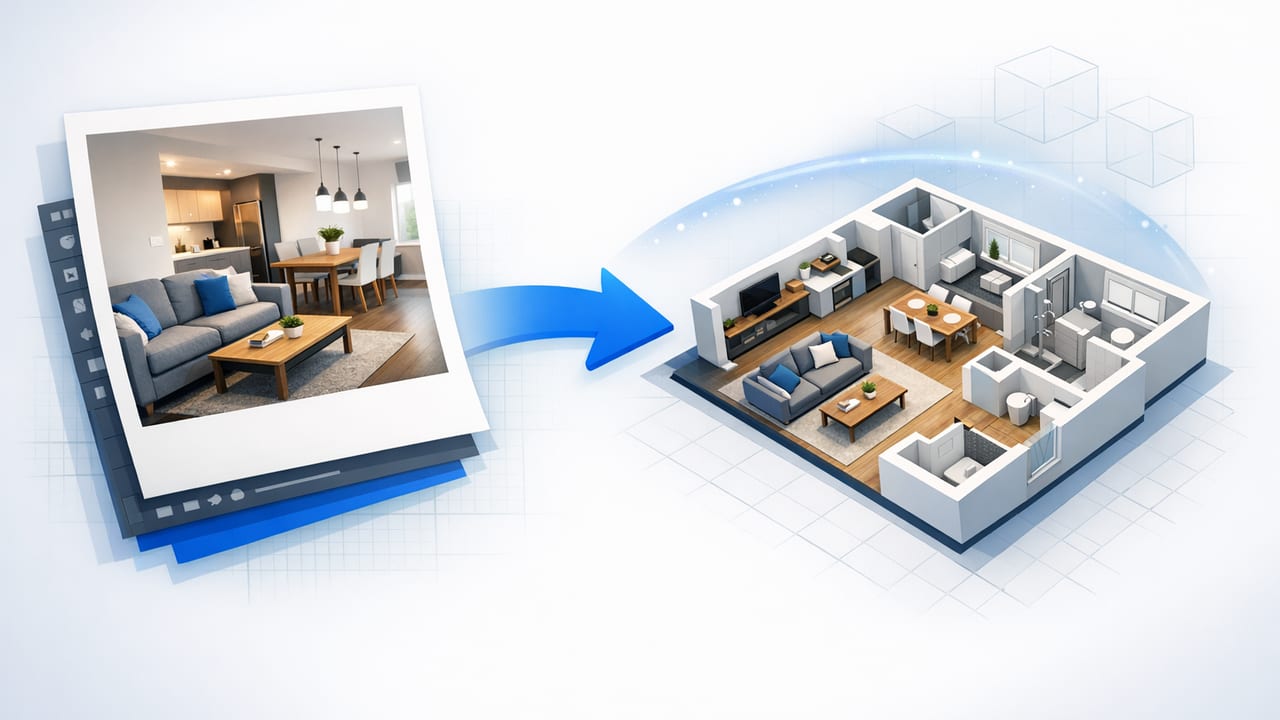
Turning a photo to 3D floor plan sounds simple—snap a picture, upload it, get a 3D model. In practice, the quality of your 3D result depends heavily on the quality of your input and on how you validate scale, walls, openings, and room boundaries after conversion.
This guide focuses on an accuracy-first workflow for converting a photographed or scanned 2D plan into a reliable 3D layout you can use for room planning, architectural visualization, or design iteration.
Why “photo to 3D floor plan” accuracy is tricky
AI-driven conversion can interpret most architectural symbols well, but photos introduce ambiguity. The model has to infer geometry from pixels, and small issues become big errors in 3D:
- Lens distortion bends straight lines, creating walls that don’t align.
- Perspective skew makes one side appear larger, breaking proportion.
- Low contrast causes missed walls or merged rooms.
- Inconsistent line weights can confuse walls vs. furniture outlines.
- Missing scale cues leads to plausible-looking but wrong dimensions.
The goal is not just a nice render—it’s a 3D model that stays true to the original design.
Step 1: Capture the best possible photo (or scan)
If you’re starting from paper, capture matters more than any later cleanup. Follow these guidelines before you upload anything.
Photo capture checklist
- Use even lighting: avoid strong shadows across walls and dimension text.
- Get parallel: hold your phone directly above the plan, not at an angle.
- Fill the frame: the plan should take up most of the image to preserve detail.
- Max resolution: avoid messaging apps that compress images before upload.
- Keep it flat: wrinkles and folds create false edges that can become “walls.”
When scanning is better than photographing
If you have access to a scanner (or a scanning app that auto-flattens perspective), scanning usually wins because it reduces distortion and improves line clarity. A clean scan can be the difference between a fast conversion and hours of manual correction later.
Step 2: Prep the image so AI can read it cleanly
Before converting a photo to 3D floor plan, do lightweight preprocessing. You don’t need CAD—basic edits are often enough.
Quick preprocessing moves that help
- Crop tightly to the plan boundary (remove desk edges, hands, background).
- Rotate so the plan is square to the frame (walls horizontal/vertical).
- Increase contrast slightly to separate walls from background.
- Remove clutter when possible (sticky notes, handwritten comments over walls).
Rule of thumb: If you can’t confidently trace every wall with your eyes, the AI will likely guess in places you didn’t intend.
Step 3: Ensure the plan contains at least one reliable measurement
AI can generate geometry without explicit scale, but for a dimension-true model you need at least one known reference measurement. Common options include:
- One labeled wall length (e.g., “12'-6"” or “3.8 m”)
- A total building width or depth
- A dimension string along one edge
If your plan has no dimensions, you can still proceed, but you’ll need to calibrate scale using a known real-world element (for example, a standard door width) and then verify with on-site measurements if accuracy matters.
Step 4: Convert and then validate the geometry (don’t skip this)
After conversion, treat the first 3D output as a draft. Your next step is to validate structure and scale systematically.
Validation checklist (fast and effective)
- Exterior boundary: confirm the footprint matches the plan (no missing wings or bumped-out walls).
- Wall continuity: check that walls meet cleanly at corners and intersections.
- Door/window placement: verify openings are on the correct wall and swing direction (if shown).
- Room separation: ensure rooms aren’t accidentally merged by missing interior walls.
- Scale: measure 2–3 known spans and confirm they match the plan.
Common problems (and how to fix them)
| Problem | Why it happens | Fix |
|---|---|---|
| Walls not perfectly straight | Perspective distortion or curved paper | Re-capture from directly above, or use a scan/auto-flatten tool |
| Missing interior wall | Low contrast or wall line is too thin | Increase contrast, re-upload, or manually reassert the partition in your editor |
| Door becomes a gap in the wrong location | Symbol ambiguity (door arc unclear) or clutter | Zoom in and confirm the door symbol is visible; remove overlapping notes |
| Rooms merged together | Openings mistaken for missing walls | Check where cased openings exist; confirm whether the plan intended a wall or open passage |
| Scale feels “off” in 3D | No reliable dimension reference | Calibrate using one known measurement, then re-check multiple spans |
Scale calibration: a simple method you can trust
If you have one confirmed measurement, you can compute a scale factor and apply it consistently. The details depend on your tool, but the logic is universal:
- Measure the same span in the imported plan (in pixels or tool units).
- Divide the real-world length by the measured length.
- Apply that multiplier as your scale factor.
# Pseudocode for scale calibration
# known_real = real-world length (e.g., 3.80 meters)
# measured = length measured in the imported plan (e.g., 512 units)
scale_factor = known_real / measured

# To convert any measured segment to real units:
real_length = measured_segment * scale_factor
Verification tip: After you set scale from one wall, validate at least two other dimensions on different parts of the plan. If those are also correct, your conversion is likely dimension-true.
Design-focused enhancements after conversion
Once the geometry is accurate, you can start using the model for decisions rather than just visualization. This is where a photo-to-3D workflow becomes a practical room-planning tool.
High-impact tweaks that improve clarity
- Set realistic wall thickness: especially important for tight spaces (bathrooms, hallways).
- Confirm ceiling height: it affects light, volume, and furniture fit.
- Place doors/windows accurately: circulation paths and furniture layouts depend on openings.
- Label rooms: improves communication for proposals and presentations.
Photo vs. clean PDF: what changes in the workflow?
If you have a PDF exported from CAD, conversion is usually easier because lines are crisp and orthogonal. With photos, you’re spending more effort on capture and preprocessing. However, photos are often the only available input (older plans, hand sketches, realtor sheets), so mastering the photo approach gives you flexibility.
Quick comparison
- Photo input: fastest to obtain, most sensitive to distortion and lighting.
- Scan input: slower to produce, usually more accurate and consistent.
- Digital PDF: best for line clarity, but not always accessible.
Quality assurance: a mini “3-point” confidence test
Before you export images for stakeholders, run this simple check:
- Three measurements: confirm at least three spans (one exterior, one interior, one opening like a doorway).
- Three screenshots: capture top-down, eye-level, and one corner perspective—look for warping or missing partitions.
- Three circulation paths: mentally walk entry → living area, living → kitchen, bedroom → bathroom. If paths feel blocked, a door/wall is likely wrong.
FAQ: photo to 3D floor plan conversions
Can I convert a hand-drawn sketch?
Yes, if walls are drawn clearly with consistent line weight and rooms are unambiguous. Add at least one known measurement to avoid scale guesswork.
What resolution should my image be?
High enough that dimension text and door symbols are readable when zoomed. If you zoom in and text turns to blur, recapture closer or scan.
How do I keep proportions accurate?
Minimize perspective distortion during capture, and always calibrate scale with a real dimension. Then verify multiple spans across the plan.
Why does my 3D model look correct but measure wrong?
Visual plausibility is not the same as dimensional accuracy. Without a reliable reference measurement, tools may infer scale. Always validate with known dimensions.
Conclusion
A reliable photo to 3D floor plan workflow is less about pushing a button and more about controlling inputs and validating outputs. Capture cleanly, preprocess lightly, calibrate scale from a known measurement, and run a structured QA pass. Do that, and your 3D model becomes a trustworthy foundation for room planning and architectural visualization—not just a nice picture.
If you prefer doing this on iOS, one option is Floor Plan to 3D, an app designed to turn black-and-white 2D plans into dimension-aware 3D renders you can export for presentations.
