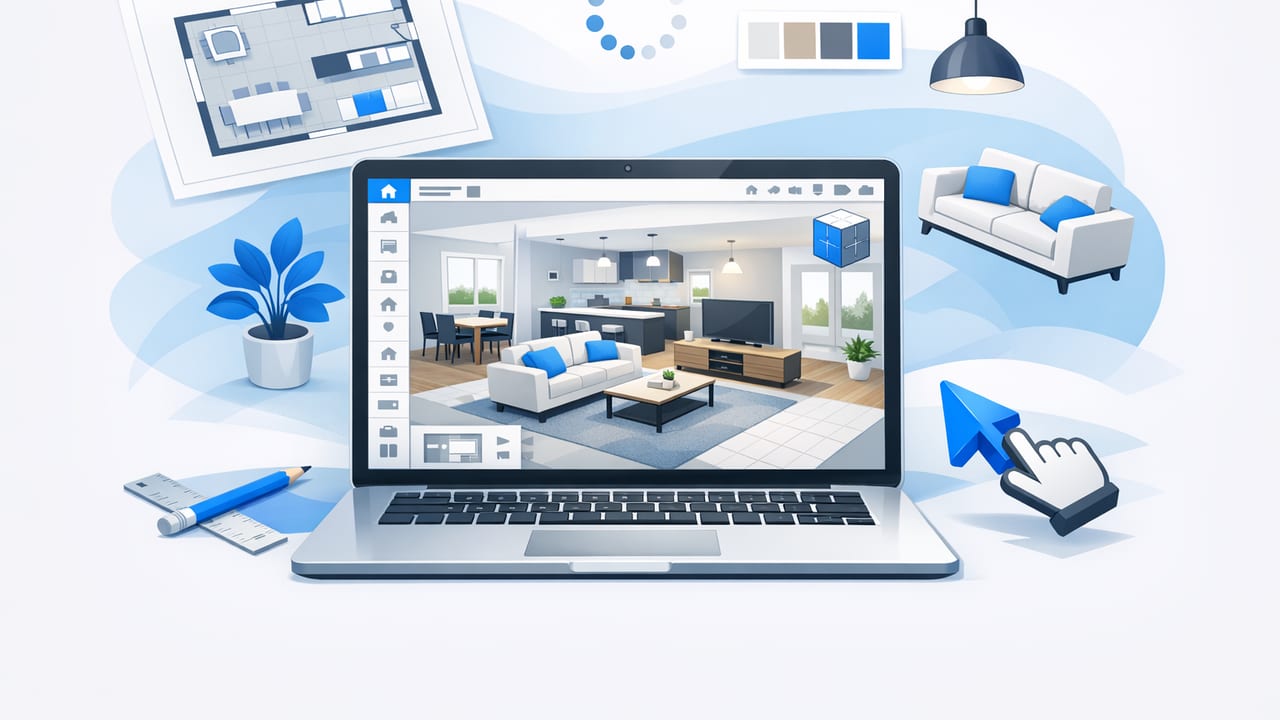
An open concept living room 3D planner can save you from the most common open-plan mistake: arranging furniture as if you’re decorating one room, when you’re really designing multiple functional zones that must share light, circulation, acoustics, and sightlines. Open layouts look effortless in photos, but in real homes they can feel echoey, awkward, or cluttered—especially when the living area blends into dining, kitchen, and entry paths.
This guide teaches a practical, design-first workflow for using a 3D planner to build an open concept living room that feels grounded, comfortable, and easy to walk through—while still looking open.
Why open concept layouts are harder than they look
Open plan spaces are visually flexible, but they have fewer “built-in” boundaries to help you. Without walls, you must create structure using:
- Zones (living, dining, kitchen, work/play)
- Circulation paths (where people naturally walk)
- Anchors (TV wall, fireplace, window view, sectional)
- Scale cues (rugs, lighting, console tables, shelves)
- Sound control (soft surfaces, spacing, seating orientation)
A 3D planner helps because you can test these decisions with real proportions, then iterate quickly—before buying a rug that’s too small or discovering your dining chairs block the hallway.
Step-by-step: a reliable 3D planning workflow
1) Start by drawing the “no-go” areas
Before placing a sofa, mark constraints that must remain clear:
- Door swings and closet access
- Kitchen work zone (cabinet and appliance clearances)
- Stairs/landing edges
- Fireplace clearance requirements
- Major vents and baseboard heaters
In a 3D planner, these become your protected corridors—space you design around, not into.
2) Establish primary circulation (your “walking map”)
Open concept comfort depends on easy movement. As a rule of thumb, aim for:
- Main paths: ~36–42 in (90–105 cm) where people frequently pass
- Secondary paths: ~30–36 in (76–90 cm) where traffic is lighter
- Behind dining chairs: ~36 in (90 cm) from table edge to obstacle for comfortable pull-out
Plot these routes in your 3D scene first. If your layout fights circulation, it will never feel right—no matter how nice the furniture is.
3) Pick one anchor per zone (and don’t compete with yourself)
Every zone needs a focal point. Common living zone anchors include a TV wall, fireplace, large window, or a statement sofa orientation. Dining zones usually anchor on the table + pendant. Problems start when anchors compete: for example, a TV on one wall and a fireplace on the adjacent wall while seating faces neither.
In your 3D planner, create the living zone first:
- Place the TV/fireplace/window feature.
- Orient seating toward it.
- Then add dining so it feels adjacent—not intrusive.
4) Use rugs and lighting to “draw invisible walls”
Open concept doesn’t mean everything floats in one big sea. The easiest way to create zone boundaries without building walls is layering:
- Rugs: define seating clusters and dining footprints
- Pendants/chandeliers: define the dining zone
- Floor lamps/table lamps: create “pockets” of intimacy in the living area
- Console tables or low shelves: subtle dividers behind sofas
Design principle: If a zone doesn’t have its own rug or lighting plan, it usually reads as unfinished—especially in an open concept room.
Layout rules to test in an open concept living room 3D planner
Rule 1: Make seating “conversational,” not perimeter-based
A common open-plan error is pushing every piece to the outer walls to “keep it open.” In reality, that creates a hollow middle and uncomfortable conversation distances.
Instead, bring seating inward and use the rug as the boundary. In 3D, test:
- Can everyone see each other without twisting?
- Is the coffee table reachable from each seat?
- Do you have at least one side table per 1–2 seats?
Rule 2: Get the TV distance and height right
In open spaces, it’s tempting to mount a TV wherever it “fits,” then place seating too far away. Use your 3D planner to verify viewing comfort. Practical checks:
- Distance: many living rooms land around 7–10 ft (2.1–3 m), depending on screen size and preference
- Height: the center of the screen is typically near seated eye level
- Glare: confirm windows aren’t blasting the screen at peak daylight
Rule 3: Keep the dining zone out of the living “acoustic cone”
Sound travels differently in open plans. If the dining table sits directly behind the main sofa head area, conversation, dishes, and chair movement can feel like it’s happening in the living room. In 3D, test a slightly offset placement so the dining zone is adjacent but not directly behind the primary seating focal point.
Rule 4: Match furniture scale to the room, not to the catalog
Open concept rooms often need fewer pieces, but each piece can be slightly larger to feel intentional. The 3D planner helps you avoid “tiny island” furniture floating in a big room (small rug + small sofa + small art = everything looks lost).
Run a quick scale audit:
- Rug size: front legs of all seating should sit on it (or all legs, if the room allows)
- Art scale: artwork should relate to the sofa/console width, not the wall width
- Lighting: choose fixtures sized to each zone footprint
A practical zoning plan (with a checklist table)
Use this simple “three-zone” model in your planner, even if your space includes a kitchen. It keeps decisions clear:
- Pass-through zone: entry to kitchen/stairs/back door
- Living zone: seating + media/fireplace + coffee table
- Dining zone: table + chairs + storage (optional)
| Zone | Goal | 3D Planner Checks |
|---|---|---|
| Pass-through | Clear, intuitive walking paths | 36–42 in paths; no door conflicts; no chair backs blocking routes |
| Living | Comfort + conversation + viewing | Rug sized correctly; table reach; sightlines to TV/fireplace; lamp placement |
| Dining | Easy seating + serving access | Chair pull-out clearance; pendant centered; buffer from sofa backs |
Quick math you can use to keep scale honest
If you’re importing a floor plan image and want to sanity-check scale, convert one known measurement into a consistent factor. Here’s a simple example that converts pixels to inches based on a known wall length (useful if you’re doing any manual adjustments or verification):
# Given: a wall measures 192 inches in real life (16 ft)
# and measures 640 pixels on your floor plan image
real_inches = 192
pixel_length = 640
inches_per_pixel = real_inches / pixel_length

# Now any pixel measurement can be converted
door_pixels = 110
door_inches = door_pixels * inches_per_pixel
print(door_inches)
You don’t need to code to plan well, but this illustrates the core idea: one verified measurement can keep everything else proportionate.
Two layout templates to try in 3D
Template A: “Floating sofa + console divider”
Best when the living room sits between the entry and kitchen/dining.
- Float the sofa with its back toward circulation.
- Add a slim console behind it to create a boundary (and landing spot for keys/lamps).
- Place two chairs opposite or at an angle to complete a U-shape.
- Keep the dining zone to the side rather than directly behind the sofa head area.
Template B: “L-shaped sectional + dining in line”
Best when the open concept space is long and rectangular.
- Use an L-sectional to define the living corner.
- Align dining along the long axis but maintain a clear pass-through lane.
- Use a long rug runner or consistent flooring direction to visually connect zones.
Common mistakes (and how a 3D planner exposes them)
- Too-small rug: in 3D it looks like a “postage stamp” and seating feels disconnected.
- Blocked sightlines: tall shelving or bar stools can cut the room in half visually.
- Overcrowded dining: chair clearances look fine in 2D but fail in 3D when you imagine people moving.
- Kitchen island collision: traffic pinches between island corners and furniture edges.
- Lighting gaps: one ceiling light cannot serve three zones; 3D makes dark pockets obvious.
How to finalize: a simple 3-pass review
- Function pass: walk the circulation routes; check clearances; simulate chair pull-out.
- Comfort pass: confirm conversational distances; table reach; TV viewing angles.
- Visual pass: confirm zone definition via rugs/lighting; check balance of large shapes (sofa, table, island).
What to export from your plan (so it’s actually useful)
When your layout works, export views that help with real decisions:
- Top-down: for clearances and furniture footprint reference
- Eye-level from entry: to evaluate first impression and clutter risk
- From the sofa toward kitchen/dining: to check visual noise and sightlines
- Lighting-focused views: evening scene to catch dark corners
If you’re using an iPhone or iPad, an app like Floor Plan to 3D can be a convenient way to turn an existing 2D plan into a 3D space for this kind of zoning and layout testing.
