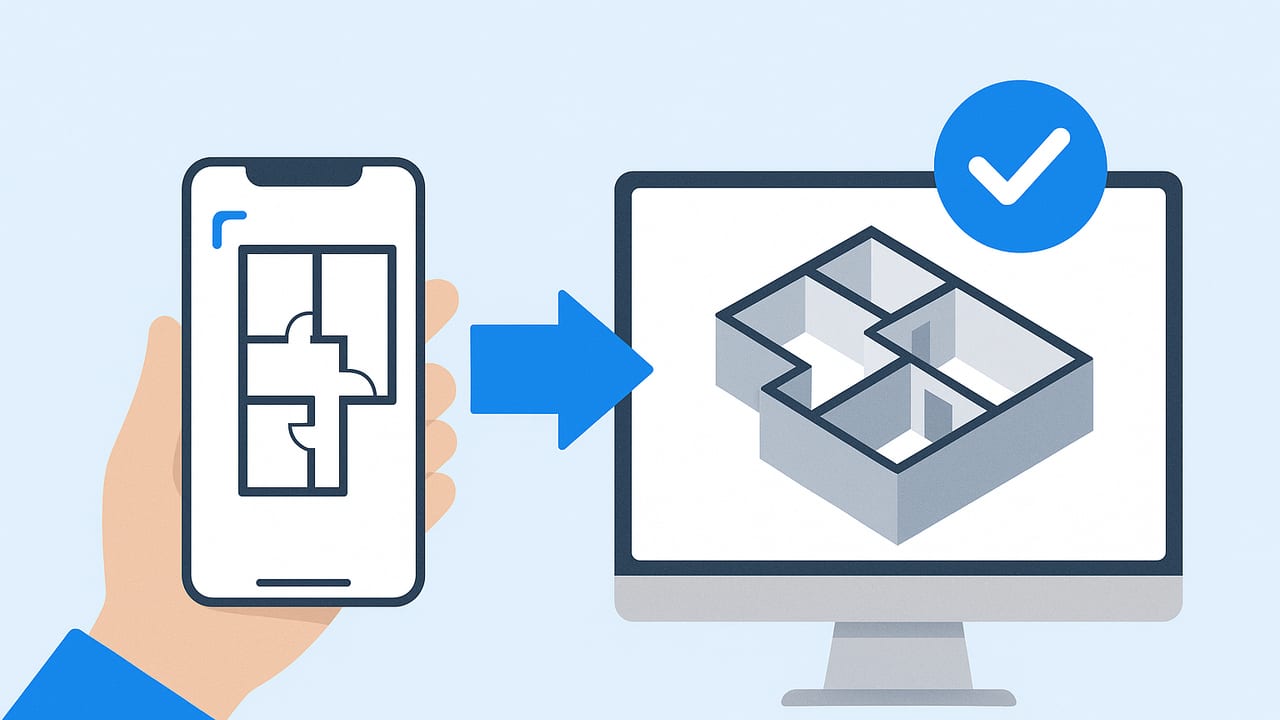
A mobile floor plan workflow lets you go from a paper sketch or PDF to a clear, accurate 3D layout without leaving your phone. Whether you’re planning a remodel, comparing furniture options, or communicating a concept to clients, putting 2D lines into a 3D view helps you validate circulation, ergonomics, and design intent quickly. In this guide, you’ll learn best practices for capturing plans with your phone, converting the drawing to a faithful 3D model, and validating accuracy so what you see on-screen matches real-world dimensions.
Beyond speed and convenience, a well-executed mobile floor plan process improves decision-making. You can annotate measurements on-site, check fit before buying, and export presentation-ready images without opening a desktop CAD package. The key is following a consistent workflow: capture cleanly, set scale once, verify geometry, and run a simple QA checklist before you share.
What Is a Mobile Floor Plan?
A mobile floor plan is a floor plan you capture, edit, or convert to 3D using a phone or tablet. The source can be a paper blueprint, a black-and-white construction plan, a PDF, or a hand sketch. Your device’s camera and apps handle scanning, scaling, and 3D conversion so you can work on-site or in transit.
Common use cases include:
- Pre-remodel planning: sanity-check furniture sizes and wall moves.
- Move-in coordination: map major pieces and circulation quickly.
- Client sign-off: compare two layout variants with fast 3D visuals.
- Real estate: produce clear visualization from existing plans.
Compared to desktop workflows, a mobile floor plan process emphasizes convenience, guided automation, and immediate visual feedback, while relying on simple QA steps to maintain accuracy.
Capture Best Practices with Your Phone
Great 3D starts with a clean capture. Follow these tips when photographing or scanning a plan with your device:
- Use even lighting: Avoid glare and hard shadows; shoot near a window or under diffused light.
- Shoot perpendicular: Hold the camera directly above the page to minimize perspective distortion. Use the grid overlay if your camera offers it.
- Fill the frame: Capture the entire plan at the highest resolution possible. Keep margins minimal but include the title block if it has a scale legend.
- Flatten the source: Tape curled corners or place under glass/acrylic to remove waves.
- Increase contrast: Black-and-white plans scan best. If the original is faint, boost contrast in your scan app.
- Capture a reference dimension: Include at least one known measurement (e.g., 10’ wall) or a scale bar for later scaling.
- Export losslessly: Prefer PDF or PNG for crisp lines; use JPEG only at high quality.
Pro Tip: If the plan is large, take overlapping photos with 20% overlap and stitch them in a scanning app to avoid edge blur.
From Mobile Floor Plan to 3D: A Practical Workflow
- Scan and crop: Use a scanning app to straighten, crop, and enhance contrast. Save as PNG or PDF.
- Import to your 3D tool: Open your preferred mobile 3D floor plan app and import the image as a background trace.
- Set units and scale: Choose metric or imperial early to avoid conversion errors.
- Calibrate scale: Use a known dimension on the plan. Draw a temporary line over it and set that line’s exact length in the app.
- Trace structural elements: Draw exterior walls first, then interior partitions. Lock the background image to prevent misalignment.
- Add openings: Insert doors and windows with correct swing/height. Align to wall centerlines if the plan indicates them.
- Place fixed elements: Position stairs, columns, plumbing fixtures, and electrical panels.
- Furnish and zone: Drop standard-size furniture for scale checks. Define functional zones (cook, dine, lounge, work).
- Run a fast QA: Verify wall lengths, room widths, door clearances, and window placements against the plan.
- Generate 3D and iterate: Switch to 3D, check sightlines, ceiling heights, and lighting. Adjust materials for clarity.
This sequence keeps accuracy anchored early (during scale calibration) and preserves it through tracing, furnishing, and final 3D checks.
Scaling for Accuracy on Mobile
Scaling converts pixels to real dimensions. If you miss this step or set it imprecisely, every measurement in your mobile floor plan will be off. Use a long, clearly labeled dimension (avoid short segments that magnify error percentages).
Formula you can keep in mind:
// Given: measured_pixels for a known segment, and real_length (in chosen units)
scale_factor = real_length / measured_pixels

// Any segment in pixels * scale_factor = real-world length
real_world_length = segment_pixels * scale_factor
Example: If a 12′-0″ wall measures 1800 pixels in your scan, the scale factor is 12 ft / 1800 px = 0.006666… ft/px. A 950 px corridor is 950 * 0.006666… = 6.33 ft (about 6′3.96″).
Double-check scale by measuring two additional, widely separated dimensions. If both are within tolerance (see below), proceed. If not, re-crop and re-calibrate; distortion or skew is likely.
Tolerances and Quality Checks
| Condition | Recommended Tolerance | Notes |
|---|---|---|
| Overall plan width/length | ±1% | Prefer long reference dimensions |
| Individual room dimensions | ±1.5% | Small rooms amplify pixel errors |
| Door clear width | ±0.5″ (13 mm) | Critical for accessibility |
| Stair tread depth/riser height | ±0.25″ (6 mm) | Code-driven; verify carefully |
| Window placement from corners | ±0.75″ (19 mm) | Impacts exterior elevations |
| Corridor clear width | ±0.5″ (13 mm) | Key for circulation and life safety |
Record your checks in a simple note or screenshot with annotations. Consistent QA makes your mobile floor plan trusted by collaborators.
Common Pitfalls and Quick Fixes
- Perspective skew: Walls appear trapezoidal. Fix by re-scanning from directly overhead or using a scan app’s perspective-correct tool.
- Low contrast: Light gray lines vanish during tracing. Boost contrast, switch to black-and-white, or re-export as PNG.
- Wrong units: Model built in metric while plan uses imperial (or vice versa). Set units before scaling and label them in the project name.
- Missing thickness: If walls look too thin or thick, confirm wall types in the plan legend (e.g., 4.5″ interior vs 6″ exterior) and update profiles.
- Furniture scale drift: Sofas or beds look oversized. Measure a known piece (e.g., queen bed ~60″ x 80″) to validate global scale.
- Door swing conflicts: 3D shows doors colliding with furniture. Cross-check swing arcs and clearance circles.
- Lighting washout in 3D: Views look flat. Add an HDRI or adjust exposure; use neutral materials for QA renders.
Plan Layout Like a Pro: Zones, Circulation, and Adjacency
3D makes layout testing fast, but you still need smart rules. Use zones to organize functions and confirm flows with simple adjacency checks.
- Primary zones: Entry, social (living/dining), service (kitchen/laundry), private (bedrooms/baths), work (office).
- Circulation targets: 36″ clear paths in living areas; 40–48″ around dining tables; 42″ kitchen work aisles for two users.
- Sightline checks: From entry to social zone, from cooktop to sink, from sofa to TV without glare.
| Adjacency Pair | Ideal Relationship | 3D Check |
|---|---|---|
| Kitchen ↔ Dining | Direct or short path | Carry tray without obstacles; verify door swings |
| Entry ↔ Closet | Immediate access | Door swing clears hallway; 36″ minimum |
| Bedroom ↔ Bath | Near but private | Sound/privacy buffers; avoid direct sightlines |
| Laundry ↔ Outdoor | Convenient route | Appliance door clearance; turning radius |
| Office ↔ Living | Separated acoustically | Close door, add soft surfaces; verify window glare |
In your mobile floor plan app, color-code zones and take a few quick 3D snapshots per option. Comparing A/B layouts with the same camera angle clarifies decisions.
Exporting and Sharing from Your Phone
Once your model is accurate, tailor exports to their destination.
For Print
- Resolution: Aim for 300 DPI at final print size. For an 8×10″ sheet, target roughly 2400×3000 px.
- Format: PNG or high-quality JPEG; include a scale bar and north arrow if relevant.
- Notes: Add dimensions for key rooms, door clear widths, and a legend.
For Web and Email
- Resolution: 1600–2160 px on the long edge is typically sufficient.
- Format: JPEG at 80–90% quality to reduce size while preserving detail.
- Accessibility: Include alt text (e.g., “3D view of 2-bedroom mobile floor plan showing open kitchen”).
Before sharing, perform a final visual QA: check that north arrows, textures, and shadows are consistent across images, and that text labels remain legible on mobile screens.
Privacy and Data Management
- Redact sensitive info: Blur owner names, addresses, and permit numbers on the plan.
- Version clearly: Use a simple naming pattern: Project_Apt12_v03_Scaled.png.
- Backup automatically: Enable cloud sync and keep local copies of the original scan and the scaled/annotated version.
If you’re collaborating, share view-only links for stability and keep an audit trail with change notes.
Choosing the Right Tools for a Mobile Floor Plan
Your stack can be simple. Combine a reliable scan tool with a 3D floor plan app that supports background images, scale calibration, and dimensioning.
| Tool Type | Use Case | Strengths | Limitations |
|---|---|---|---|
| Camera app | Quick captures | Fast, universal | No perspective correction |
| Scan app (PDF/PNG) | Plan capture | Auto-crop, de-skew, contrast | May compress if not configured |
| Note app with markup | Annotations | Arrow/text overlays | Not scale-aware |
| 3D floor plan app | Trace & visualize | Scale, walls, doors, furniture, 3D | Feature sets vary by app |
- Must-have features: image import, unit selection, calibration by known dimension, wall thickness controls, door/window libraries, dimensioning, and high-res export.
- Nice-to-have: automatic wall detection from line art, furniture catalogs, lighting controls, and PDF export with scale bars.
Test the full workflow on a small room first. If the app preserves scale after edits, produces crisp exports, and keeps the model responsive on your device, you’re set for larger projects.
Putting It All Together
A dependable mobile floor plan workflow boils down to five habits: scan cleanly, calibrate scale once, trace with wall types in mind, verify with a short QA list, and export for the target medium. With those in place, you’ll move from 2D lines to convincing 3D visuals in minutes and make better layout decisions along the way.
If you’re looking for an iOS option that converts black-and-white plans into faithful 3D while preserving dimensions, consider trying Floor Plan to 3D as part of your toolkit.
