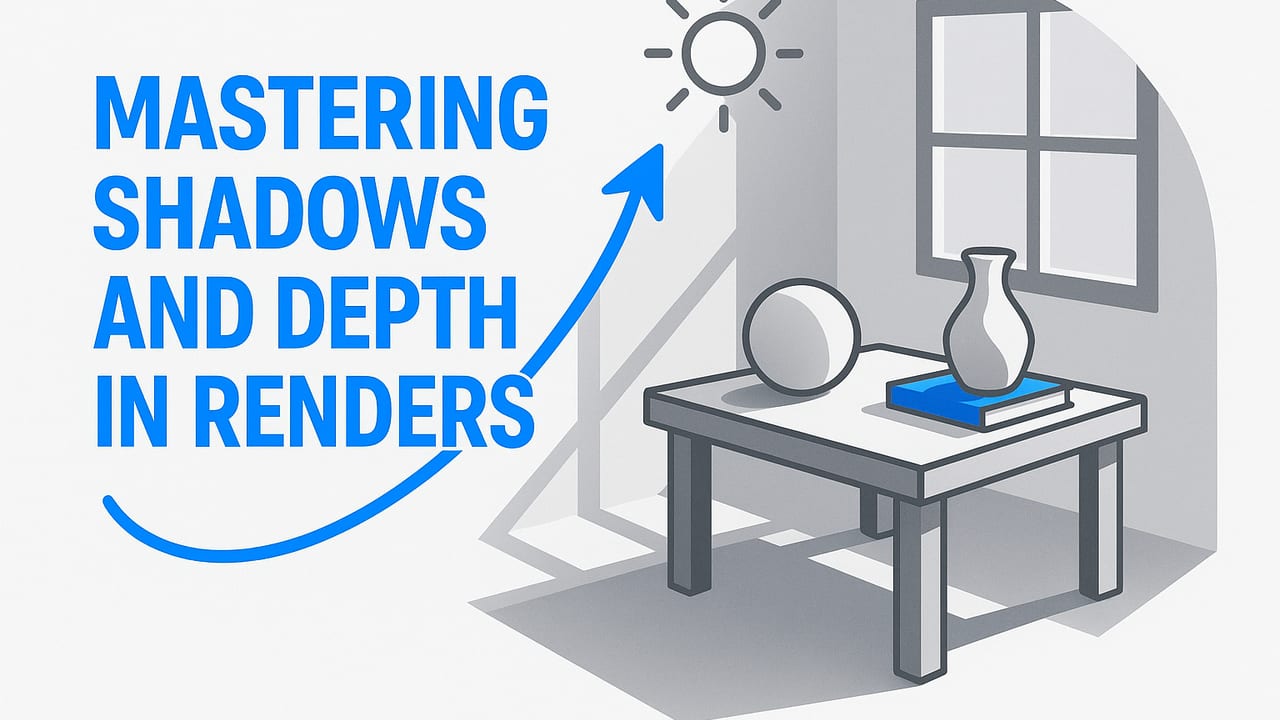
Believable shadows and convincing depth are the difference between a flat, technical image and a render that feels real. Whether you work in a path-traced offline engine or a real-time viewport, understanding how light interacts with materials and space is essential. This guide explains how to craft shadows and depth in renders using lighting, materials, global illumination, ambient occlusion, camera settings, and post-processing—balanced for quality, speed, and control.
Light reveals form. Shadows describe contact, scale, and distance.
How the Eye Reads Depth
Before diving into settings, align your renders with human perception. Our brains infer three-dimensionality through a handful of cues:
- Cast vs. form shadows: Cast shadows fall onto other surfaces (e.g., a chair shadow on the floor). Form shadows occur on the object itself (the dark side of a sofa), showing curvature.
- Contact shadows: The thin, darkest line where objects touch surfaces. These ground objects and prevent the “floating” look.
- Occlusion and overlap: Objects that overlap others appear closer; occlusion at corners adds mass and weight.
- Perspective and scale: Converging lines and relative object size signal distance; shadows that get softer with distance amplify this.
- Local contrast: Areas of higher contrast often read as nearer; haze or lower contrast pushes elements back.
- Color temperature: Warmer light in the foreground and cooler ambient in the distance subtly enhances depth.
Render engines simulate many of these automatically, but you amplify realism by setting up lights, materials, and cameras to favor these cues.
Start with Real-World Scale and Exposure
Shadows behave correctly only when your model is in true scale. If your scene units are off by 10x, light size, falloff, and exposure will be wrong.
- Use real units: Set your DCC or engine to meters or centimeters and model accurately.
- Physical lights and cameras: Prefer EV/exposure, ISO, shutter, and f-stop controls. This keeps shadow density and bounce light believable.
- Tone mapping: Use a photographic tone mapper (Filmic, ACES) to preserve highlight detail in sunlit areas while retaining shadow depth.
Lighting That Sculpts Depth
Depth comes from well-placed, properly sized lights that produce readable penumbra (soft edges) and plausible bounce. Try this hierarchy for interiors:
- Sun + Sky: A physical sun/sky system establishes directionality and time-of-day mood. Low sun angles produce long, dramatic shadows; midday sun is harder and flatter.
- Portal or Area Lights at Openings: Place large area lights slightly inside windows/doors (or use light portals in engines that support them) to simulate soft daylight. The larger the light relative to the subject, the softer the shadow.
- Practical Lights: Lamps and recessed fixtures add localized pools of light, layering depth at night scenes.
- Fill and Accent: Carefully add fills to lift overly dark corners. Use flags or light linking to preserve contrast and avoid flattening the scene.
Rule of thumb for softness: penumbra size roughly increases with the light’s apparent size and decreases with distance. If a nearby window is 1.5 m wide, shadows from it should be noticeably soft at a few meters into the room.
Materials That Carry the Shadow Story
Shadows and depth aren’t only about lights—materials control how light stays or spreads.
- Correct albedo: Keep base color reflectance physically plausible (e.g., bright wall paint ~0.7–0.85; oak wood ~0.5; black fabric rarely below ~0.04). Overbright albedo washes out form shadows.
- Roughness and micro-roughness: Slightly rough surfaces spread specular highlights, describing curvature and distance. Extremely glossy materials with no micro-texture can look fake.
- Normal/bump maps: Small-scale detail introduces micro-shadowing that adds tactile depth even under soft light.
- Translucency and SSS: Curtains, paper lampshades, and skin transmit light; this softens shadows and produces glow that helps layering.
Ambient Occlusion vs. Contact Shadows
Ambient occlusion (AO) approximates soft darkening in creases and corners. It helps bring back contact definition, but restraint is key:
- Set radius thoughtfully: Small radius accentuates contact; large radius can muddy large surfaces.
- Multiply lightly: In post or the shader, blend AO at 10–30% to avoid the “dirty corners” look.
- Prefer ray-traced contact shadows if available: Many engines provide a separate, higher-quality contact shadow option near the camera.
Global Illumination and Color Bleed
Realistic depth needs bounce light. Without GI, midtones collapse and contrast becomes harsh.
- Enable at least one bounce: Two or more bounces capture color bleed (e.g., warm wood floors tinting walls), which boosts depth and believability.
- Portals and exposure: In enclosed interiors, portals guide sampling and reduce blotchiness. Use photographic exposure rather than cranking light intensity.
- Baked vs. dynamic: For real-time, bake indirect diffuse and perhaps AO; keep key lights dynamic for responsive, crisp shadows.
Shadow Quality: Resolution, Bias, and Softness
In real-time engines, shadow mapping artifacts can undermine depth. Tuning a few controls yields cleaner results:
- Resolution and splits: Increase shadow map size for hero lights. Use cascaded shadow maps for large interiors to keep near-camera detail crisp.
- Bias and normal bias: Too little bias causes “shadow acne”; too much produces floating shadows. Adjust incrementally and verify at glancing angles.
- Filtering: PCF/PCSS softens edges; VSM/ESM reduce acne and enable smoother penumbra. Balance against performance.
Example in Three.js to set up high-quality directional shadows:
// Three.js example: crisp, stable interior shadows
const renderer = new THREE.WebGLRenderer({ antialias: true });
renderer.shadowMap.enabled = true;
renderer.shadowMap.type = THREE.PCFSoftShadowMap; // PCF or VSM for softer edges

const light = new THREE.DirectionalLight(0xffffff, 2.0);
light.position.set(5, 10, 5);
light.castShadow = true;

// Tune shadow camera for your room dimensions
light.shadow.camera.near = 0.1;
light.shadow.camera.far = 50;
light.shadow.camera.left = -8;
light.shadow.camera.right = 8;
light.shadow.camera.top = 6;
light.shadow.camera.bottom = -6;

// Increase map size for sharper contact shadows
light.shadow.mapSize.set(2048, 2048);

// Fix acne without floating shadows
light.shadow.bias = -0.0002;
light.shadow.normalBias = 0.02;

scene.add(light);

// Ensure materials/meshes support shadows
mesh.castShadow = true;
mesh.receiveShadow = true;
Camera and Composition for Depth
Even perfect lighting can look flat with a careless camera. Try these:
- Height and focal length: For interiors, set the camera at 1.3–1.6 m height. Use 24–35 mm full-frame equivalent to capture context without excessive distortion.
- Depth of field (DOF): Subtle DOF separates foreground objects. Keep it gentle for architecture to avoid toy-like miniaturization.
- Foreground, midground, background: Compose with layers. Place a chair armrest or plant in the foreground to frame the view and anchor scale.
Post-Processing That Respects Physics
Post is for refinement, not rescue.
- ACES/Filmic tone mapping: Preserve highlight roll-off while keeping shadow detail. Adjust exposure, then contrast—avoid crushing blacks.
- Local contrast (clarity): A small boost can enhance edge separation. Mask carefully to keep skies and large flat walls clean.
- Z-depth pass: Use a depth pass to add very subtle atmospheric perspective (a few percent) for large spaces.
- Color balance: Warm key, cool fill is a classic; keep neutrals in whites/greys so shadows don’t go muddy.
A Practical Interior Workflow
- Set scale and units: Confirm room dimensions and material thicknesses are real-world.
- Choose time of day: For drama, pick early morning/late afternoon; for clarity, choose mid-morning.
- Place sun/sky: Align azimuth to your reference; set sun size for desired softness (bigger apparent size = softer edges).
- Add window area lights/portals: Match opening sizes; slightly inside glass for stable sampling.
- Enable GI (2+ bounces): Check color bleed on walls and ceilings; avoid overbright albedos.
- Dial materials: Verify albedo values and add normal maps for wood, fabric, plaster.
- Refine shadows: Increase shadow map where needed, adjust bias, and verify contact shadows under furniture.
- Compose camera: Establish foreground elements, keep verticals straight (enable vertical shift).
- Balance with fills: Add minimal fill to open black corners; preserve contrast gradients.
- Post polish: Apply tone mapping, mild local contrast, and color balance. Add subtle DOF if appropriate.
Common Pitfalls and Fast Fixes
- Flat images: Increase key-to-fill ratio; reduce ambient intensity; add contact shadows or AO.
- Dirty corners: AO radius too large or multiplied too strong; reduce and rely more on GI.
- Shadow acne: Raise bias/normal bias slightly; align light frustum to content; increase map resolution.
- Plastic look: Albedo too bright and roughness too low; add micro-roughness and normal detail.
- Harsh midtones: Enable more GI bounces; soften key light (bigger source); use Filmic/ACES tone mapping.
- Floating furniture: Check object-ground contact; add a thin area light overhead for soft falloff; ensure contact shadow present.
When to Use Which Technique
| Technique | Adds Depth By | Best For | Watch Out For |
|---|---|---|---|
| Large Area Lights | Soft penumbra, gradient shadows | Windows, skylights | Over-softening that removes contrast |
| Contact Shadows/AO | Anchors objects to surfaces | Furniture on floors, trim | Over-dark edges, dirty look |
| Global Illumination | Midtone bounce, color bleed | Enclosed interiors | Noisy bounces; light leaks in thin walls |
| Roughness Control | Readable specular gradients | Wood, paint, fabric | Too glossy = plastic; too rough = chalky |
| Depth of Field | Layer separation | Detail shots | Overuse causes miniaturization |
| Tone Mapping | Highlight roll-off, shadow detail | All scenes | Clipped whites or crushed blacks |
Tuning for Performance vs. Quality
If you need interactive speed, prioritize:
- Hybrid lighting: Baked GI + dynamic key lights with high-res shadow maps.
- Selective quality: Highest shadow resolution for near-camera lights; lower for background.
- Temporal stability: Favor stable filtering (PCF) and conservative bias settings to reduce shimmer.
For offline quality, push samples, enable spectral/caustics only where necessary, and match camera exposure to real-world references.
Final Checks for Realism
- Reference first: Compare to photos of similar spaces. Note shadow softness, contrast, and color temperature.
- Edge gradients: Real shadows rarely have razor edges indoors. Look for a soft gradient from dark to light across corners.
- Consistency: Make sure all lights obey the same sun direction and practical logic; avoid conflicting shadows.
When you approach a scene as a balance of believable lighting, physically plausible materials, and careful composition, shadows and depth in renders emerge naturally. Start with scale and exposure, let large soft sources define form, use GI to fill midtones, then refine contact shadows and post. The best images feel lit, not just illuminated.
If you’re beginning with a 2D plan, a streamlined way to reach a light-ready model is to convert your floor plan to 3D with an app like Floor Plan to 3D on iOS, then apply the lighting and shadow techniques above to bring the space to life.
