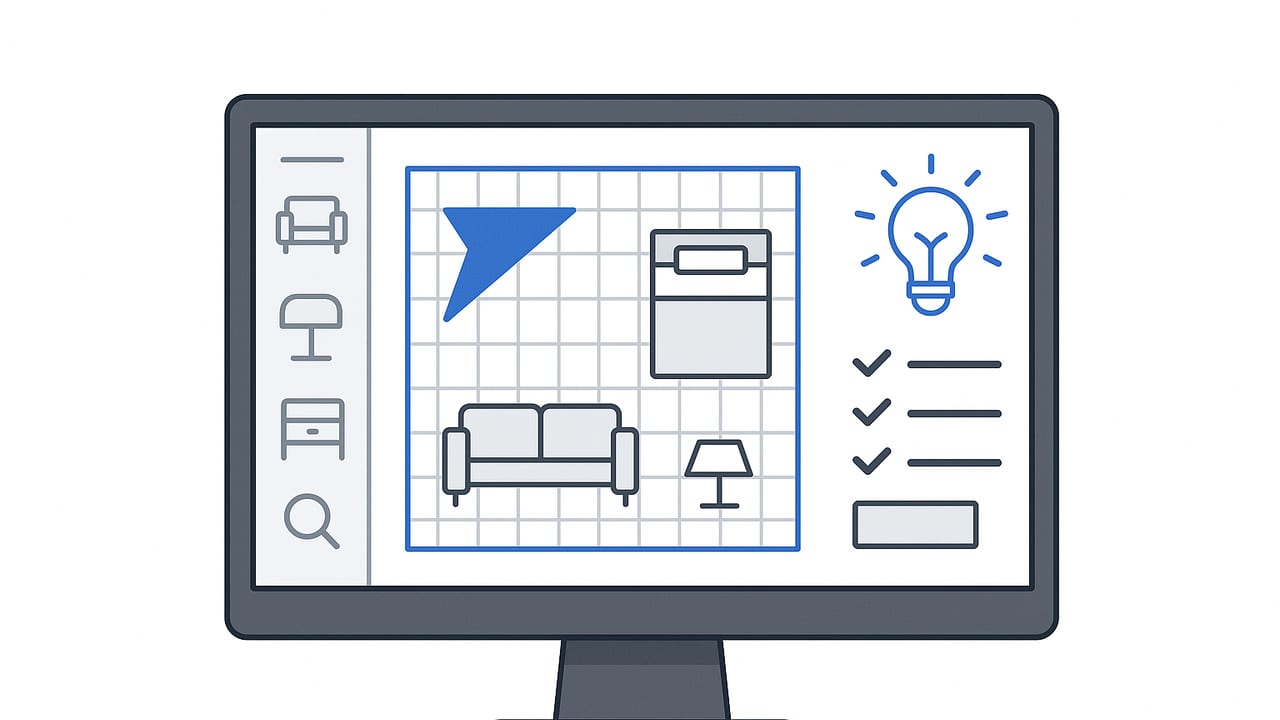
A 3d room planner turns a flat idea into a spatially accurate layout you can walk through, measure, and iterate. Whether you’re planning a single room refresh or coordinating a multi-room fit-out, the difference between a convincing render and a trustworthy plan is process. This guide distills proven workflows for setting scale, zoning spaces, refining materials and lighting, and quality-checking exports so your visuals match reality—and your decisions stick.
Think of the 3d room planner as both a sketchbook and a verifier. It lets you move fast and explore options, then freeze key dimensions, check clearances, and communicate your intent to clients, contractors, or teammates. Follow the steps below to set up reliable geometry, create legible views, and avoid the common traps that make renders pretty but impractical.
Before You Open a 3d Room Planner: Measure and Prep
The right inputs save hours later. Start with a consistent measurement approach and an annotated floor sketch.
- Define units and precision: Pick metric (mm) or imperial (in/ft) and stick with it. If you will share files, confirm unit conventions with collaborators.
- Capture critical dimensions: Room length/width, ceiling heights, wall thicknesses, window/door sizes and sill heights, switch/outlet locations that affect furniture placement.
- Note fixed elements: Columns, radiators, HVAC supplies/returns, plumbing stacks, sloped ceilings, bulkheads.
- Record tolerances: Expect measuring errors of ±5–10 mm (±1/8–3/8 in) with tape/LiDAR. Log the confidence level next to each dimension.
- Gather references: Daylight orientation, material samples, color codes, and inspiration photos for finishes and furnishings.
Scan or photograph the sketch so you can import it as a trace underlay or cross-check dimensions once you start modeling.
A Robust 3d Room Planner Workflow
- Start with scale lock: Create a reference line equal to a known dimension (e.g., the long wall). Use the tool’s scaling feature so the plan image matches that exact length.
- Draw walls and set thickness: Model the extents first, then internal partitions. Assign correct thickness to avoid compounding errors when you place doors and casework.
- Place openings and structure: Doors, windows, columns, soffits. Input heights and sill levels early; they affect lighting, views, and cabinetry.
- Lay out primary furniture: Bed, sofa, dining table, desk—objects that define circulation. Keep them as parametric or tagged objects so constraints are easy to adjust later.
- Check circulation and clearances: Do a first-pass QA before adding finishes. If movement is cramped now, it won’t improve with rugs and lamps.
- Add finishes and lighting: Assign materials, set daylight orientation, add artificial lighting for realism and wayfinding.
- Create key views: Save orthographic plans, elevations, and a few perspective cameras with consistent lens and height settings for iteration and approvals.
- Iterate and annotate: Add notes and dimensions. Export snapshots and mark them up to drive decisions with collaborators.
Scale, Tolerances, and Clearances That Work
Accuracy begins with a scaled plan and ends with clearances that feel good in real use. Use the following as guidelines—local codes and accessibility standards take precedence.
| Condition | Recommended clearance | Notes |
|---|---|---|
| Main walkway | 36 in / 915 mm | 48 in / 1220 mm if two people pass often |
| Sofa to coffee table | 16–18 in / 400–460 mm | Comfortable reach without knee bumps |
| Dining chair behind table | 30–36 in / 760–915 mm | 36 in for pull-out without squeezing |
| Bed side clearance | 24–30 in / 610–760 mm | Primary side benefits from 30 in |
| Desk chair behind | 30–36 in / 760–915 mm | Room to roll back and stand |
| Door swing | Clear 36 in dia / 915 mm | Ensure no collisions with furniture |
| Kitchen work aisle | 42–48 in / 1065–1220 mm | 48 in preferred for two cooks |
| Wheelchair turning | 60 in / 1525 mm | Accessibility requirement; verify local code |
When you import a plan image, always scale to a known dimension and verify a second dimension as a cross-check. If both match within your tolerance, you can trust the rest of the drawing. Keep a visible “scale badge” layer with the known dimension for future sanity checks.
Zoning, Circulation, and Sightlines
Use your 3d room planner to test how zones support activities and feel visually connected.
- Define zones: Conversation, work, dining, storage, and transit. Anchor each zone with a primary piece (sofa, desk, table).
- Respect desire paths: Identify the natural route between doorways and major elements; keep it clear and direct.
- Align sightlines: From entry to focal points (art, window view, fireplace). Avoid blocking a key view with tall storage.
- Balance adjacency: Keep noisy and quiet zones buffered by storage or circulation.
Materials, Lighting, and Camera Settings
Materials and lighting determine realism and readability. Start simple, then refine.
- Materials: Use physically based (PBR) materials with accurate scale. Wood planks 6–8 in wide, tile grout 1/8–3/16 in, and fabric weave scaled realistically.
- Daylight: Set geographic orientation. In plans with large windows, use real solar position for believable contrast and shadow lengths.
- Artificial light: Mix ambient, task, and accent lighting. Aim for 2700–3000K warm light in living spaces, 3500–4000K neutral in task zones.
- Camera height: 4 ft 6 in to 5 ft (137–152 cm) for eye-level views; use 7–8 ft (213–244 cm) for semi-elevated overviews.
- Lens/FOV: 24–35 mm equivalent is natural for interiors. Wider lenses distort scale—use sparingly for tight rooms.
For consistency across iterations, save lighting presets and camera bookmarks. Small, controlled changes help reviewers understand deltas between versions.
Furniture Data: Sizes, Tags, and Constraints
Parametric or taggable furniture speeds iteration and prevents collisions.
- Standard sizes: Sofas often 84–90 in wide; queen beds 60×80 in; dining tables 36–42 in deep; desks 24–30 in deep. Keep a quick-reference sheet.
- Constraints: Lock minimum clearances around doors, windows, and appliances. If your tool supports it, add rules (e.g., “keep 18 in from radiator”).
- Tags/metadata: Add names, SKU, finish, and lead time. Tags create schedules and reduce specification errors later.
Quality Assurance (QA) Checklist for a 3d Room Planner
- Scale verified twice: One known dimension set; a second dimension within tolerance.
- Envelope locked: Wall thickness, ceiling heights, and soffits validated.
- Openings consistent: Door swings correct; window heights align across a wall.
- Circulation clear: All primary paths meet your target widths; turning zones checked.
- Layer and naming hygiene: Walls, furniture, lighting, and annotations separated; objects named consistently.
- Material realism: Texture scale and reflectance plausible; no repetitive tiling artifacts in key views.
- Light balance: Avoid blown highlights and crushed shadows; check white balance across views.
- Dimension snapshot: Export one annotated plan with key measurements for review.
- Collision pass: Doors, drawers, and chairs animated/opened to test interference.
Choosing the Right Planner: Platform Trade-offs
The best 3d room planner fits your capture method, accuracy needs, and output format. Consider these broad categories:
| Platform | Strengths | Limitations | Best for |
|---|---|---|---|
| Desktop CAD/BIM | High precision; robust documentation; parametric objects | Steep learning curve; heavier hardware; slower for quick ideation | Measured as-builts, complex joinery, construction sets |
| Browser-based planners | Fast onboarding; shareable links; good for options | Limited custom libraries; variable rendering realism | Client-facing layouts, quick alternates, mood boards |
| Mobile planners | On-site capture; camera/LiDAR support; portable | Smaller screens; sometimes fewer precision tools | Field surveys, rapid what-if scenarios, stakeholder walkthroughs |
Match the platform to the phase: mobile or browser for concept, desktop or robust mobile apps for verified layouts and documentation, then back to web/mobile for sharing and feedback.
Optional: A Simple Room Spec Schema
If your team shares specs, a tiny schema keeps everyone aligned:
{
  "units": "mm",
  "room": {
    "name": "Primary Bedroom",
    "dims": {"length": 4200, "width": 3600, "ceiling": 2700},
    "openings": [
      {"type": "door", "width": 900, "swing": "in", "wall": "north"},
      {"type": "window", "width": 1800, "sill": 750, "head": 2100, "wall": "east"}
    ]
  },
  "constraints": [
    {"rule": "min_clearance", "target": "bed_side", "value": 760},
    {"rule": "min_walkway", "target": "main", "value": 915}
  ]
}
Even this lightweight structure helps maintain consistent decisions across iterations.
Common Mistakes and Quick Fixes
- Scale drift: If geometry feels off, re-check your reference dimension and rescale the underlay. Confirm a second dimension before proceeding.
- Wall misalignments: Use snaps and constraints; model centerlines or faces consistently. Lock the envelope layer once verified.
- Overcrowded layouts: Remove one large piece and test flow again; widen pathways to at least 36 in (915 mm).
- Lighting that looks fake: Reduce intensity of multiple ceiling lights; introduce a key light and fill; set realistic color temperatures.
- Glossy materials everywhere: Lower specular/roughness to avoid a plastic look; add normal maps for subtle surface variation.
- Inconsistent camera lenses: Standardize lens and height across views so comparisons are meaningful.
Exporting and Sharing: Make It Legible
When you’re ready to share, match the format to the audience and platform.
- Plans and elevations: Export orthographic images at 300 DPI for print; include a scale bar and north arrow if relevant.
- Perspectives: 2000–3000 px on the long edge suits most screens; use consistent naming (Space_View_Version.jpg).
- 360 panoramas: Great for spatial comprehension; ensure exposure matches static views to avoid confusion.
- Dimensioned snapshots: One annotated view per space reduces back-and-forth emails.
Always archive the model state that produced each export so you can reproduce results after edits.
Putting It All Together
A 3d room planner is most powerful when it serves as both a rapid ideation tool and a verification instrument. Measure carefully, lock scale, test clearances, build zones around real activities, and use lighting and materials to communicate—not to deceive. Save standard cameras and presets to keep reviews focused on design choices rather than technical noise.
If you frequently work from black-and-white floor plans on iPhone, the app Floor Plan to 3D can convert them into accurate 3D representations you can iterate on and export at high resolution—handy when you need both speed and fidelity without switching devices.
