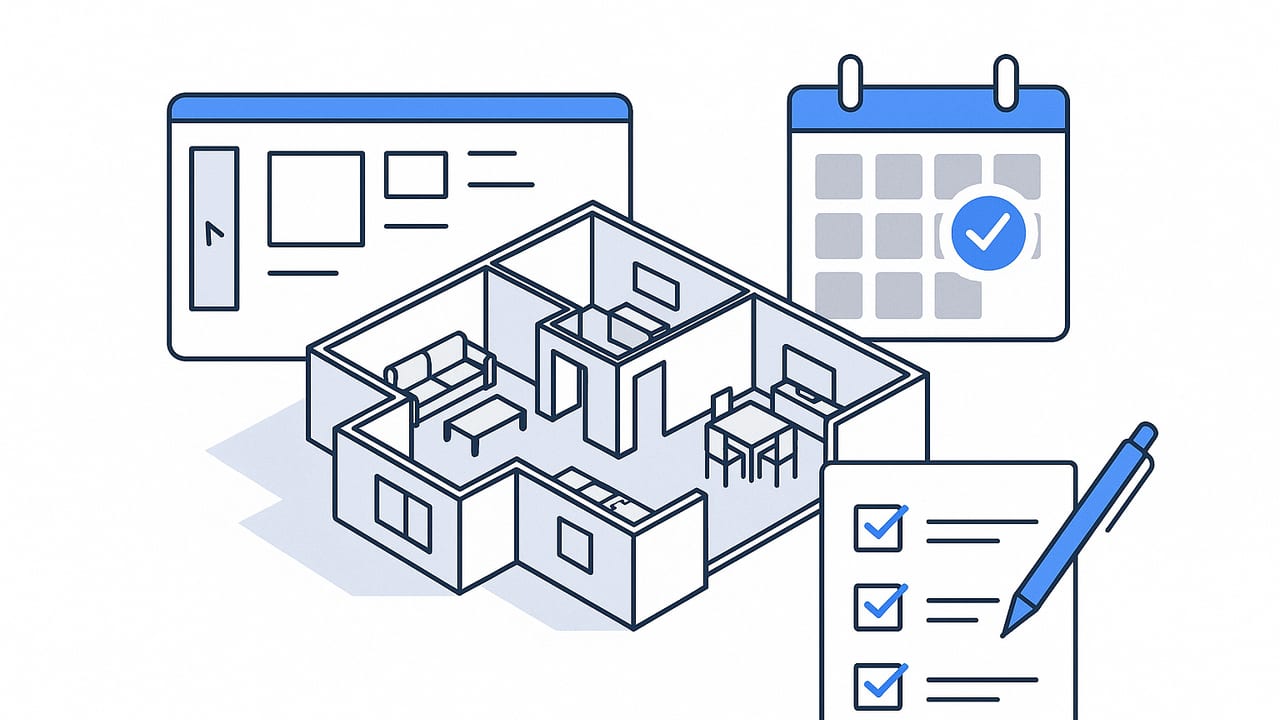
Open houses move fast. Scheduling shifts, photos come in late, and sellers suddenly ask for better visuals. A 3D floor plan can make the difference between a busy door and a quiet afternoon, even on a tight timeline. This guide gives real estate agents and marketers a practical, step-by-step workflow to create a last‑minute 3D floor plan for an open house, including triage, export specs, day‑of signage, and quick distribution. If you are searching for last minute 3d floor plan open house advice, this playbook keeps you focused on what matters most: clarity, speed, and a result that buyers can trust.
Why a 3D floor plan changes open house outcomes
Photos and video sell emotion. Floor plans sell understanding. A 3D plan combines both, helping buyers grasp scale and flow: where the kitchen is in relation to the living room, how a king bed fits, whether that office could be a nursery, and how the patio connects to the family room. For in‑person showings, a printed or tablet‑ready 3D plan shortens confusion and increases time spent discussing how buyers would live in the space.
- Clarity: 3D makes volume, ceiling height, and furniture placement feel real, even if the model is a conceptual representation.
- Speed of decision: Buyers answer their own questions about circulation, room sizes, and storage.
- Consistency: Hosts can reference the same plan across flyers, QR codes, and follow‑up emails.
Speed is a feature. Aim for accurate proportions and room relationships, then refine visuals only if time permits.
Triage: pick the right path with less than 72 hours
Before you start, decide whether you will do it yourself or outsource. The correct choice depends on time, available inputs, and the minimum quality you need for the open house.
| Option | Typical turnaround | Inputs required | Output | Risk |
|---|---|---|---|---|
| DIY mobile app | 30–90 minutes | Photo or scan of the 2D plan | True‑scale 3D images and floor plan | Learning curve, limited customization |
| Freelancer (rush) | 12–48 hours | 2D plan (clean), room notes, finishes | Polished 3D renders | Communication delays, revision limits |
| CAD/CGI studio | 2–4 days (rush fees) | CAD or detailed 2D plan, spec sheets | High‑end visuals, multiple angles | Costly, not ideal for emergencies |
| No 3D fallback | Immediate | 2D plan only | Labeled 2D with room sizes | Lower engagement |
For a genuine last‑minute need, a mobile workflow is the fastest way to get a buyer‑ready 3D plan on your phone, tablet, and print materials the same day.
48–72 hours before the open house: prep and inputs
Gather the minimum inputs that drive accuracy. If you lack a CAD file, a clean black‑and‑white floor plan image is enough if the dimensions are legible.
- Collect the base plan: a scanned or photographed 2D floor plan. Ensure it is square to the camera and high contrast.
- Confirm dimensions: at least one or two reference measurements per floor (e.g., overall width, a known room length). This anchors true scale.
- List key rooms and optional furniture: bed sizes, sofa length, table diameter, appliance placements. These affect buyer perception.
- Decide the essential outputs: one hero 3D perspective, one top‑down 3D plan, and a labeled 2D for MLS if required.
- Note finishes sparingly: light versus dark flooring, cabinet tone, and wall color. Avoid over‑specifying when time is tight.
Pro tip: if a seller requests a specific staging style (e.g., minimal, Scandinavian, traditional), capture that in a single sentence. Over‑detailing costs time without meaningful return for a last‑minute scenario.
24 hours before: build and QA fast
With your inputs ready, convert the 2D plan to 3D. Keep scope tight.
- Import the 2D plan into your 3D tool and align scale using the known reference measurement. Check that common spans (hallways, bedroom widths) are plausible.
- Place essential furniture first: beds, sofa, dining set, desk. Use real sizes when possible to reinforce credibility.
- Lay out circulation: keep 32–36 inch clear paths where buyers would walk. Avoid blocking doors and windows.
- Choose a neutral palette: light wood or mid‑tone floors, off‑white walls, minimal accent colors. Neutral sells clarity.
- Set camera angles: one top‑down 3D axon or perspective that shows the entire floor, plus 2–3 room‑level perspectives that highlight the kitchen and the main living area.
- Run a scale sanity check: compare the 3D bedroom width to the 2D dimension; the difference should be minimal.
Label the plan for marketing, not construction. Include room names, approximate sizes, and a discrete disclaimer.
Day‑of open house: deploy everywhere buyers look
Your goal is to meet buyers where they are: at the door, in the kitchen, and on their phones after they leave.
- Printed flyer: hero 3D plan on the front, labeled 2D on the back with room dimensions. Add a small disclaimer: '3D plan is for illustrative purposes; not for construction.'
- Signage: a tabletop stand with the 3D plan near entry or kitchen island. Include a QR code that links to a gallery page.
- Tablet preview: open the 3D plan gallery in the default browser for quick pinch‑to‑zoom.
- Social post: a short video pan across the 3D plan with a caption like 'Understand the flow in seconds. See the full 3D plan at the open house.'
- Agent script: 'This 3D plan shows furniture to scale, so you can see how a king bed fits and how the dining area functions.'
Export specs that look sharp in print and on phones
Renders and plans must read clearly at arm's length and on a small screen. When exporting, target the specs below if your tool allows.
| Use | Format | Resolution | Notes |
|---|---|---|---|
| Flyer hero 3D | PNG or high‑quality JPEG | 300 DPI at 6–8 inches on the long edge | Keep text to a minimum; prioritize legibility |
| Top‑down 3D plan | PNG | 300 DPI at 7–8 inches wide | Include room labels; avoid tiny fonts |
| Labeled 2D plan | PDF for print, PNG for web | Vector or 300 DPI | MLS‑friendly; ensure dimensions are clear |
| Web/social | JPEG or PNG | 1920 px on long edge | Export sRGB, moderate compression |
| QR landing page | Web‑optimized PNG/JPEG | 1200–1600 px | Faster loading; include alt text |
Typography matters. Use a clean sans‑serif for labels (e.g., 9–11 pt at print size). Contrast labels against the background and keep linework consistent; buyers should never squint to read a dimension.
Distribution: MLS, social, email, and print
- MLS: some platforms prefer 2D plans. Upload the 2D labeled version first; add the 3D as supplemental media or in the agent remarks as a link, when allowed.
- Social: post a carousel with the hero 3D, the top‑down 3D, and the labeled 2D. Use a caption that highlights room flow and furniture fit.
- Email: send a concise follow‑up to attendees with a single image preview and a link to a simple gallery page. Keep file sizes small.
- Print: bring extra flyers; many buyers photograph them. Ensure the QR code is large enough to scan from a photo.
- Signage: place the 3D plan near areas where buyers linger, like the kitchen. It becomes a conversation anchor.
Common pitfalls and quick fixes
- Furniture looks cramped: remove one nonessential piece and re‑export. Negative space reads as luxury.
- Misaligned walls after scaling: re‑anchor scale using a longer reference measurement to reduce percentage error.
- Low‑contrast labels: add a semi‑transparent white label box or stroke the text to separate it from the background.
- Reflections and glossy floors: reduce reflectivity to avoid visual noise in prints.
- Complex ceiling or split levels: depict the outline and stairs clearly in top‑down views; room‑level renders can be optional in a rush.
- Seller worries about accuracy: add a visible note that dimensions are approximate and for marketing illustration only.
Quality checklist in 90 seconds
- Scale sanity: a queen bed shows around 60 x 80 inches; doors are ~30–36 inches wide; a standard fridge is ~36 inches.
- Flow: no furniture blocks doors or windows; pathways are clear.
- Labels: every room has a name; dimensions are legible at arm's length.
- Consistency: 3D plan aligns with the 2D plan and the listing photos.
- Files: you have a print‑ready PDF/PNG and a web‑ready image under 1 MB for fast sharing.
Optional: a simple gallery snippet for your landing page
If you maintain your own listing microsite, you can drop a minimal gallery onto a page. Replace the image sources with your own.
<section class='gallery'>
  <figure>
    <img src='hero-3d.png' alt='3D perspective of main living areas' />
    <figcaption>Understand the flow in seconds.</figcaption>
  </figure>
  <figure>
    <img src='topdown-3d.png' alt='Top-down 3D floor plan with furniture' />
    <figcaption>Furniture shown to scale.</figcaption>
  </figure>
  <figure>
    <img src='labeled-2d.png' alt='Labeled 2D plan with room sizes' />
    <figcaption>Dimensions approximate; for marketing only.</figcaption>
  </figure>
</section>
FAQ: quick answers for agents in a hurry
Do I need perfect material selections for a last‑minute 3D plan? No. Prioritize accurate room sizes, furniture scale, and circulation. Neutral finishes are acceptable and often preferred.
Is a top‑down 3D plan better than a labeled 2D? They serve different purposes. Top‑down 3D conveys volume and furniture fit. Labeled 2D is often MLS‑friendly. Use both if possible.
How do I handle multi‑floor homes? Create one top‑down 3D plan per level and a combined labeled 2D with a small key. Buyers should understand the vertical relationship at a glance.
What about condos with odd angles? Keep the outline accurate and choose camera angles that clarify the unique geometry rather than hiding it.
Wrap‑up
A last‑minute 3D floor plan for an open house does not need to be elaborate to be effective. With a clean 2D plan, a short list of must‑have furniture, and export settings tuned for both print and mobile, you can go from concept to buyer‑ready visuals in under an hour. Keep your scope narrow, your labels legible, and your distribution simple.
For teams that need a fast way to turn a black‑and‑white floor plan photo into an accurate 3D representation directly on an iPhone, the Floor Plan to 3D app can help you produce true‑to‑scale renders and export high‑resolution images for flyers, signage, and quick sharing.
