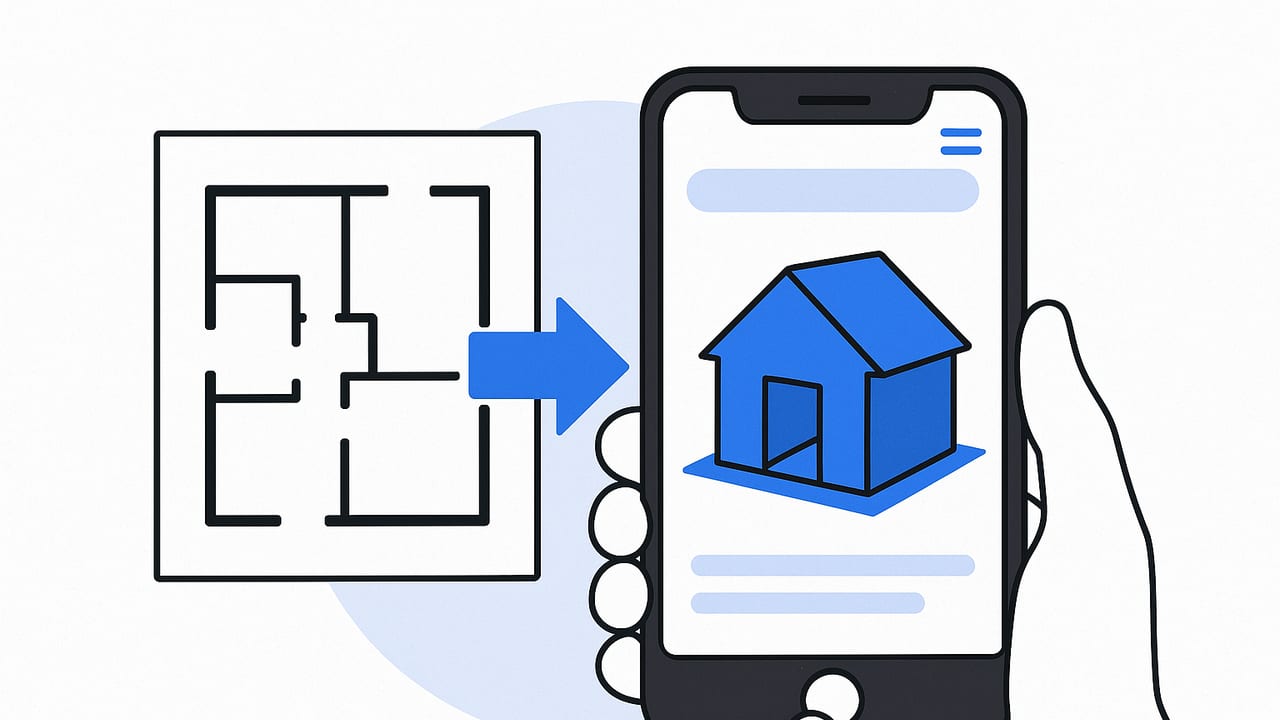
Turning a flat, black-and-white floor plan into a realistic three-dimensional model used to require desktop software, manual tracing, and hours of cleanup. Today, an iPhone app converting floor plans to 3D can analyze a scan or photo of your layout and produce an accurate 3D representation within minutes. Whether you are planning a remodel, preparing a client presentation, or simply testing furniture arrangements, the right workflow will help you get high-quality results with minimal rework.
This guide explains how these apps work, the step-by-step process from capture to export, accuracy checks professionals rely on, and the pitfalls to avoid. If you searched for "iphone app converting floor plans to 3d," you will find practical advice here, plus a quick comparison of methods and a workflow you can reuse for every project.
How iPhone floor plan to 3D apps work
Most modern mobile converters follow a similar pipeline to transform a 2D plan image into a navigable 3D scene:
- Image preprocessing: The app de-skews perspective, enhances contrast, reduces noise, and isolates linework. For photos, it corrects lens distortion and normalizes lighting.
- Vectorization: Walls, doors, and windows are detected and converted into vector edges. Wall thickness is inferred from parallel lines; dashed lines can signify overhead elements or openings.
- Symbol recognition: Common annotations (door swings, stairs, plumbing fixtures) are identified using trained models. The app may also parse text for dimensions and scale bars.
- Scale inference: The model reads at least one known dimension (e.g., a labeled wall length) or uses a user-defined measurement to calibrate scale.
- Semantic segmentation: Rooms are segmented by closed boundaries. Each room is assigned attributes like floor area, perimeter, and potential function based on fixture clues.
- 3D reconstruction: Walls are extruded to a default or user-specified height; openings apply boolean cuts; stairs are generated with riser/tread logic; slabs and ceilings are created.
- Material and lighting: Default materials are applied; users can swap finishes, adjust lighting, and add furniture to test layouts.
Under the hood, these steps combine computer vision and rule-based checks to maintain fidelity to the original plan. The result is a dimensionally consistent 3D model suitable for layout ideation and presentation.
End-to-end workflow on iPhone
Use this repeatable workflow to go from paper or PDF to a reliable 3D model on your phone.
1) Capture or import
- Import a PDF or image when you have a digital file from an architect or agent.
- Photograph paper plans if you only have a printout. Place the sheet on a flat surface and fill the frame.
Camera capture tips for clean linework
- Shoot from directly above; avoid oblique angles.
- Use even lighting; eliminate shadows and glare.
- Flatten the paper; tape corners if needed.
- Enable a camera grid to center and square the sheet.
- Prefer black-and-white or high-contrast prints.
- Take multiple shots; keep the sharpest one.
2) Calibrate scale
Identify a known dimension on the plan (e.g., a labeled 12' 0" wall). Enter that value so the app sets the global scale. If no labels exist, measure a real room wall with a tape or laser and use that measurement.
- Confirm units (meters, centimeters, feet/inches) before applying scale.
- Check one additional dimension to verify the scale is consistent.
3) Review walls and openings
- Ensure all exterior and interior walls have correct thickness and continuity.
- Verify door swings and window placements; adjust any misreads.
- Mark stairs, columns, and structural elements clearly if symbols were faint in the source.
4) Set heights, levels, and materials
- Assign wall and ceiling heights per room if they differ (e.g., cathedral ceilings or dropped soffits).
- Define floor finishes and wall materials for visual clarity.
- Create multiple levels for multi-story plans; align stair openings between floors.
5) Furnish and test layouts
- Place scaled furniture to validate clearances and traffic flow.
- Use align and snap tools to maintain precision along walls and centerlines.
- Create alternatives: e.g., island vs. peninsula in kitchens, sectional vs. sofa in living rooms.
6) Render and export
- Generate stills from eye-level and top-down perspectives.
- Increase resolution for client-facing images; set neutral lighting for true-to-material color.
- Export floor plan overlays or split-screen before/after when helpful.
Accuracy: what to expect and how to verify
Accurate scale is essential for trust—especially if your model informs purchasing or construction. Expect near-exact room sizes when the source plan is clear and scale calibration is correct. Use this checklist:
- Cross-check two dimensions: After scaling, measure a second labeled segment and confirm variance is under 2–3%.
- Validate door and corridor clearances: Typical door widths are 28–36 in (700–915 mm); hallways often 36–48 in (915–1220 mm).
- Confirm wall thicknesses: Interiors commonly 3.5–5.5 in (90–140 mm); exteriors thicker depending on construction type.
- Look for cumulative drift: Compare total plan width/length to analog measurements if possible.
Input quality versus expected results
| Input Type | Distortion Risk | Notes | Expected Scale Variance |
|---|---|---|---|
| Flatbed scan at 300–600 dpi | Very low | Best for thin linework and annotations | ±1–2% |
| iPhone photo, top-down, even light | Low | Ensure good contrast and square framing | ±2–3% |
| iPhone photo, angled or with glare | Moderate | Perspective correction may soften edges | ±3–5% |
| Wrinkled or folded paper | High | De-warping can misread close linework | ±5% or more |
Comparing methods: mobile, manual, or outsourced
| Method | Speed | Learning Curve | Accuracy | Best For |
|---|---|---|---|---|
| iPhone app (auto-convert) | Minutes | Low | High with good inputs | Rapid iteration, on-site edits |
| Manual modeling (SketchUp/Blender) | Hours–days | Medium–high | Very high if modeled carefully | Custom details, advanced visualization |
| Desktop CAD plug-in | 1–3 hours | Medium | High | Teams already in CAD ecosystems |
| Outsourced conversion | 1–3 days | Low | Variable | Bulk projects, tight internal bandwidth |
Common pitfalls and how to avoid them
- Perspective skew: Capture from directly above; use in-app crop guides to square corners.
- Low contrast: Increase contrast before import; avoid gray or colored lines that blend with shadows.
- Fold lines and stains: Flatten, clean, or digitally retouch; these artifacts can be misread as walls.
- Missing scale reference: Always provide at least one trustworthy dimension or a clear scale bar.
- Ambiguous symbols: Clarify unique symbols (e.g., pocket doors vs. cased openings) during the review step.
- Units mismatch: Double-check metric vs. imperial; a unit error propagates through the entire model.
Use cases where mobile 3D shines
- Home planning: Try furniture arrangements, validate appliance clearances, and preview finishes.
- Interior design: Iterate concepts quickly with clients, then export presentation-ready visuals.
- Real estate: Produce easy-to-share 3D and top-down renders for listings and brochures.
- Remodeling and contracting: Communicate proposed layout changes clearly with subs and clients.
- Education: Teach spatial reasoning and drawing interpretation with immediate 3D feedback.
Clients decide faster when they can see a space in 3D. A faithful model reduces back-and-forth and aligns expectations early.
Exports and deliverables that impress
Even a quick mobile model can produce polished outputs when you manage resolution, composition, and lighting.
- Still images: Export at 4K (3840×2160) or higher for print and slides. Use consistent aspect ratios for a clean deck.
- Top-down renders: Include dimensions or a translucent floor plan overlay to aid comprehension.
- Walkthroughs or 360s: If supported, generate short clips or panoramas for immersive viewing.
- Material swatches: Provide side-by-side renders to compare finishes without rebuilding the scene.
Composition tips
- Use a natural eye height (1.5–1.7 m) for perspective renders.
- Frame corners and circulation paths to show depth and flow.
- Neutral, even lighting helps materials read true; avoid overly dramatic shadows for technical presentations.
Privacy, IP, and sharing
Floor plans often contain sensitive information. Keep these practices in mind:
- Redact names, addresses, and unit IDs on shared imagery.
- Ask permission before distributing third-party plans.
- If possible, store projects locally or export only the visuals you need rather than full models for public sharing.
Choosing an iPhone app for floor plan to 3D
Focus on these criteria when evaluating options:
- Fidelity to the plan: Accurate wall thickness, openings, and room segmentation.
- Scale handling: Easy calibration and unit switching.
- Speed and stability: Fast conversions with consistent results on typical iPhone hardware.
- Furniture and materials: Enough library variety to test real layouts.
- Export quality: High-resolution stills and, ideally, top-down renders with overlays.
- Data control: Clear privacy policy; offline mode or minimal upload when possible.
Look for user workflows, not just features. Can you reliably go from photo to scaled 3D, validate two measurements, and export a 4K image in under 15 minutes? If yes, the app fits modern presentation needs.
Quick FAQ
Do I need LiDAR?
No. Converters operate on plan images, not room scans. LiDAR helps when capturing existing spaces without a plan, but it is not required for plan-to-3D conversion.
Does it work with black-and-white prints?
Yes. High-contrast black-and-white plans are ideal for line detection and symbol recognition.
Do I have to trace walls manually?
Usually no. Good apps auto-detect walls and openings; you may refine ambiguous areas after conversion.
Can I model multi-story layouts?
Yes. Create separate levels and align stairs/voids. Keep consistent scale across floors.
What about metric vs. imperial?
Most apps support both. Confirm units before scaling; verify with a second measurement.
Can I export to CAD or BIM?
Some tools export images only; others offer vectors or 3D formats. For presentation work, high-res stills are sufficient; for documentation, check for DWG/DXF/OBJ/FBX support.
Example project metadata (for handoff)
If you coordinate with teammates, simple metadata helps track assumptions. Here is a lightweight JSON example you can paste into a notes field or email alongside your renders:
{
  "project_name": "Maple Ave Apartment",
  "units": "imperial",
  "scale_reference": {
    "source_label": "Living room north wall",
    "plan_value_ft_in": "12' 0\""
  },
  "defaults": {
    "wall_height_in": 108,
    "interior_wall_thickness_in": 4.5,
    "exterior_wall_thickness_in": 8
  },
  "checks": [
    { "segment": "Bedroom width", "plan": "10' 6\"", "model": "10' 5\"" },
    { "segment": "Hallway clear", "plan": "3' 0\"", "model": "2' 11\"" }
  ],
  "export": {
    "images": [
      { "view": "top_down", "resolution": "3840x2160" },
      { "view": "living_perspective", "resolution": "3840x2160" }
    ]
  }
}
These notes make it clear how the model was scaled, what defaults were used, and how closely it matches plan dimensions.
A reusable checklist for every conversion
- Capture a flat, high-contrast plan (preferably scan or top-down photo).
- Set units and calibrate using one reliable dimension.
- Validate a second dimension to confirm scale.
- Review walls, doors, windows; correct any ambiguous areas.
- Set heights, materials, and furniture for clarity.
- Export 4K stills from top-down and eye-level views.
- Document assumptions and any measured adjustments.
Bottom line
An iPhone app converting floor plans to 3D can compress days of drafting into a short, reliable workflow that preserves scale and communicates design intent clearly. By starting with a clean plan image, calibrating carefully, and validating two measurements, you can trust your model for layout decisions, client reviews, and proposal imagery. One iOS option, Floor Plan to 3D, converts black-and-white plans into dimensionally faithful 3D models and exports high-resolution images suitable for presentations.
