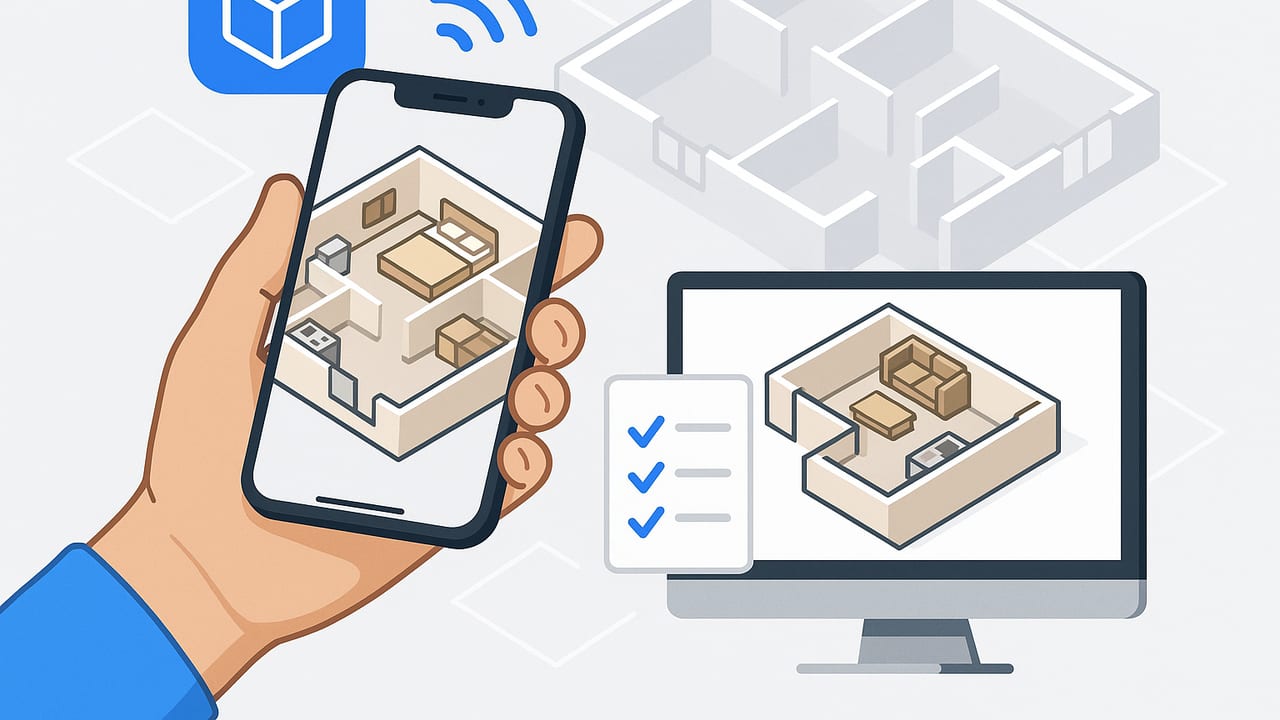
Turning a simple floor plan into a convincing 3D view no longer requires a workstation, a CAD license, or hours of drafting. With the right iOS workflow, you can capture a layout, calibrate measurements, and generate polished visuals directly on your phone. This guide explains how to produce accurate, shareable iPhone 3D floorplans—from preparing your source plan to exporting presentation-ready renders. Whether you’re a homeowner planning a remodel, a real estate agent staging a listing, or a design student testing ideas, you’ll find a streamlined method here.
What iPhone 3D Floorplans Are (and Aren’t)
iPhone 3D floorplans are scaled, 3D representations derived from a 2D layout (blueprint, sketch, or printed plan). Modern iOS apps combine image processing, AI-assisted wall detection, and measurement calibration to convert lines and symbols into walls, doors, windows, and rooms in true proportion. The result is a navigable 3D scene that visually communicates spatial relationships without requiring full BIM detail.
They are not a complete construction document set. Expect faithful proportions, clear room adjacencies, and placement of key elements—not full mechanical details or code annotations. For concept design, room planning, and visual communication, they are fast, portable, and highly effective.
Who Benefits From Mobile 3D Floor Plans
- Homeowners and renters: Visualize furniture arrangements, test paint and flooring palettes, and confirm that a sofa actually fits through the entry.
- Real estate agents: Produce attractive listing visuals quickly, stage virtually, and help buyers grasp flow and scale.
- Interior designers and decorators: Iterate concepts in minutes, align design intent with client expectations, and export high-resolution renders for proposals.
- Contractors and remodelers: Communicate layout changes without CAD, mark openings, and validate clearances before demolition.
- Students and emerging professionals: Translate sketches to scale-accurate massing, test furniture density, and learn spatial relationships hands-on.
Preparing the Source Plan for Best Results
Accuracy begins before you open the app. Good input produces good output. If you’re converting a black-and-white plan, aim for a clear, high-contrast image and remove distortion.
Capture Tips for Scanning Printed or Hand-Drawn Plans
- Lighting: Even, diffuse light. Avoid glare and shadows.
- Lens alignment: Hold your iPhone parallel to the page. If possible, use a document scanning mode to auto-correct perspective.
- Resolution: For A4/Letter pages, 300 DPI equivalent is ideal. Avoid low-resolution screenshots of screenshots.
- Contrast: Increase contrast to emphasize walls; remove gridlines and background texture if they confuse edge detection.
- Crop: Crop out stray notes, title blocks, or legends that don’t contribute to geometry.
Digital File Prep
- Format: PNG or high-quality JPEG. Ensure no aggressive compression artifacts.
- Scale indicator: Keep at least one known dimension (e.g., a labeled room width) or a scale bar for calibration.
- Line clarity: Thick, continuous wall lines parse best. Re-ink faint lines digitally if needed.
Pro tip: Measure twice, render once. Always include a reliable dimension on the plan to set scale inside your iOS app.
Step-by-Step Workflow: From Plan to 3D
- Import the plan: Open your app and upload the scanned image. Confirm the orientation (north/up) and correct any leftover skew.
- Calibrate scale: Use a labeled dimension (e.g., a 10' or 3000 mm wall). If none is present, measure a real wall with a tape measure and use that length for calibration.
- Detect or trace walls: Many apps auto-detect walls; refine corners manually. Ensure wall thickness is consistent with the plan.
- Add doors and windows: Match swing direction, width, sill height, and placement. Correct openings are essential for circulation realism.
- Place fixtures: Add kitchen units, bathroom fixtures, and built-ins. Rough-in locations first; fine-tune later.
- Set ceiling height and levels: Default heights can distort perception. Input actual ceiling height(s), soffits, and drops if known.
- Assign materials: Floors, wall finishes, and counters help evaluate reflectance and color interactions. Start neutral, then iterate.
- Furnish to scale: Use manufacturer specs or standard dimensions (e.g., queen bed 60" x 80"). Verify critical clearances around doors and circulation paths.
- Light the scene: Adjust daylight and artificial lighting for readability. Avoid overly dramatic lighting that hides geometry.
- QA and iterate: Run measurement checks (see next section), then export snapshots, panoramas, or 3D views for stakeholders.
Calibration and Accuracy: Getting Scale Right
Scale calibration ensures the 3D output respects real-world dimensions. After importing your plan, set a scale factor by mapping a known measurement on the plan to its real length.
Simple Scale Math
If the plan shows a wall labeled 4200 mm but the on-screen measurement reads 4050 mm after initial detection:
Scale factor = Real length / Measured length = 4200 / 4050 ≈ 1.037
Apply the factor in your app’s calibration step, then re-check a second dimension to confirm consistency.
Accuracy Checklist
- Verify at least two non-parallel dimensions (e.g., one width and one depth).
- Confirm door and window widths match standard sizes where specified.
- Set wall thickness correctly; thin or overly thick walls skew room sizes.
- Input ceiling height and stair riser/tread counts if present to avoid vertical scale drift.
Common Mistakes (and How to Fix Them)
| Mistake | Symptom | Fix |
|---|---|---|
| Skewed photo capture | Walls appear trapezoidal; rooms off-square | Re-scan with the phone parallel to the page; use perspective correction |
| Low-resolution image | Jagged edges; missed wall detection | Use 300 DPI equivalent; prefer PDFs or original scans over screenshots |
| Missing calibration | Furniture doesn’t fit; dimensions inconsistent | Calibrate using a known dimension; verify a second dimension as a cross-check |
| Wrong units | Meters read as feet (or vice versa) | Select correct unit system before tracing; re-enter key measurements |
| Ignoring openings | Doors swing into furniture; blocked paths | Place and size doors/windows first; plan circulation early |
| Default ceiling height | Odd vertical proportions; cabinets clipping | Set real ceiling height; adjust soffits, beams, and drops |
Exporting: Renders, Panoramas, and File Naming
For presentations and listings, exports should be sharp and consistently named. A few practical settings and habits go a long way.
- Resolution: Use 4K (3840 × 2160) or higher for hero renders. For MLS or web, 1920 × 1080 is typically sufficient while keeping file sizes manageable.
- Aspect ratio: 16:9 for web/video, 4:3 for print-oriented boards, and 1:1 for social posts.
- Camera presets: Create standard views: living room, kitchen, primary bedroom, bath, and an overall axonometric plan.
- Background: Neutral gray or white to emphasize geometry; avoid busy HDRI environments for plan-focused images.
- File formats: PNG for crisp lines and transparency; JPEG for smaller file sizes.
Shortcut Example: Auto-Rename Exports
Use Apple Shortcuts to standardize naming and keep deliverables organized. Here’s a simple pseudo-workflow you can adapt:
# Shortcut: Rename 3D Floor Plan Renders
Input: Selected photos from Photos
Variables: ProjectName, Address, ViewType

For each Photo in Input:
  Ask for ProjectName (e.g., "MapleHouse")
  Ask for Address (e.g., "14-Maple-Dr")
  Ask for ViewType (e.g., "Kitchen", "Axon", "Living")
  Format Date as YYYYMMDD
  NewName = ProjectName + "_" + Address + "_" + ViewType + "_" + Date
  Save Photo with Name NewName
End
Choosing an App: What to Look For
The best app for iPhone 3D floorplans depends on your priorities. Evaluate tools against your workflow needs rather than brand hype.
- True-scale calibration: Ability to set precise scale from a known dimension and verify with multiple checks.
- Accurate wall detection: Handles black-and-white linework cleanly, with manual overrides for tricky corners.
- Doors, windows, and openings: Quick placement with editable widths, heights, and swing directions.
- Material and furniture library: Enough variety to communicate intent without overwhelming complexity.
- Lighting controls: Daylight direction, temperature, and intensity settings improve realism and readability.
- Export quality: High-resolution stills and panoramas for proposals and marketing.
- Performance on-device: Fast rendering without shipping sensitive plans to external servers if privacy is a concern.
iPhone-Only vs Hybrid vs CAD: Which Fits Your Project?
| Workflow | Best For | Pros | Trade-offs |
|---|---|---|---|
| iPhone-only | Real estate, quick proposals, homeowner planning | Fast, portable, low learning curve | Limited parametric detail; not a full CAD replacement |
| Hybrid (iPhone + desktop edits) | Design studios needing extra polish | Speed from phone + precision edits on desktop | Requires file handoff and software interoperability |
| Full CAD/BIM | Construction documents, complex projects | Rich detail, schedules, and coordination | Steeper learning curve, longer timelines, higher cost |
Quality Assurance Before You Share
- Dimension spot check: Re-measure three critical spans (e.g., living room width, hallway length, kitchen run).
- Door clearance: Ensure swings clear adjacent furniture by at least 2" (50 mm).
- Circulation: Maintain 36" (915 mm) main pathways where possible; adjust furniture density accordingly.
- Lighting readability: Increase ambient light slightly for plan overviews; avoid crushing shadows.
- Export test: Produce one draft render and review on a phone, laptop, and TV to reveal issues with contrast and scale perception.
Privacy, Data, and Sharing
Floor plans can contain sensitive information. Consider these practices:
- On-device processing: If possible, prefer tools that process locally for confidentiality.
- Trim metadata: Remove addresses or client names from the visible plan and from file names when sharing publicly.
- Limit scope: Share only the views required for a task (e.g., living areas for marketing; omit private spaces when not necessary).
Troubleshooting Visual Quality
- Flat-looking scenes: Add gentle contrast in materials and introduce a secondary light source to define edges.
- Color casts: Neutralize white balance before material selection; use daylight at 5500–6500K for references.
- Noise and aliasing: Increase render quality or export at higher resolution and downscale for crisp edges.
Putting It All Together
Accurate, clear iPhone 3D floorplans are the product of clean inputs, deliberate calibration, and a short QA loop. Start with a high-contrast scan, align units and scale, place openings correctly, and keep materials understated until layout decisions are locked. Use consistent export settings so stakeholders can compare views without distraction.
With the right technique, you’ll move from a static drawing to a convincing 3D narrative in minutes, not days—saving time, clarifying decisions, and elevating presentations. For an iOS tool that converts black-and-white 2D layouts into true-scale 3D with high-resolution export, consider testing Floor Plan to 3D as part of your workflow.
