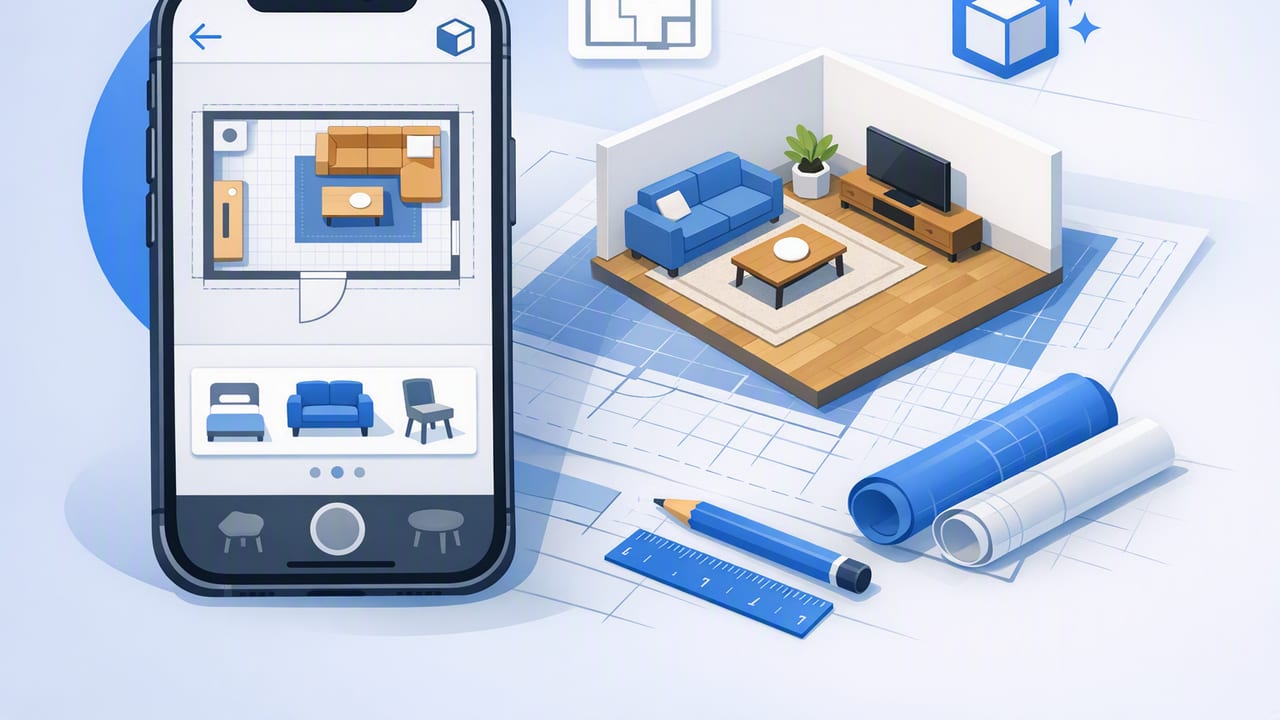
When you’re planning a remodel, the hardest part often isn’t picking finishes—it’s trusting that your ideas will work in the real space. An ios room planner can bridge that gap by turning a simple 2D floor plan into a visual, testable 3D model you can iterate on quickly. Done well, this workflow helps you spot layout issues early, compare renovation options side by side, and communicate clearly with contractors or clients.
This guide breaks down a practical, renovation-ready process: how to prepare a floor plan, convert it to 3D, validate scale and structure, experiment with layouts using AI room planner features, and export clean renders for presentations—without needing heavy desktop CAD or 3D software.
Why use an iOS room planner instead of sketching or “guessing” in 2D?
Floor plans are efficient, but they’re abstract. 3D previews reveal what 2D hides: circulation pinch points, furniture scale problems, sightlines, and awkward door swings. A modern ios room planner adds three concrete advantages:
- Speed: Import a plan, generate a 3D base model, and test ideas in minutes rather than days.
- Confidence: Validate that dimensions, labels, and room proportions match reality before you buy materials or move walls.
- Communication: High-resolution images make decisions easier for households, clients, and trades.
Rule of thumb: If a change affects circulation (doors, walkways, kitchen work triangle) or budget (structural, cabinetry, glazing), it’s worth previewing in 3D before committing.
Step 1: Start with a floor plan that converts cleanly
Most conversion errors happen before you even hit “import.” Whether you’re scanning a printed plan, using a PDF from an architect, or photographing a blueprint, the goal is to provide a high-contrast, distortion-free input.
Floor plan prep checklist
- Use the clearest source available: Export the original PDF if possible (better than a photo).
- Keep it black-and-white: High contrast improves line detection and room boundary recognition.
- Include at least one known dimension: A labeled wall length or a scale bar makes validation faster.
- Avoid perspective distortion: If photographing, shoot straight-on and crop to the plan edges.
- Remove visual noise: Notes, stamps, and heavy hatching can confuse auto-detection.
If you must use a photo, consider doing a quick “document scan” pass first so the plan is squared up and evenly lit.
Step 2: Convert 2D to a 3D base model (then assume it needs checking)
Floor plan conversion is a mix of automation and verification. The best workflow mindset is: generate fast, validate immediately, then iterate.
What to verify after conversion
- Overall footprint: Does the perimeter match the plan’s outline?
- Room boundaries: Are walls connected correctly (no gaps, overlaps, or missing segments)?
- Openings: Doors and windows are often the first misreads—confirm swing direction and placement.
- Labels and dimensions: Check that room names and key dimensions weren’t misinterpreted.
Even if your app preserves labels and proportions, treat the first 3D result as a draft. The value is that you can now “walk” the space mentally and see problems that would have stayed hidden in 2D.
Step 3: Calibrate scale so furniture and clearances are realistic
A 3D model is only useful if it’s scaled correctly. Small percentage errors compound quickly—especially in kitchens, bathrooms, and tight bedrooms. Use at least one trusted measurement (ideally two) to confirm that the plan-to-model scale is accurate.
Common clearance targets (quick reference)
- Main walkways: ~90–105 cm (36–42 in) where possible
- Behind dining chairs: ~90 cm (36 in) for comfortable pull-out
- Kitchen aisles: ~100–120 cm (40–48 in) depending on traffic and appliances
- Door clearance: Confirm swing doesn’t collide with fixtures or furniture
If your plan doesn’t show dimensions, measure one wall on site and use it to set scale. Conceptually, scaling is just matching a known real-world length to its detected length.
// Simple scale factor concept
// real_length = measured on site (e.g., 4.20 meters)
// detected_length = length in the imported plan/model units
scale_factor = real_length / detected_length

// Apply scale_factor to the model so all other lengths match reality
Step 4: Use AI room planner features to generate layout options (but keep constraints)
The most productive way to use an AI room planner is to treat it like a fast idea engine—not the final authority. You’ll get better results when you define constraints before generating options.
Constraints that matter in real renovations
- Fixed elements: Load-bearing walls, columns, stair openings, window heights
- Plumbing and venting: Moving a sink or toilet is possible, but it changes cost and complexity
- Electrical logic: Outlet locations, lighting zones, and switch placement
- Circulation: The path from entry → living → kitchen → bedrooms should feel natural
Run the AI suggestions, then filter them through these constraints. In practice, you might generate three to five variations and refine the best two manually.
A quick “layout scoring” rubric
To avoid choosing a layout just because it looks good in a render, score each option (1–5) on:
- Flow: Can people move without weaving around furniture?
- Function: Does each room support its daily use (storage, seating, work zones)?
- Cost impact: Does it require moving plumbing, resizing windows, or altering structure?
- Flexibility: Can the space evolve (guest mode, work-from-home, kids)?
Step 5: Iterate with “before/after” variants instead of one perfect model
Renovation decisions rarely hinge on a single feature. They’re usually trade-offs: more storage vs. more seating, a larger island vs. wider circulation, a bigger shower vs. linen closet space. The best iOS planning workflows create variants you can compare.
Variant types that reduce decision fatigue
- Layout variants: Furniture plans, kitchen triangles, open vs. semi-open partitions
- Finish variants: Light vs. dark flooring, wall color palettes, cabinet fronts
- Lighting variants: Recessed-only vs. layered lighting (ambient + task + accent)
- Exterior refresh variants: Siding color, trim contrast, entry door emphasis
Keep each variant focused. If you change everything at once, you won’t learn what actually improved the design.
Step 6: Know the most common 2D-to-3D mistakes (and how to avoid them)
Even strong conversion tools can misread plans. Here are frequent issues and quick fixes you can apply in nearly any ios room planner workflow:
- Misread wall thickness: Confirm interior vs. exterior walls; adjust thickness so windows/doors sit correctly.
- Missing openings: Add or correct doors/windows so circulation and light assumptions are accurate.
- Incorrect room connections: Ensure doorways are actually open passages (or properly framed openings).
- Scale drift: Validate at least two dimensions on different axes (width and depth) to catch distortion.
- Furniture that “fits” but doesn’t function: A sofa may fit in plan view but block walkways in 3D.
Step 7: Use a simple comparison table to choose your workflow
Not every project needs full 3D detail. Use this table to match effort to outcome.
| Goal | Best Approach | Why It Works |
|---|---|---|
| Test furniture layout in an existing room | 3D model + basic furniture placement | Validates circulation and scale quickly |
| Plan a kitchen or bath renovation | Accurate openings + fixture sizes + clearance checks | These rooms are clearance- and cost-sensitive |
| Sell or rent a property | Clean 3D renders + staged variants | Improves buyer understanding and listing appeal |
| Explore exterior curb appeal changes | Facade variations (color, materials, entry focus) | Side-by-side visuals speed up decisions |
Step 8: Export renders that are actually useful for proposals
Great visuals aren’t just pretty—they’re legible and comparable. Whether you’re presenting to a partner, a client, or a contractor, aim for consistency.
Export checklist
- Match camera angles: Export the same viewpoints for each variant to make comparisons fair.
- Include one “context” view per room: A corner shot that shows doors/windows helps orientation.
- Keep lighting consistent: Changing lighting can bias decisions more than layout changes.
- Add a simple naming system: e.g., “Kitchen_Aisle110cm_V2” so files don’t become chaos.
If you’re sending to trades, consider including at least one image that clearly shows wall locations, openings, and key dimensions, alongside the more photogenic render.
A practical mini example: living room layout in 20 minutes
Here’s a quick, realistic use case for an ios room planner:
- Import the floor plan and generate a 3D shell.
- Validate scale with a known wall length (from the plan or a tape measure).
- Place the largest item first (usually the sofa), then set the TV/media wall.
- Check circulation from entry to seating and to adjacent rooms.
- Generate 2–3 AI-assisted variants (e.g., sectional vs. sofa + chairs; floating sofa vs. wall-aligned).
- Export matched views and pick the winner using the rubric (flow, function, cost, flexibility).
This approach works because it’s not trying to perfect materials or decor first. It solves the structural problem: Does the room work?
Final thoughts: aim for “decision-grade,” not “perfect-grade”
The best renovation previews don’t require a cinematic render. They require an accurate layout, believable scale, and clear comparisons. A solid ios room planner workflow lets you move from uncertainty to decision: import, validate, iterate, and export—fast.
If you’re looking for an iOS tool that focuses on converting black-and-white floor plans into clean 3D renders while keeping proportions and key details intact, you can explore Floor Plan to 3D & Home Redesign as one option among many.
