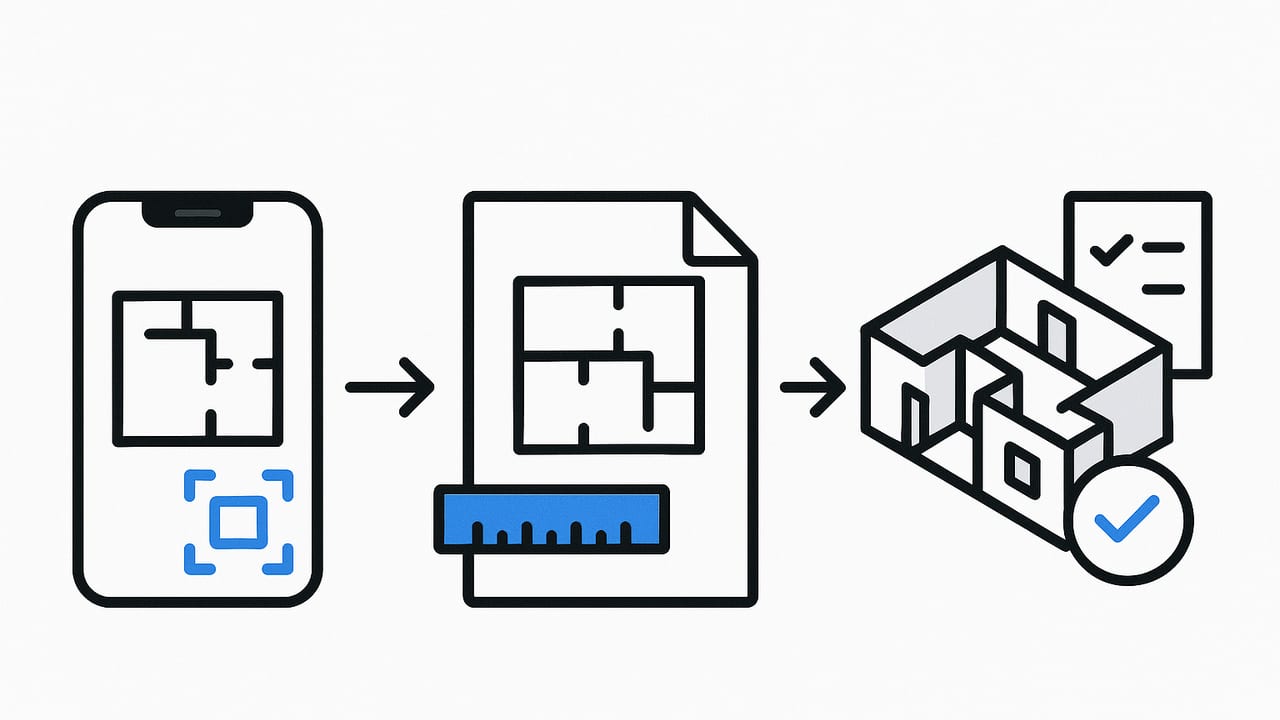
An iOS floor plan workflow can be fast, precise, and portable when you combine a clean input, correct scale, and a structured 3D process. Whether you are documenting an existing space, testing furniture layouts, or preparing a renovation concept, a reliable workflow saves hours and reduces costly mistakes. This guide walks you through capture methods, scale math, 3D conversion steps, quality checks, and export best practices on iPhone and iPad.
Why an iOS floor plan workflow matters
Modern projects move between devices, people, and phases. On iOS you can capture a plan in the field, validate dimensions on-site, convert to 3D on the couch, and share high-resolution visuals with clients in minutes. Done right, the result is a consistent source of truth for room planning, materials research, and early-stage cost ranges.
Choose your input: camera scan, PDF import, or AR/LiDAR
Your starting point has a huge impact on speed and accuracy. Pick the method that matches your constraints and end goal.
| Capture method | How it works | Pros | Trade-offs | Best for |
|---|---|---|---|---|
| Camera scan (photo of paper plan) | Use iPhone or iPad camera to photograph a printed or sketched plan | Fast, ubiquitous, ideal for old drawings | Risk of perspective skew, variable lighting, may need cleanup | Legacy plans, quick field notes |
| PDF/SVG import | Import a digital file from email, cloud storage, or Airdrop | Crisp lines, easy scale control, minimal cleanup | Vector PDFs are best; rasterized PDFs may need contrast edits | Architect or builder documents |
| AR/LiDAR trace | Walk the space and trace walls using device sensors | On-site capture, automatic measurements, great for missing plans | Sensor noise, furniture occlusions, learning curve | As-builts, rooms with simple geometry |
Prepare your plan for import on iPhone or iPad
If you are photographing a paper plan
- Place the sheet on a flat surface and align edges with floor tiles or a desk edge as a visual guide.
- Stand centered above the plan; keep the device parallel to the paper to reduce perspective distortion.
- Use even, diffuse light. Avoid glare from overhead bulbs by angling light sources or using daylight.
- Enable grid lines in the Camera app for alignment help; lock focus and exposure before shooting.
- Capture at the highest resolution; take 2–3 shots and keep the sharpest.
- Crop to the drawing border in Photos to remove background noise.
- Boost contrast so walls are solid black and the background is clean white; remove stains or shadows if possible.
If you are importing a PDF
- Prefer vector PDFs (exported from CAD) for crisp edges. If the PDF is a scan, treat it like a photo.
- Verify page size in the PDF metadata; note the drawing scale (for example, 1/4 in = 1 ft or 1:50).
- Flatten layers if the file is complex; embed fonts to keep text legible on mobile.
If you are capturing with AR/LiDAR
- Clear major obstructions near walls. Open doors to reveal swing and thickness.
- Trace wall midlines at waist height and move slowly; pause at corners to anchor points.
- Validate critical spans (kitchen runs, bathroom widths) with a tape measure to calibrate.
Pro tip: Always include at least one known dimension on the plan (for example, a 10' wall). It becomes your reliable reference for scale, regardless of how the drawing was captured.
Set the scale: the non-negotiable step
Scaling turns a picture into a plan. Even the best iOS floor plan tools need a correct reference to preserve real-world proportions. Here is a simple formula you can use in any app that supports custom scale calibration:
# Measure a known distance on the image in pixels (px)
# Example: a wall that is 300 px on the image equals 10 ft in reality

real_world = 10.0  # feet
image_pixels = 300.0  # pixels

pixels_per_foot = image_pixels / real_world  # 30 px/ft
feet_per_pixel = 1.0 / pixels_per_foot       # 0.0333 ft/px

# For metric, replace feet with meters or millimeters
Many apps let you draw a calibration line between two points on the image and enter the real distance. If the app uses mm, just convert first (10 ft = 3048 mm). Do this step once per plan and lock it in before tracing walls or placing objects.
Trace structure: walls, doors, windows
With the scale set, start building the envelope. Accuracy here compounds through the rest of the model.
- Walls: Follow centerlines or inside faces consistently. Enter wall thickness (typical interior 3.5–4.5 in, exterior 6–8 in, or metric equivalents), and watch that corners meet cleanly.
- Doors: Place from the hinge side. Confirm rough opening width and swing direction; ensure arcs do not collide with furniture.
- Windows: Position to the centerline from adjacent corners; set sill and header heights for later 3D renders and daylight studies.
- Stairs: Note run, rise, and total height. If unknown, compute from floor-to-floor height and code-compliant rise/run ratios.
Set heights, levels, and materials
3D fidelity depends on vertical data, not just a good overhead trace.
- Ceiling heights: Enter default level height (for example, 8 ft or 2.4 m) and override where needed (tray ceilings, vaulted spaces).
- Sills and headers: These affect natural light and the realism of 3D renders.
- Flooring transitions: Mark thresholds between materials (tile to wood) to see accurate cuts and patterns in visuals.
- Wall finishes: Assign a neutral paint to start. You can refine later with color and texture trials once layout is correct.
Place fixtures and furniture
Use real dimensions for large items. A beautifully rendered scene with wrong-sized furniture is still wrong.
- Kitchen: Standard base cabinets are often 24 in deep; islands commonly 36–42 in wide. Keep at least 36 in clear aisle (42–48 in preferred in busy kitchens).
- Bath: Toilets need about 30 in minimum width (centered), 24 in clear front approach; shower interior typically 30 in minimum.
- Living: Sofas vary widely; ensure 18 in clearance from coffee tables and 36 in clear paths through the room.
- Bedrooms: Queen bed 60x80 in; allow 24–30 in walking clearance on sides.
Quality assurance: simple checks that catch big errors
Before you fall in love with a 3D render, validate the geometry. This saves rework and keeps stakeholders aligned.
- Dimensional closure: Sum of segments around a room should equal measured perimeter. If not, recheck corners and scale.
- Diagonals: Verify at least one diagonal per room; it confirms squareness better than side lengths alone.
- Door swing overlaps: Look for collisions with walls, cabinets, or each other. Use pocket or sliding doors where swings fail.
- Circulation: Track continuous 36 in (or 900 mm) clear paths between key zones.
- Area sanity: Compare computed square footage with expectations from the listing or brief.
- View and light: In 3D, step to eye level and check sightlines from entries, kitchen sink, and seating.
Export and share: formats that play nicely with iOS workflows
Select formats based on your audience and next steps. For proposals, high-resolution images win. For collaboration, keep layered files or 3D exports.
| Format | What it carries | Best use | Notes for iOS |
|---|---|---|---|
| PNG/JPG | Flat images of plans or 3D views | Client presentations, email, social | Export at 300 DPI for print; use HEIF on-device if supported |
| Pages with plans, notes, dimensions | Proposals, markups in Files or Acrobat | Great for AirDrop; supports vector if source is vector | |
| USDZ | 3D model for AR Quick Look | AR review on iOS, share via Messages | Tap to place on a table or floor in augmented reality |
| OBJ/GLTF | Geometry and materials | Import to other 3D tools | Check scale units upon import |
Troubleshooting common issues
- Perspective skew from a photo: Use a perspective-correct tool before tracing; align plan border to a rectangle.
- Low-contrast scans: Increase contrast and sharpen edges so walls read as solid strokes.
- Curved or angled walls: Switch to arc or spline tools; avoid approximating curves with too many short segments.
- PDF imported as fuzzy raster: Request the original vector PDF; if impossible, re-scan at higher DPI with a flatbed scanner.
- AR drift: Re-anchor at known corners; cross-check lengths with a tape and re-calibrate.
- Scale mismatch on export: Confirm units before export; include a scale bar and at least two labeled dimensions on shared drawings.
Mini case study: studio apartment from phone photo to 3D
- Capture: Take a top-down photo of a realtor handout. Crop to the drawing edge and boost contrast.
- Scale: The handout shows a 12' wall. Measure 360 px across that wall in the image; set scale to 30 px/ft (12 ft = 360 px).
- Trace: Draw perimeter walls at 6 in thickness; add a 30 in entry door and a 6 ft slider to the balcony.
- 3D settings: Ceiling height 9 ft; window head 7 ft; assign neutral off-white paint and oak flooring.
- Furnish: Place a 60x80 in bed, 72 in sofa, 48 in dining table, and verify 36 in circulation paths.
- QA: Confirm diagonal matches tape measure; cure a door swing conflict by switching to a pocket door.
- Export: Generate a plan view PNG at 300 DPI and two 3D perspective images for the design brief.
Security and file hygiene
- Keep originals: Store the raw photo or PDF alongside your traced file for audit and revisions.
- Version names: Use semantic names like plan_v1_incoming.pdf, plan_v2_scaled.jpg, plan_v3_3d.usdz.
- Client privacy: Remove addresses and personal info before sharing widely.
- Backups: Sync to iCloud Drive and one external service. Redundancy beats regret.
Checklist: a repeatable iOS floor plan process
- Pick capture method: photo, PDF, or AR/LiDAR
- Clean the input: crop, de-skew, increase contrast
- Identify and enter at least one known dimension
- Set scale and lock units (imperial or metric)
- Trace walls, doors, windows; set thicknesses and heights
- Place key fixtures and furniture with real dimensions
- Run QA: closure, diagonals, door swings, circulation, areas
- Render and export: PNG or PDF for plans, 3D images or USDZ for visuals
- Name versions, back up files, document decisions
FAQs
How accurate can an iOS floor plan be?
With a clean input and proper scaling, expect accuracy within a few millimeters to a small fraction of an inch across typical room spans. AR/LiDAR traces benefit from calibrating with a tape-measured wall.
Do I need LiDAR?
LiDAR helps for quick as-builts and irregular spaces, but you can achieve excellent results by importing a photo or PDF and calibrating scale. Use the tools you have and validate with at least one physical measurement.
What if I only have a rough sketch?
Photograph the sketch, ink the wall lines for clarity, set a scale from one known length, and trace. You can refine later as you measure more dimensions.
If you are looking for a streamlined way on iPhone or iPad to convert a black-and-white 2D plan into a faithful 3D visualization with preserved proportions and exportable high-resolution images, consider trying Floor Plan to 3D.
