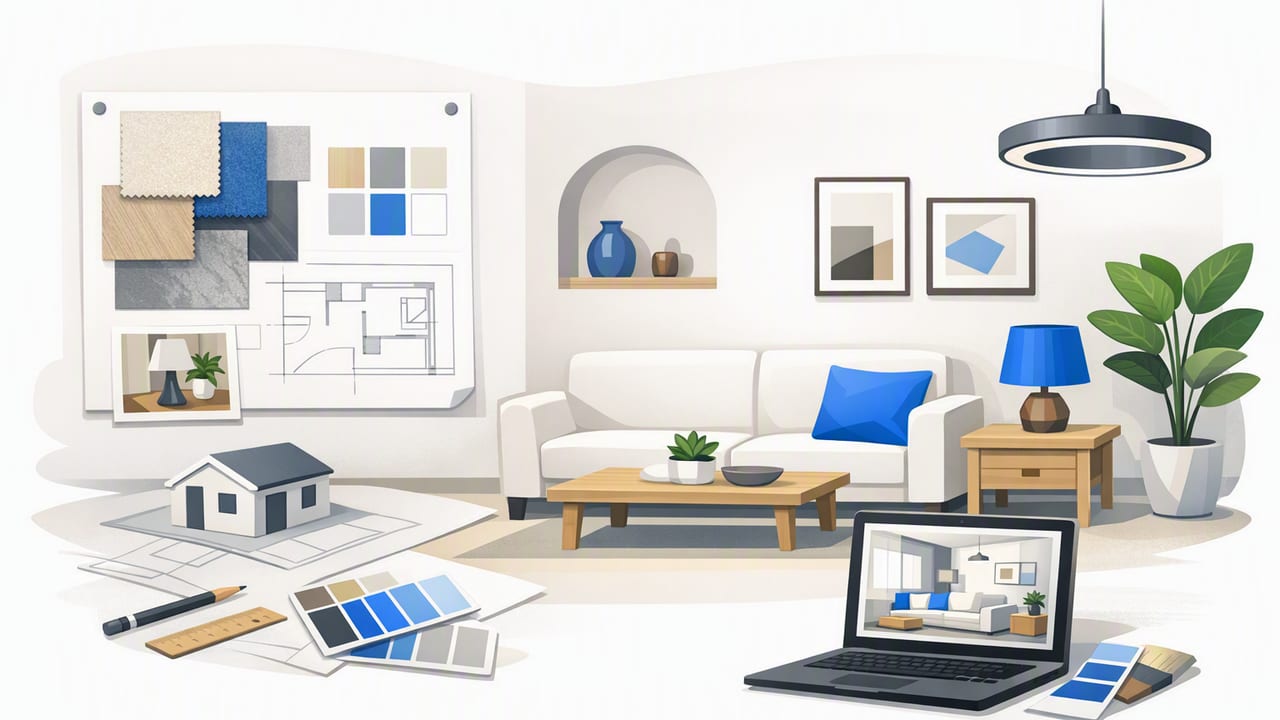
A great interior design outcome rarely comes from “picking finishes first.” It comes from translating a floor plan into decisions you can defend: how people move, where furniture actually fits, what needs power and light, and how materials will look together at the right scale. The fastest way to reduce second-guessing is to treat your floor plan as data, then validate your ideas with a realistic 3D preview before you spend money.
This guide walks through a practical, accuracy-first workflow you can use whether you’re redesigning one room or an entire home. You’ll learn how to read a plan, build a room-by-room design brief, test layouts with real clearances, and create a lighting-and-material strategy that holds up in real life.
1) Start with the floor plan: extract what matters for interior design
Before you move a single sofa in a 3D scene, capture the “constraints” your interior design must respect. Floor plans often include more useful information than people realize—if you know what to look for.
- Room dimensions & proportions: note not just the size, but the shape (long/narrow vs. square) and ceiling height if available.
- Openings: door swings, window widths, and sliding door tracks affect furniture placement more than style does.
- Fixed elements: stairs, fireplaces, columns, built-ins, radiators, soffits, and structural walls.
- Wet walls & vents: kitchens, baths, laundry, and HVAC returns strongly influence renovation feasibility.
- Circulation routes: the natural paths from entry → living → kitchen → bedrooms. These routes should stay clear.
Tip: If your plan is a scan, straighten it and confirm the scale using one known measurement (like a labeled wall length). Accuracy here makes every later decision easier.
2) Write a room-by-room interior design brief (before you pick finishes)
Interior design choices become obvious when the room’s job is specific. A “living room” can mean a TV lounge, a conversation space, a play zone, or all three. Your brief turns vague wants into measurable requirements.
Questions to answer for each room
- Primary function: What must this room do daily?
- Secondary functions: Work-from-home corner, guest sleeping, exercise, storage overflow?
- Users: Adults, kids, pets, aging-in-place needs?
- Must-keep items: Existing sofa dimensions, dining table size, art pieces, instruments.
- Pain points: Glare, clutter, poor traffic flow, lack of outlets, awkward corners.
When you have a brief, you can evaluate options with “does it solve the problem?” rather than “do I like it on Pinterest?” That’s the difference between decoration and interior design.
A reusable room spec template
You can track decisions with a simple structured template. Here’s a compact example you can adapt:
{
  "room": "Living Room",
  "primary_use": "Conversation + reading",
  "secondary_use": "Occasional movie night",
  "seating_needed": 5,
  "must_fit": ["84in sofa", "2 lounge chairs", "bookshelf 30in wide"],
  "constraints": ["fireplace centered on north wall", "door swing at east"],
  "clearance_targets_in": {
    "main_walkway": 36,
    "around_coffee_table": 18
  },
  "lighting": ["ambient", "task reading", "accent art"],
  "finishes_direction": "warm neutrals, matte wood, black accents"
}
3) Convert your plan into a 3D layout to validate scale and flow
Once your brief is set, a 3D layout becomes a decision tool—not a “pretty picture.” The goal is to test whether your interior design concept works at full scale with doors, windows, and real furniture footprints.
Start with massing: place simplified blocks for major furniture (sofa, bed, dining table, key storage) before you worry about style. This lets you iterate quickly and spot problems early.
Use clearance rules to avoid cramped results
Clearances are the hidden reason a room feels calm or chaotic. Use the table below as a starting point, then adjust for your household.
| Interior design clearance | Comfortable target | Why it matters |
|---|---|---|
| Main walkway | 36 in (91 cm) | Prevents bottlenecks and shoulder-brushing in daily traffic |
| Secondary path (low traffic) | 30 in (76 cm) | Works for occasional access (e.g., beside a bed) |
| Dining chair pull-out | 36–48 in (91–122 cm) | Allows seating without hitting walls or furniture behind |
| Coffee table to sofa | 16–18 in (41–46 cm) | Comfortable reach without bruised shins |
| Bed side clearance (one side) | 24–30 in (61–76 cm) | Makes making the bed and nightstand use easier |
| Kitchen work aisle (single cook) | 42 in (107 cm) | Supports safe movement with open doors/drawers |
Workflow tip: In 3D, toggle between a top-down view (for flow) and eye-level view (for comfort). Many layouts “work” on paper but feel oppressive at eye height due to tall cabinetry, bulky arms on seating, or poorly placed lighting.
“Measure twice, build once” applies to interiors too—except you can ‘measure’ by previewing in 3D before you buy.
4) Plan the interior design palette: materials, color, and visual weight
After layout is validated, move to finishes. A common mistake is choosing beautiful materials that fight the room’s proportions. Your floor plan and 3D preview help you balance visual weight—how heavy or light elements feel in space.
Practical palette rules that translate well in 3D
- Anchor with one “quiet” surface: floors or large wall areas should support the room, not compete with every accent.
- Repeat materials intentionally: echo wood tone in two places (e.g., shelf + coffee table) to create cohesion.
- Choose contrast level on purpose: high-contrast interiors highlight geometry and lines; low-contrast feels calmer and larger.
- Watch reflectivity: glossy tiles and high-sheen paint can create glare; matte finishes hide flaws and read more modern.
In a 3D render, test two or three palette directions quickly. The goal isn’t perfect realism; it’s spotting whether the room feels too busy, too dark, or too flat.
5) Build a lighting plan that supports the layout (not the other way around)
Lighting is a core interior design system, not a last-minute fixture choice. A well-lit room usually has layers:
- Ambient: overall illumination (ceiling fixtures, recessed, indirect light)
- Task: functional light where you work (reading lamps, under-cabinet, vanity)
- Accent: highlights art, texture, or architecture (picture lights, wall washers)
Use the floor plan to place lighting logically
Mark where tasks happen (desk, vanity, prep zone, dining table). Then check your 3D preview for shadows: upper cabinets casting darkness on counters, pendants blocking sightlines, or a TV wall facing a window.
Quick checks:
- Are switches located where you enter the room (not behind a door swing)?
- Do you have task lighting within reach of the task area (not in the middle of the ceiling)?
- Does the lighting plan reinforce the layout zones (conversation vs. reading vs. circulation)?
6) Use renovation previews to choose changes with the best ROI (for you)
Not every redesign needs a full renovation. A 3D-first approach helps you compare “light-touch” interior design improvements against bigger construction decisions.
Low-disruption changes to test first
- Furniture re-layout: often the biggest impact for the least cost.
- Storage upgrades: closed storage reduces visual noise; built-ins can correct awkward wall lengths.
- Paint + lighting: can transform perceived size and warmth more than new décor.
- Soft goods: rugs, curtains, and upholstery can “tune” acoustics and comfort.
Bigger changes that require tighter validation
- Removing or adding walls: confirm structure and ensure the new flow doesn’t create dead space.
- Kitchen reconfiguration: validate appliance clearances, landing zones, and work triangle logic.
- Bathroom layout shifts: check door conflicts, shower glass swing, and waterproofing zones.
A solid interior design decision is one that stays good when you zoom in (door swings, clearances) and zoom out (overall rhythm, balance, and light).
7) A step-by-step interior design workflow you can reuse
Here’s a repeatable process you can follow for a single room or the entire home:
- Confirm plan accuracy: straighten the scan, verify one known dimension, confirm door/window locations.
- Define the brief: write primary/secondary uses, users, must-keep items, pain points.
- Block layout options: create 2–3 furniture layouts using simple shapes; keep circulation clear.
- Check clearances: validate walkways, door swings, chair pull-out, and storage access.
- Choose a palette direction: test 2–3 finish combinations with realistic lightness/contrast.
- Layer lighting: ambient + task + accent; place fixtures based on tasks and sightlines.
- Render and review: evaluate at eye level and top-down; adjust what feels tight or visually heavy.
- Export/share: create a concise set of images and notes for contractors or stakeholders.
Common mistakes (and how to avoid them)
- Designing around a single hero item: A sectional you love may force bad circulation. Test alternatives.
- Ignoring door swings: Doors collide with furniture more often than people expect—check every swing in plan view.
- Overusing accent walls: Too many “moments” creates visual clutter. Use one focal area per room.
- Choosing lighting purely by style: Beautiful fixtures can still leave a room gloomy if layers are missing.
8) Turn your design into something others can execute
Interior design becomes real when someone else can build it. Whether you’re collaborating with a contractor, a designer, or a partner, aim to communicate clearly:
- Annotated layouts: show furniture placement and key clearances.
- Lighting notes: fixture locations, switch intent, and dimming requirements.
- Material references: paint codes, flooring type, countertop material, hardware finish.
- 3D images: a few high-resolution views that explain the intent at a glance.
Even a small set of consistent visuals reduces change orders, delays, and “that’s not what I meant” moments.
Conclusion: a calmer way to make interior design decisions
The most effective interior design workflow starts with constraints (your floor plan), clarifies goals (your brief), tests reality (clearances and 3D views), and only then commits to finishes and construction. When you can preview the layout, lighting, and materials together, you make fewer costly mistakes—and you enjoy the process more.
If you want a lightweight way to turn a black-and-white plan into a clean 3D preview for faster iteration, an iOS tool like Floor Plan to 3D & Home Redesign can help you visualize options without jumping into heavy 3D software.
