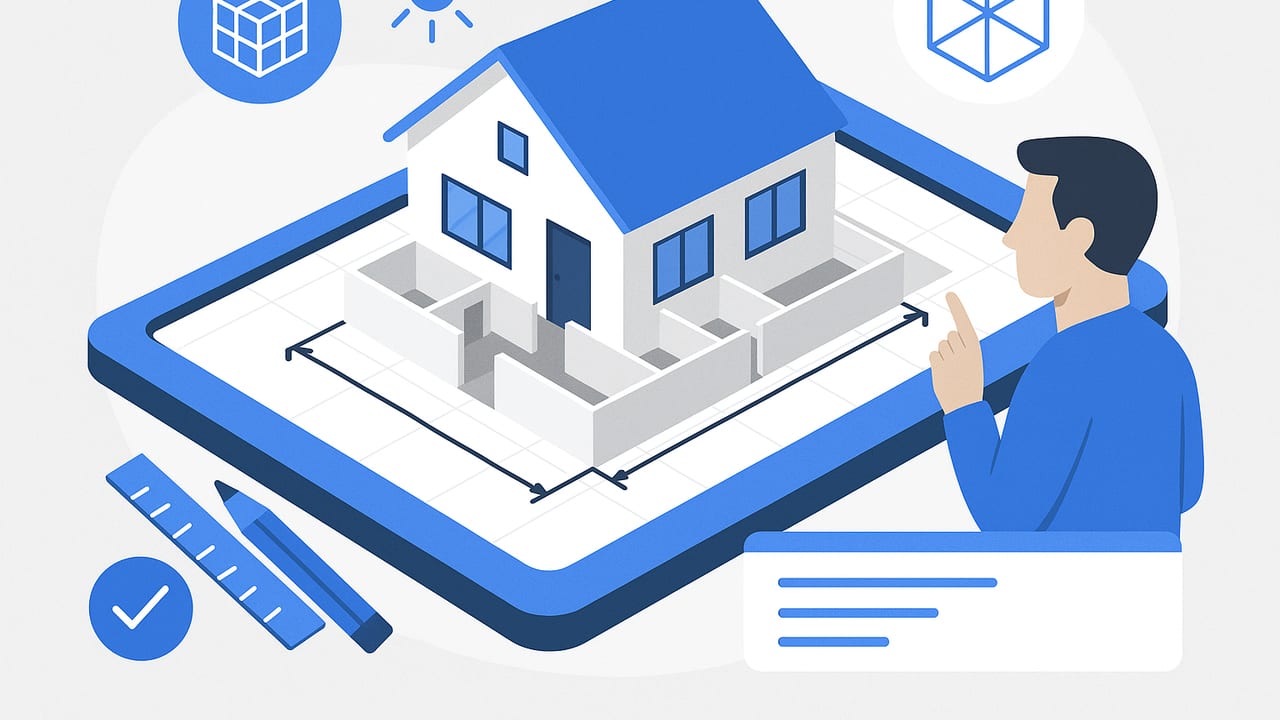
If you’re planning a renovation, furnishing a new apartment, or testing multiple design options, learning how to visualize home layout in 3d can shorten decision time, reduce costly mistakes, and help you see how a space truly feels before you move a single piece of furniture. This guide covers the key concepts, tools, and a proven workflow to go from a simple 2D plan or sketch to a convincing 3D model that’s accurate, clear, and presentation-ready.
What It Really Means to Visualize a Home Layout in 3D
3D layout visualization is more than just a pretty render. It’s the process of validating scale, circulation, and function in three dimensions so you can choose the right furniture sizes, confirm door swings, check clearances, and simulate light and material finishes. When you visualize home layout in 3d effectively, you’re answering critical questions:
- Will the sectional overwhelm the living room or fit comfortably?
- Can two people pass in the kitchen during meal prep?
- Is there enough clearance to open closet doors fully?
- How does daylight affect colors and mood throughout the day?
These insights require an accurate base plan, calibrated scale, correct heights, and a quick quality assurance (QA) routine.
Choosing the Right Tool or Method
There are several pathways to convert a 2D idea into a 3D space. Each has trade-offs in speed, accuracy, and learning curve.
| Method | Speed | Accuracy | Cost/Skill | Best For |
|---|---|---|---|---|
| Manual modeling in CAD/BIM (e.g., SketchUp, Revit) | Moderate | High (depends on operator) | Medium–High skill | Complex layouts, custom details |
| Drag-and-drop room planners | Fast | Medium (good for conceptual) | Low–Medium skill | Quick space planning and furniture tests |
| AI floor plan converters | Very fast | Medium–High (verify scale) | Low–Medium skill | Turning 2D plans into 3D with minimal setup |
| Mobile AR scanning apps | Fast | Medium (depends on scan coverage) | Low–Medium skill | Existing spaces without clean drawings |
For most homeowners and early-stage design work, an AI-assisted approach or a simple room planner is the best balance of speed and accuracy—especially when you can calibrate scale against a known dimension to keep proportions true.
A Step-by-Step Workflow You Can Trust
1) Gather inputs and prep your plan
- Collect a measured floor plan, even a scanned sketch, with at least one known dimension (e.g., wall length, door width).
- Note ceiling heights, window sill and head heights, and door swings. Take photos to capture details you’ll want to model later.
2) Calibrate scale early
Import your plan image (PDF/JPG/PNG) and scale it so that a known dimension matches reality. This sets the foundation for trustworthy 3D. If your tool supports it, lock the scale and draw reference dimensions.
3) Build the architectural shell
- Trace or draw walls at correct thicknesses and heights. Maintain a default floor-to-ceiling height (e.g., 8–10 ft or 2.4–3 m) unless specified.
- Add doors and windows with correct sizes and sill/head heights. Confirm swing directions.
- Model fixed elements: stairs, columns, fireplaces, built-ins.
4) Define rooms and zones
- Label rooms and consider circulation routes (primary paths, triangle in kitchens, etc.).
- Establish functional zones: seating, dining, sleeping, task areas.
5) Place furniture with clearance rules
- Use correctly scaled furniture assets. If an object’s dimensions aren’t listed, measure quickly with a tape or manufacturer spec sheet.
- Honor clearances (see table below). This is where 3D validates usability, not just appearance.
- Group items into ensembles (e.g., sofa + coffee table + side tables) to test spacing rapidly.
6) Materials and finishes
- Apply neutral base materials to evaluate light first; add accent finishes later.
- Prefer PBR (physically based) materials for believable reflections and roughness.
- Keep scale of textures correct (e.g., tile size, plank width) for visual accuracy.
7) Light the scene
- Set geographic location and orientation if available to simulate daylight accurately.
- Use correct color temperature: 2700–3000K for warm residential ambient; 3500–4000K for task lighting.
- Avoid over-lighting; a few well-placed sources feel more natural than uniform brightness.
8) Views, cameras, and composition
- Use human-height cameras (about 5 ft/1.5 m) for realistic perspectives.
- Favor 28–35 mm full-frame equivalent focal lengths to avoid distortion in interiors.
- Create a set of consistent views: overall plan perspective, hero shot of each room, and functional close-ups (like the workspace or breakfast nook).
9) QA: dimensional and functional checks
- Dimension tolerance: critical lengths should match within ±1–2% of known measurements.
- Open everything virtually: door swings, drawer pulls, oven doors—ensure they clear nearby objects.
- Walk circulation paths in 3D to test pinch points.
- Check headroom under stairs and sloped ceilings.
10) Export and share
- Export high-resolution images (e.g., 3000–4000 px on the long edge) for presentations.
- Label views clearly and keep a version log of changes to compare options side-by-side.
Calibrating Scale from a Photo or Scan
When your starting point is a photographed plan or a rough sketch, a single known dimension can anchor the entire 3D model. Here’s a simple approach:
- Measure a trustworthy segment on site (e.g., the long living room wall = 16' 0" or 4.88 m).
- Import the plan image and use your software’s scale or tape tool to set that segment to the real value.
- Lock the scale. Cross-check a second dimension (e.g., window-to-corner) to confirm you’re within ±1–2% tolerance.
Tip: Avoid calibrating from diagonals; perspective distortion in photos can skew them. Use straight, wall-aligned dimensions whenever possible.
Clearance Rules That Make or Break a Layout
Functional clearances are the fastest way to spot problems early. Use these as starting points and adjust for your household’s needs:
| Scenario | Recommended Clearance (Imperial) | Recommended Clearance (Metric) |
|---|---|---|
| Main circulation path | 36 in minimum | 915 mm |
| Sofa to coffee table | 18 in | 450 mm |
| Dining chair pushback | 36 in | 900 mm |
| Bed side clearance | 24–30 in | 600–760 mm |
| Desk behind-chair clearance | 36–42 in | 900–1070 mm |
| Kitchen work aisle | 42–48 in | 1065–1220 mm |
| Counter to island | 40 in | 1020 mm |
| Toilet centerline to side wall | 15–18 in | 380–455 mm |
| Toilet front clearance | 30–36 in | 760–915 mm |
| Minimum shower size | 36 × 36 in | 900 × 900 mm |
Use 3D walkthroughs to validate these clearances. It’s common to realize, for example, that a 72" sofa works but an 84" version blocks flow.
Lighting and Materials: Small Choices, Big Impact
Good lighting and believable materials make your 3D model feel real—without inflating render times.
- Daylight first: Set sun position and time-of-day to understand natural light patterns. This informs window treatments and paint choices.
- Layered lighting: Combine ambient (ceiling), task (under-cabinet, desk), and accent (wall sconces) for depth.
- Material scale: Keep the scale of tiles, bricks, and planks true to life; oversized textures subtly break realism.
- Reflectance balance: Overly shiny floors or matte-black everything may look dramatic but can distort perception of space.
Share, Iterate, Decide
Even quick iterations benefit from structure:
- Name views consistently (e.g., LR_Hero, Kitchen_Aisle_Test, BR_OptionB).
- Export a comparison sheet with two or three options per room.
- Collect feedback with annotations right on the images.
Design clarity comes from seeing options side-by-side—keep variables tight so you can isolate what truly improves the space.
Common Mistakes (and How to Avoid Them)
- Skipping scale calibration: If the plan isn’t scaled, your furniture choices will be off. Always anchor to a known dimension first.
- Ignoring door swings: A full-height bookcase that blocks a door path is a common oversight. Simulate openings in 3D.
- Underestimating circulation: A layout that looks great from above may feel cramped when you walk through it virtually. Test paths.
- Over-accessorizing early: Start minimal. Dial in circulation and major furniture, then layer decor.
- Flat lighting: A single overhead light often kills depth. Introduce directional and accent sources.
Mobile-First Workflow for Speed
Modern mobile apps let you capture a sketch or scan a black-and-white floor plan, then generate a 3D model within minutes. A typical on-the-go sequence:
- Snap a clean photo of your floor plan or import a scan.
- Calibrate scale by marking a known dimension.
- Let the app generate walls, doors, and windows automatically.
- Drop in furniture and verify clearances using a built-in catalog.
- Export high-resolution renderings for quick team or family review.
For rapid concepting, this mobile-first approach gets you to a reliable result faster than desktop-only workflows, while still enabling detail refinement later.
Putting It All Together
To visualize home layout in 3d with confidence, anchor your process to three pillars: scale calibration, clearance-driven space planning, and clear lighting/material choices. Start with a clean plan, pick a tool that matches your skill and timeline, and run a quick QA check before you render. You’ll make better decisions faster—and avoid costly mistakes on move-in day.
If you’re looking for an iOS option that turns black-and-white 2D floor plans into accurate 3D renders and preserves dimensions for proposals and presentations, consider trying Floor Plan to 3D.
