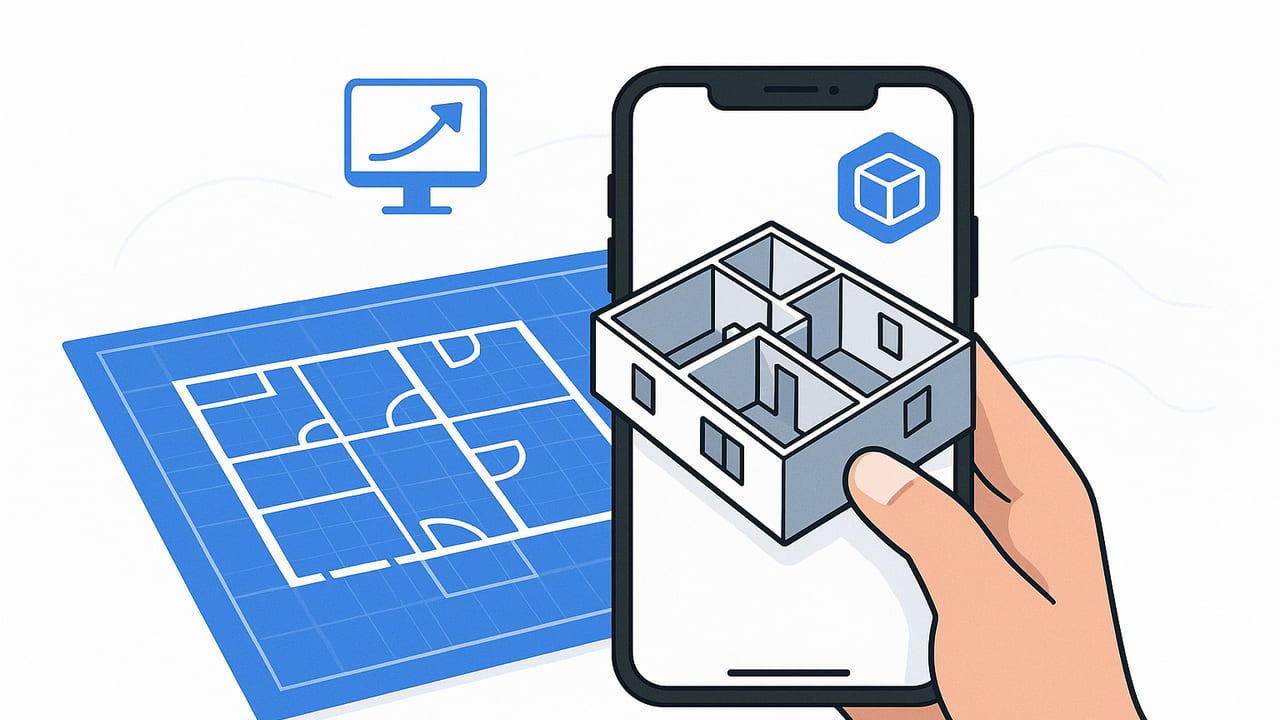
Turning a 2D floor plan into an immersive 3D model is no longer a desktop-only task. With the right workflow, you can visualize home layout from a blueprint on iPhone in minutes, verify scale down to a few millimeters, and explore furniture placement in augmented reality (AR). This guide shows you the complete, professional-grade process: how to capture a blueprint, calibrate true scale, build accurate 3D geometry, add finishes and lighting, and export compelling visuals for decisions and presentations.
This guide explains how to visualize home layout from blueprint on iphone using built-in tools and specialized apps.
What You Need
- iPhone with a recent iOS version; LiDAR-equipped iPhones enable more stable AR but are optional.
- Your floor plan or blueprint (paper, PDF, or image). Black-and-white plans with clear walls yield the best AI detection.
- A 2D-to-3D floor plan app that supports scale calibration, doors/windows parsing, and 3D/AR output.
- Optional: A ruler or tape measure to confirm one known dimension on-site (e.g., a 10' wall) for scale calibration.
Capture the Blueprint Correctly
Clean capture is the foundation of accurate 3D results. Follow these tips whether you’re photographing a paper plan or importing a digital file.
If you’re photographing a paper plan
- Use a flat, well-lit surface. Avoid shadows and glare. Indirect daylight is ideal.
- Enable document scanning. In the Files or Notes app, use “Scan Documents” to auto-crop and correct perspective.
- Keep the camera parallel. Hold the iPhone directly above the plan to minimize skew. Use the level guides if available.
- Capture the scale bar and a labeled dimension. Include at least one known measurement (e.g., “12'-0””) for precise calibration.
- High resolution matters. Aim for sharp focus and crisp linework—fine wall lines should be clearly visible when zoomed.
If you have a digital plan (PDF, PNG, JPG)
- Use the highest-resolution version you can get—preferably vector PDFs or 300 DPI images.
- Crop to the plan area. Remove title blocks and legends unless they include the scale bar you’ll use.
- Ensure contrast. Black lines on white backgrounds help AI detection; if your plan is colored, consider exporting a black-and-white version.
From Blueprint to 3D: A Proven Step-by-Step Workflow
- Import the plan. Open your 2D-to-3D app and add the plan (photo, scan, or PDF). If multiple pages, select the correct floor.
- Calibrate scale. Set the drawing scale using either the plan’s scale bar (e.g., 1/4" = 1'-0") or a known dimension in the space.
- Verify units. Confirm you’re in the correct system (imperial or metric) before tracing or AI conversion.
- Detect or trace walls. Many apps auto-detect walls. Inspect the results; trace or edit complex shapes manually as needed.
- Set wall thickness and height. Base this on actual specs or typical values (e.g., 4.5" interior, 6–8" exterior; 8–9 ft ceiling).
- Add doors and windows. Position and size them precisely. Check swing direction and sill/head heights.
- Define rooms. Assign room types (kitchen, bath, etc.) to streamline material presets and fixtures.
- Add stairs and openings. For multi-level models, align stairs and vertical openings between floors for accurate egress and views.
- Apply finishes and furniture. Start simple (floors/walls), then add furnishings, keeping an eye on scale.
- Generate the 3D model. Switch to 3D view, orbit through the space, and run a quick geometry check (see next section).
Calibrate and Verify True-to-Scale Accuracy
Precision is possible on a phone if you calibrate methodically. Target a tolerance of ±1–2% for overall dimensions.
Scale calibration checklist
- Use the longest known dimension (e.g., overall exterior length) to reduce percentage error.
- Confirm a secondary dimension at 90° to the first (e.g., overall width) to catch skew or aspect errors.
- Measure a diagonal if available to check rectangularity.
Quick scale math (optional)
If your app lets you set scale by pixel measurement, you can compute the ratio yourself:
// Example: compute image-to-real-world scale
// real_length: actual length on plan (in inches or millimeters)
// pixel_length: length measured on the image (in pixels)
// scale = real_length / pixel_length

const real_length = 144;  // 12 feet = 144 inches
const pixel_length = 960;  // measured with an on-screen ruler
const scale = real_length / pixel_length; // inches per pixel
After calibration, use the app’s measure tool to check room widths, corridor clearances, and major spans. If errors exceed your tolerance, re-calibrate using a longer dimension or re-scan the plan to reduce perspective distortion.
Table: Common File Types and Best Uses
| File Type | Best Use | Pros | Watch-Outs |
|---|---|---|---|
| PDF (vector) | Original CAD sets | Crisp lines, scalable | May include layers that confuse detection; export a simplified page |
| PNG/JPG (300 DPI) | Scans and photos | Widely supported | Compression can blur thin lines; avoid low-res |
| TIFF | Archival scans | High fidelity | Large file sizes |
Design: Furniture, Finishes, and Space Planning
Once the shell is accurate, prioritize function over aesthetics, then refine.
- Start with circulation. Ensure clear paths between doors, key work zones, and seating. In kitchens, test the work triangle; in bedrooms, check bed clearance on both sides.
- Use true-to-scale assets. Many apps include dimensioned furniture. Verify common sizes (e.g., queen bed 60” × 80”).
- Layer your design. Apply floors and wall paints first, then large furniture, then accent pieces and lighting.
- Color-code iterations. For quick A/B tests, assign different finish packs (e.g., light oak vs. walnut) and save scene states.
Lighting and Materials that Read Realistically
Lighting can make or break perceived accuracy. Even on mobile, you can achieve convincing results:
- Daylight orientation: Set the correct north arrow and sun time to preview natural light and shadow.
- Material realism: Prefer PBR-style materials. Adjust roughness and reflectivity to avoid plastic-looking floors or mirror-like walls.
- Task lighting: Add under-cabinet lights in kitchens, sconces in corridors, and dimmable scenes for living areas.
AR Walkthrough on iPhone
AR helps you validate scale in your real environment and communicate layout ideas instantly.
- Define 1:1 scale. Ensure your model is already calibrated accurately.
- Scan your room. Move your iPhone slowly to let AR map the floor and walls; LiDAR models lock faster.
- Align and anchor. Place the 3D floor at ground level. If comparing to an existing room, align a key wall.
- Walk and measure. Use in-AR markers to test clearances (e.g., door swings, island stools, chair pull-back).
Tip: AR can exaggerate depth if your space lacks features for tracking. Add temporary markers (blue painter’s tape) on the floor to improve tracking fidelity.
Exporting Renders for Decisions, Bids, and Reviews
- Stills: Export high-resolution images for mood boards or contractor briefs. Use consistent camera heights (e.g., 4'6") for comparability.
- 360 panoramas: Share links for immersive reviews on phones or VR viewers.
- Plans and overlays: Export 2D plans with dimensions to compare with the original blueprint.
- Naming convention: Project_Room_Version_View_Resolution (e.g., MapleSt_Living_V2_ISO_2K).
Common Pitfalls and Fast Fixes
| Issue | Symptom | Fix |
|---|---|---|
| Perspective skew in photo | Rooms look stretched | Re-scan with the phone parallel; use document scanning/crop |
| Wrong units | Everything is 2.54× off | Switch between imperial/metric before calibration |
| Wall thickness set incorrectly | Door/window frames misalign | Set typical wall types; re-seat openings |
| Missing interior doors | Poor circulation in 3D | Add and verify door swings; adjust clearances |
| Curved or angled walls misdetected | Jagged geometry | Trace those segments manually; increase detection sensitivity |
| Ceiling height default is wrong | Vertical proportions feel off | Input actual height; re-render |
Privacy, Rights, and Data Hygiene
- Check plan ownership. If the blueprint is copyrighted, get permission before sharing or publishing renders.
- Remove PII. Crop out client names, addresses, and title block details unless necessary.
- Use local processing when possible. If privacy is critical, look for apps offering on-device AI or encrypted cloud processing.
Quick Checklist: From Plan to 3D in Under an Hour
- Scan/import the plan at high resolution.
- Calibrate scale using the longest known dimension.
- Auto-detect walls, then correct complex areas manually.
- Add doors, windows, and stairs with correct sizes and heights.
- Assign room types and basic finishes.
- Place key furniture to test circulation.
- Run a 3D QA pass; measure critical spans.
- Preview in AR; adjust clearances as needed.
- Export stills or a 360 panorama for feedback.
FAQ
Can I work from a photo of a printed blueprint?
Yes. Use your iPhone’s document scan to correct perspective, include the scale bar or a known dimension, and ensure sharp, high-contrast lines.
What if the plan uses colors or hatch patterns?
Most apps prefer black-and-white linework. If detection struggles, convert the plan to grayscale and increase contrast.
Is multi-floor modeling possible on iPhone?
Yes. Build each level on its own page, align stairs/openings, and verify vertical consistency in 3D.
How accurate can it be?
With good capture and calibration, expect ±1–2% dimensional accuracy. For construction, always verify critical dimensions on-site.
Does it work with metric and imperial units?
It should—just set the correct units before calibrating and confirm using a known dimension in your unit system.
Final Thoughts
With careful capture, disciplined scale calibration, and a structured modeling workflow, you can confidently turn a blueprint into an accurate, navigable 3D home model—entirely on your iPhone. This approach accelerates planning, de-risks decisions, and helps everyone—from homeowners to designers and contractors—see the same spatial reality before any changes happen in the field.
If you want a streamlined iOS experience that preserves dimensions and exports high-resolution renders, consider trying Floor Plan to 3D, an app that converts black-and-white 2D plans into true-to-scale 3D visuals for quick reviews and presentations.
