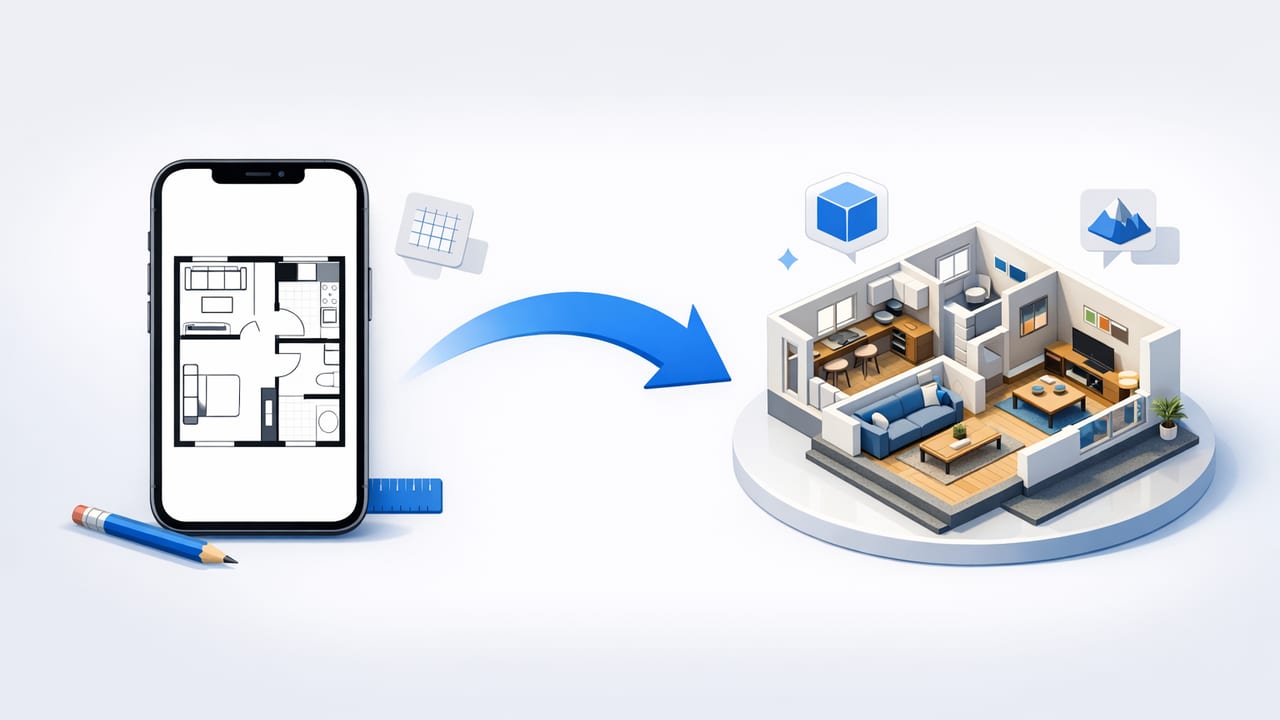
Converting a black-and-white floor plan into a clean 3D view used to mean hiring a specialist or learning complex CAD software. Today, an ios floor plan to 3d app can turn a scanned plan or blueprint into a 3D layout you can explore, iterate on, and share—often in minutes. The key is knowing how to feed the app the right input and how to verify the output so your renovation or redesign decisions are based on reality, not guesswork.
This guide focuses on an accuracy-first workflow: how to prepare a plan, convert it to 3D, validate dimensions and proportions, and then use AI-guided room planning for practical design experiments (furniture layouts, staging, finishes, and exterior refresh concepts).
When an iOS floor plan to 3D workflow makes the most sense
A mobile conversion workflow is especially useful when you need clear visuals quickly but don’t need construction documents. Common scenarios include:
- Renovation previews (kitchen reconfiguration, moving a door, changing room uses)
- Real estate presentations (3D visuals and virtual staging from an existing plan)
- Interior design exploration (furniture fit checks, circulation, mood changes)
- Contractor conversations (shared visuals to align on scope before detailed quoting)
- Home exterior refresh planning (materials, colors, facade emphasis)
Rule of thumb: Use 3D previews to make better decisions faster—but confirm any structural change with a professional and local code requirements.
Step 1: Start with the cleanest possible floor plan image
The quality of your 3D output is heavily influenced by input clarity. Even the best conversion tools struggle with faint lines, skewed photos, or cluttered markings.
Best input types (ranked)
- Original PDF export from an architect or listing packet (best)
- High-resolution scan (flatbed or document scan)
- Phone photo (acceptable if squared, well lit, and high contrast)
Practical preparation checklist
- Crop tightly to the plan area (remove margins, logos, unrelated notes)
- Increase contrast so walls/lines are crisp and labels are readable
- Correct perspective if using a photo (avoid trapezoid distortion)
- Remove obstructions (fingers, shadows, folds, binder clips)
- Prefer one floor per image for clarity, unless your app supports multi-level input
If you’re photographing a printed plan, use even daylight, hold the phone parallel to the page, and step back slightly to reduce lens distortion. Then crop.
Step 2: Convert the plan to 3D and set an anchor dimension
Most floor plan conversion tools rely on recognizing walls, openings, and text labels. But the single biggest factor for scale accuracy is a trustworthy reference measurement. If your plan includes dimensions, use them. If it doesn’t, measure one known element on site (for example, a standard door width) and use that as your anchor.
What to confirm right away
- Wall alignment: are walls continuous and connected?
- Door swings/openings: are openings placed on the correct wall segments?
- Window locations: do window breaks match the plan?
- Room labels: are room names mapped to the right spaces?
After the initial conversion, do a quick walk-through in the 3D view. Look for obvious red flags: a bathroom attached to the wrong room, a missing hallway, or walls that overlap.
Step 3: Validate accuracy with a simple “3-point check”
Before you start redesigning, validate the geometry. You don’t need perfection down to the millimeter, but you do need correctness at the decision level—especially for furniture fit and circulation.
The 3-point check
- Overall footprint: compare the total width/length to the plan’s outer dimensions.
- Key room: verify one major room (living room or primary bedroom) for width and depth.
- Critical pinch point: check a hallway, kitchen aisle, or bathroom clearance where mistakes matter most.
If any of these are off, adjust scale or manually correct the problematic wall segments before continuing. A small scaling error can cascade into “nothing fits” later.
Common conversion issues (and how to fix them)
| Issue | What it looks like in 3D | Likely cause | Fix |
|---|---|---|---|
| Walls missing or broken | Gaps, disconnected rooms | Low contrast or faint lines | Re-scan with higher contrast; manually reconnect wall segments |
| Wrong scale | Furniture looks tiny/huge | No anchor dimension set | Set one known measurement; re-apply scaling |
| Doors/windows misplaced | Openings appear on the wrong wall | Cluttered annotations or overlapping symbols | Clean the image crop; adjust openings manually |
| Room labels incorrect | Kitchen labeled as bedroom, etc. | Text recognition errors | Rename rooms and re-check adjacency |
| Wall thickness oddities | Exterior looks too thin/thick | Plan line weights interpreted incorrectly | Set wall type/thickness presets; verify perimeter |
Step 4: Use an AI room planner to test layout options (without overcommitting)
Once the 3D base is trustworthy, AI-guided room planning becomes a powerful way to explore options quickly. The best way to use it is not to accept the first suggestion, but to generate 2–4 alternatives and evaluate them with practical criteria.
Practical criteria for judging AI layout options
- Circulation: can people move comfortably around furniture and through doorways?
- Function zones: does the room support how you actually live (work corner, play area, dining)?
- Clearances: are kitchen aisles, bed sides, and bathroom access realistic?
- Light and views: is seating oriented toward windows or focal points?
- Storage logic: do wardrobes, built-ins, or pantry areas end up in sensible places?
Use AI suggestions as a starting point, then nudge the plan toward your constraints: existing plumbing walls, radiator locations, or structural elements you cannot move.
Step 5: Iterate with “design layers”: layout first, then finishes
A common mistake is changing everything at once (walls, furniture, materials, colors). That makes it hard to understand what improved the space. A cleaner approach is to iterate in layers:
- Layout layer: walls, openings, room uses, major furniture placement.
- Lighting layer: ceiling fixtures, task lighting, daylight strategy.
- Materials layer: floors, wall paint, cabinetry, counters, tile.
- Styling layer: rugs, art, textiles, decor for mood.
This layered workflow also helps when you share options with family members or clients—each round answers one type of question.
Step 6: Export and present 3D renders like a pro
High-resolution 3D exports are most effective when they tell a story. Instead of sharing ten random screenshots, create a small set that covers the decision points.
A simple export set for proposals
- One “existing condition” view (baseline)
- Two option views (Option A and Option B from the same camera angle)
- One top-down 3D overview (for orientation)
- One close-up of the most important change (kitchen, entry, facade detail)
Consistency matters: use the same camera position and lighting when comparing options so stakeholders focus on the actual differences.
Naming and versioning (helps you avoid confusion later)
If you’re iterating quickly, adopt a simple naming convention. Here’s a lightweight approach you can use in iCloud Drive or any file system:
ProjectName/
  01_Input/
    floorplan_scan_v1.jpg
    measurements_notes.txt
  02_3D_Renders/
    optionA_livingroom_cam1.png
    optionB_livingroom_cam1.png
    optionA_kitchen_cam2.png
  03_Exports_For_Sharing/
    proposal_deck.pdf
iOS app vs. desktop CAD: a realistic comparison
Mobile conversion tools don’t replace professional drafting for permits or construction drawings, but they can outperform heavy software in speed and accessibility for early-stage decisions.
| Need | iOS floor plan to 3D app | Desktop CAD/3D |
|---|---|---|
| Fast concept visuals | Excellent | Good (slower setup) |
| Accurate construction documents | Limited | Excellent |
| Learning curve | Low | High |
| On-site collaboration | Excellent (mobile) | Limited (laptop workflow) |
Privacy and data handling: what to consider
Floor plans can reveal sensitive details (entry points, room uses, security system locations). Before uploading or sharing:
- Remove personal info from plan margins (names, phone numbers, full addresses if not needed).
- Avoid sharing publicly if the plan shows security-sensitive features.
- Use watermarking on presentation exports when appropriate.
- Check app settings for cloud storage, sharing permissions, and export resolution.
FAQ: quick answers to common questions
How accurate are 3D renders generated from a scanned plan?
Accuracy is usually strong for proportions and room relationships when the input plan is clear and you set at least one reliable reference dimension. Always validate with the 3-point check before making layout decisions.
Can I use this for exterior redesign ideas too?
Yes—while floor plans primarily drive interior geometry, many workflows let you test exterior finishes, colors, and massing impressions. For structural changes (new windows/doors), confirm feasibility with a pro.
What if my plan has no dimensions?
Measure one known element (like a door opening) in the real space and use that as your scale anchor. If you can measure two points, even better.
Putting it all together: a quick workflow recap
- Capture a clean plan (PDF/scan/photo) and crop/contrast-correct.
- Convert to 3D and set an anchor dimension for scale.
- Validate geometry using the 3-point check.
- Explore options with AI room planning and evaluate with practical criteria.
- Iterate in layers (layout → lighting → materials → styling).
- Export a small, consistent set of high-res renders for decisions and presentations.
If you’re looking for an iPhone/iPad tool that follows this conversion-and-preview approach—from black-and-white plan to clean 3D with redesign exploration—Floor Plan to 3D & Home Redesign is one option to consider as part of your workflow.
