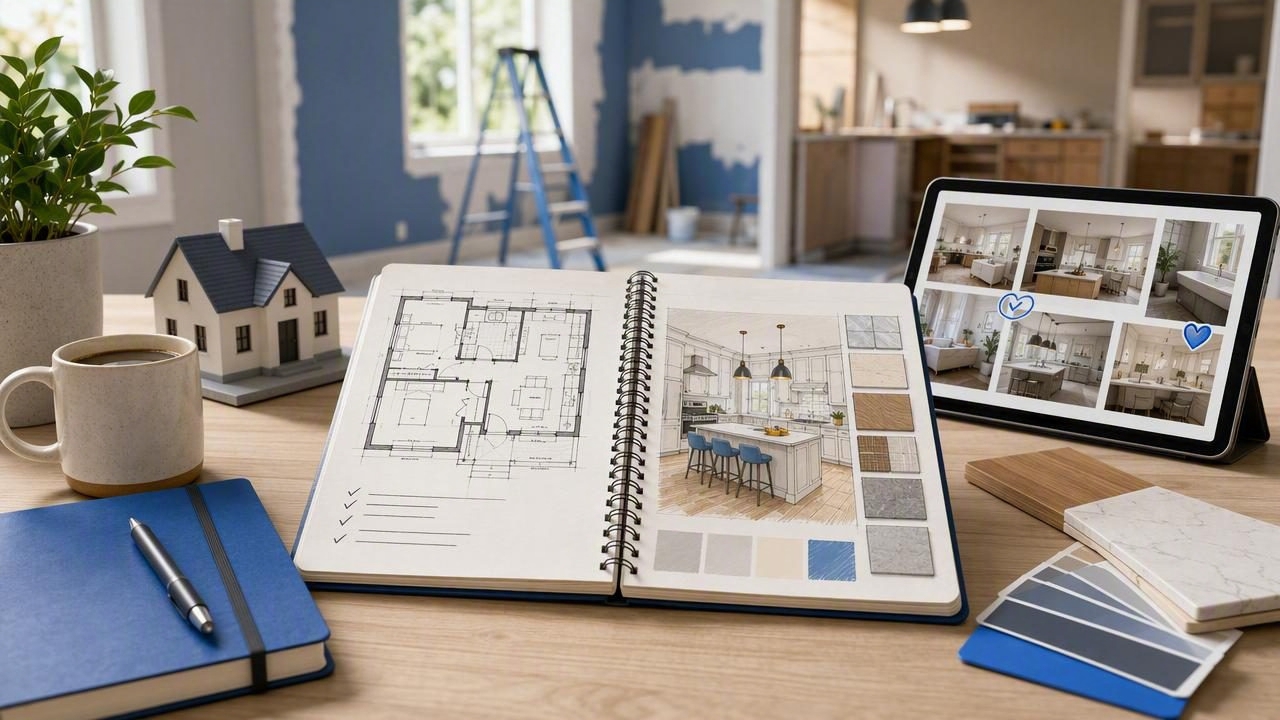
A successful remodel begins long before demolition, paint samples, or contractor visits. Whether you are updating one room or rethinking an entire property, a home renovation planner gives you a structured way to turn ideas into practical decisions. It helps you assess the existing layout, identify priorities, test design directions, and communicate your vision clearly.
Planning visually is especially useful because renovations involve many connected choices. Moving a wall can affect furniture placement, lighting, storage, traffic flow, finishes, and budget. Looking at these choices in a 2D floor plan is helpful, but converting a plan into a visual 3D concept can make dimensions and design opportunities easier to understand.
This guide explains how to use a home renovation planner effectively, what information to prepare, and how 3D renovation previews can support more confident decisions before work begins.
What Is a Home Renovation Planner?
A home renovation planner is a tool or process used to organize a remodeling project before construction starts. It may include floor plans, room measurements, inspiration images, budgets, material notes, furniture layouts, and digital renderings. The goal is not simply to make a room look attractive. It is to create a realistic plan that balances function, style, cost, and the existing structure of the home.
Modern planning tools often combine traditional floor plan conversion with AI-guided visualization. This allows homeowners, designers, and real estate professionals to transform a flat blueprint into 3D renders that show how rooms may feel after a renovation.
A useful planner should help answer questions such as:
- Does the new layout improve movement through the room?
- Will the furniture fit without making the space feel crowded?
- Which renovation ideas deliver the greatest day-to-day value?
- How will wall colors, flooring, cabinetry, and lighting work together?
- Can the project be explained clearly to a contractor or stakeholder?
Why Plan Before You Commit to Renovation Work?
Changes made during construction are usually more expensive than changes made during planning. A cabinet configuration that looks good on paper may block a walkway. A kitchen island may appear to fit until you account for open appliance doors. A new sofa may technically fit in the living room but leave too little clearance around it.
A renovation planner helps uncover these issues early. By reviewing room dimensions, door swings, windows, labels, and proportions, you can spot practical concerns before they become costly site changes.
| Planning Decision | What to Check | Potential Benefit |
|---|---|---|
| Furniture layout | Clearances, pathways, seating zones | Improves comfort and circulation |
| Kitchen redesign | Work zones, storage, appliance access | Supports a more functional workflow |
| Finish selection | Color balance, texture, light reflection | Reduces mismatched material choices |
| Exterior refresh | Facade color, entry details, landscaping | Creates a more cohesive curb appeal plan |
Visual planning also creates alignment. If several people are involved in the project, a 3D view is often easier to discuss than a list of written notes. It gives everyone a shared reference point for reviewing priorities and trade-offs.
Step 1: Define the Purpose of Each Renovated Space
Before choosing a style, define what each room needs to do better. This is the foundation of an effective home redesign. A beautiful room that does not support everyday routines will quickly become frustrating.
Start with a short list of problems and goals. For example, a family may need a living room with more seating, concealed toy storage, and clearer walking routes. A homeowner renovating a primary bedroom may prioritize a larger wardrobe, softer lighting, and a small reading area. The solution for each space should reflect the people who will use it.
Use a simple room brief
- Current problem: What is not working now?
- Primary function: How should the room be used most often?
- Must-have features: What cannot be compromised?
- Nice-to-have features: What would improve the experience?
- Constraints: What structural, budget, or timing limits apply?
This brief prevents inspiration images from driving every decision. Trends can be useful, but the layout and function of your own space should come first.
Step 2: Start With an Accurate Floor Plan
Accurate inputs lead to more useful renovation previews. Gather the best available version of your floor plan, blueprint, property listing plan, or hand-drawn measured sketch. The plan should show room boundaries, doors, windows, dimensions, and labels whenever possible.
If you are measuring manually, record wall lengths, ceiling heights, window widths, sill heights, door openings, radiator locations, built-ins, and major fixed elements. Do not forget details that affect furniture placement, such as electrical outlets, columns, fireplaces, and sloped ceilings.
Measure the elements you cannot easily move first. A renovation plan becomes more realistic when fixed conditions are treated as design inputs rather than afterthoughts.
When using floor plan conversion software, review the converted result carefully. Confirm that room proportions, door locations, labels, and dimensions match the source document. A clean visual model is valuable, but it should not replace professional architectural, engineering, or permitting documentation where those are required.
Step 3: Build the Layout Before Styling the Room
Many renovation decisions become easier when you establish the layout first. Begin with the largest and most essential items: beds, sofas, dining tables, kitchen cabinets, desks, showers, and storage units. Then evaluate how people enter, move through, and use the room.
In a living room, for instance, position seating around the primary focal point, whether that is a fireplace, television, window view, or conversation area. In a bedroom, make sure the bed placement leaves comfortable access on the necessary sides. In a kitchen, consider how the refrigerator, sink, and cooking zone relate to one another.
Key layout checks to make in 3D
- Walk through the room visually from each doorway.
- Check whether doors, drawers, and appliances can open freely.
- Identify pinch points where circulation becomes too tight.
- Verify that windows still provide light and usable views.
- Assess whether furniture scale matches the room proportions.
3D renders are particularly useful at this stage because they reveal visual weight. A sectional sofa, oversized island, or tall wardrobe may occupy more perceived space than it does in a flat plan.
Step 4: Compare Design Directions Instead of Guessing
Once the layout works, explore interior design options. A home renovation planner can help you compare alternatives without committing immediately to expensive purchases. Try a few clearly different directions rather than making tiny changes to one concept.
For example, compare a warm modern scheme with natural wood and muted earth tones against a brighter contemporary scheme with pale flooring and crisp white cabinetry. For an exterior refresh, compare darker siding with light trim against a lighter facade with a contrasting front door.
When reviewing concepts, look beyond individual products. Consider the complete visual system:
- Color: Does the palette suit the amount of natural light?
- Materials: Do floor, wall, and furniture finishes create balance?
- Scale: Are large visual elements proportionate to the room?
- Contrast: Is there enough variation to create depth?
- Maintenance: Will the selected finishes suit daily life?
Save the strongest concepts and note why each one works. This creates a clear decision trail and makes later selections more consistent.
Step 5: Prioritize Renovation Decisions by Impact
Not every improvement has equal value. A smart renovation plan separates high-impact decisions from details that can wait. Structural changes, plumbing locations, electrical planning, flooring, cabinetry, and lighting should generally be resolved before decorative accessories.
Use a simple priority system to stay focused:
- Essential: Repairs, safety needs, functional layout changes, and required upgrades.
- High impact: Improvements that significantly affect daily use or property appeal.
- Optional: Enhancements that are desirable but not necessary for the project to succeed.
This framework is helpful when budgets shift. If costs rise, you can protect the decisions that matter most while postponing lower-priority features. It also makes contractor conversations more productive because you can explain what is fixed, flexible, and still under review.
Step 6: Use Renovation Previews to Communicate Clearly
Clear communication is one of the most practical benefits of digital planning. A floor plan may be enough for a construction professional, but 3D visuals help many homeowners and clients understand the intended result quickly. They can also support discussions with interior designers, builders, family members, tenants, or potential buyers.
Create a small presentation set for each important room. Include the current floor plan, the proposed layout, one or two 3D views, a material direction, and a short list of key decisions. This is more useful than sending dozens of unorganized inspiration images.
For best results, label concepts honestly. Identify whether an image is a layout study, an early style direction, or a final finish reference. A render is a planning aid, not a guarantee of exact construction results, product availability, or final lighting conditions.
Common Home Renovation Planning Mistakes to Avoid
- Planning only for appearance: Function, storage, and circulation deserve equal attention.
- Ignoring existing dimensions: Measurements and proportions should guide every major choice.
- Choosing finishes too early: Confirm the layout and fixed elements first.
- Forgetting lighting: Daylight, task lighting, and ambient lighting can transform the final result.
- Making decisions in isolation: Review the whole room so colors, materials, and furniture work together.
- Skipping professional review: Consult qualified professionals for structural, electrical, plumbing, code, and permit requirements.
Turn Ideas Into a More Confident Renovation Plan
A home renovation planner is most valuable when it moves a project from vague inspiration to specific, reviewable decisions. Start with an accurate floor plan, define how each room should function, test the layout in 3D, compare design directions, and prioritize investments based on real impact.
That process can reduce uncertainty while giving you better material for conversations with professionals and decision-makers. For homeowners who want to explore floor plan conversion, AI room planning, and shareable renovation previews from an iPhone, Floor Plan to 3D & Home Redesign offers a practical way to visualize ideas before work begins.
