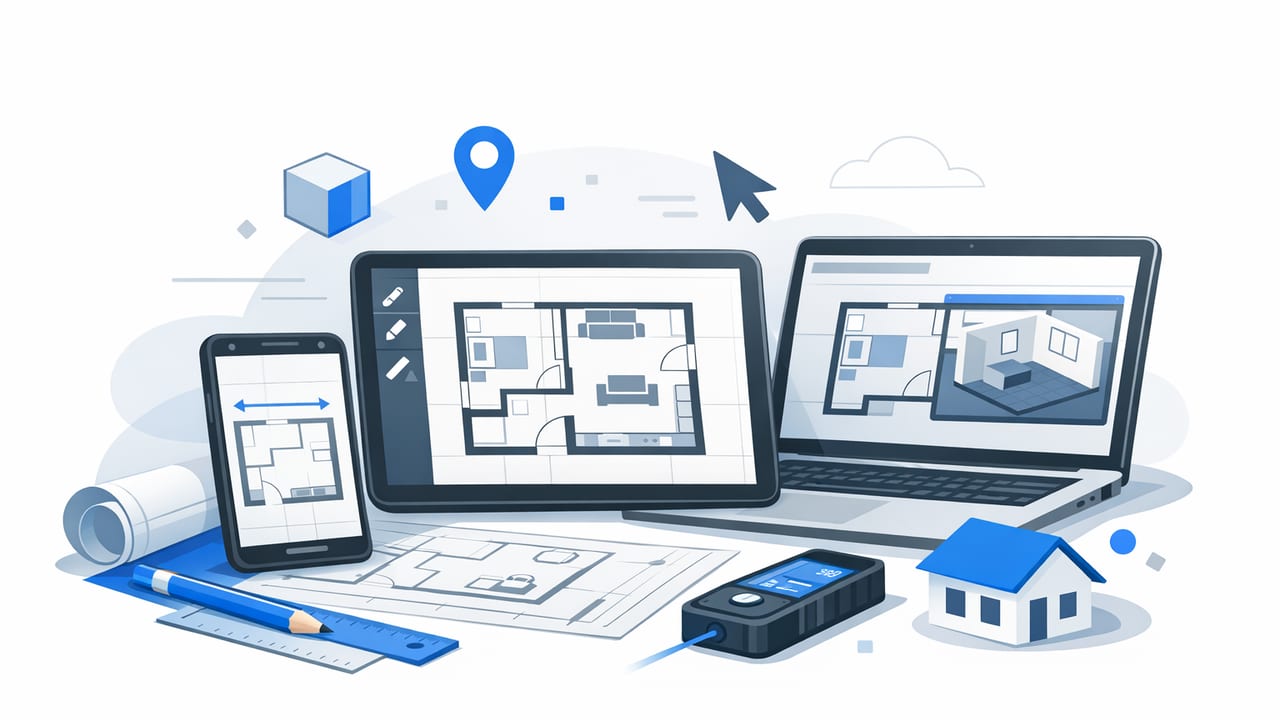
A good floor plan app can turn a flat, black-and-white layout into a 3D space you can actually judge: sightlines, circulation, furniture fit, and how a remodel might feel before you spend money. But the best results don’t come from “upload and pray.” They come from understanding how AI interprets plans, where errors typically happen, and how to create an export that’s clear enough for partners, clients, or contractors.
This guide breaks down a practical, accuracy-first workflow for using an AI-powered floor plan app to go from 2D to trustworthy 3D—without getting lost in overcomplicated CAD steps.
Why a floor plan app is more than a “nice-to-have”
Room planning used to mean either: (1) mental visualization, (2) hand sketches, or (3) hiring a specialist to model everything. Today, a floor plan app can handle the first pass quickly, while still keeping the results grounded in your original dimensions.
- Faster iteration: Try multiple layout options (open concept vs. partial wall, kitchen island sizes, bed orientations) in minutes.
- Clearer communication: A 3D render reduces misunderstandings that happen with 2D drawings alone.
- Better decision-making: You can evaluate practical details like door swing conflicts, tight hallways, or oversized furniture.
- Portable workflow: iPhone/iPad-based planning is useful on-site—during showings, walkthroughs, or early client meetings.
What AI actually does inside a floor plan app
Most modern AI home design tools follow a similar pipeline. Knowing it helps you spot problems early.
1) Plan interpretation (computer vision)
The app analyzes your image/PDF to detect walls, openings (doors/windows), and room boundaries. The AI is essentially guessing structure from linework—so messy scans, thick markers, or overlapping symbols can confuse it.
2) Scaling and proportion control
AI can infer relationships, but it often needs at least one reliable reference (a labeled dimension, a known wall length, or a scale note). If your scale is wrong, your entire 3D model will look plausible—but be unusable for planning.
3) 3D reconstruction (rules + learned patterns)
Once the plan is understood and scaled, the app extrudes walls, places openings, and generates a 3D shell. Some apps let you set wall height and thickness; others infer defaults. Either way, you should verify these before furnishing.
The most common 3D planning mistake isn’t “bad rendering.” It’s trusting an unverified scale.
Start with a clean input (your results depend on it)
If you want accurate AI 3D rendering, treat the 2D plan like data. A little prep dramatically improves detection.
Best practices for photos or scans
- Use high contrast: Dark lines on a clean white background reduce missed walls.
- Keep it flat and square: Photograph directly overhead; avoid perspective skew.
- Crop tightly: Remove borders, title blocks, and unrelated notes if possible.
- Prefer consistent line weights: Extremely thick walls can be mistaken for double walls.
- Include at least one dimension: A single known measurement helps lock scale.
What to remove (or simplify) before upload
- Dense hatching patterns (tile/brick textures) that resemble wall lines
- Overlapping furniture symbols that touch walls (can be detected as structure)
- Multiple floor plans on the same page (ground + upper levels together)
A practical workflow: from upload to presentation-ready 3D
Use this sequence to keep the model accurate and easy to revise later. The exact buttons vary by app, but the order matters.
- Import the plan (photo, scan, or PDF) and crop to the relevant footprint.
- Set the scale using a known dimension (e.g., a labeled wall length). If no dimensions exist, measure one wall on-site before proceeding.
- Review wall detection and fix breaks, doubles, or missing segments. Prioritize the exterior boundary first.
- Confirm wall thickness and height (even approximate consistency helps when placing doors and cabinetry).
- Place/verify doors and windows. Check swing direction, window widths, and alignment on exterior walls.
- Name rooms (Kitchen, Bedroom, Bath). Many tools adjust assumptions (fixtures, typical clearances) based on room type.
- Add key fixed elements (stairs, kitchen counters, plumbing walls). These anchor the layout before you experiment with furniture.
- Furnish for fit, not decoration. Use representative sizes for beds, sofas, dining tables, and storage.
- Set materials and lighting lightly. Aim for clarity (contrast, legible edges), not hyper-realism.
- Export views: top-down 3D, eye-level perspective, and at least one sectional/cutaway if available.
Accuracy checklist: keep the 3D true to the 2D
Before you share a render or make decisions, run this quick validation pass. A floor plan app can be “visually convincing” while being dimensionally wrong.
- Scale check: Re-measure 2–3 walls in the 3D model against known dimensions.
- Door clearance: Confirm doors don’t collide with cabinets, toilets, or each other.
- Window placement: Verify spacing from corners and alignment with exterior walls.
- Room proportions: Spot “stretched” rooms (a sign your plan image was skewed or scaled incorrectly).
- Circulation paths: Ensure main walkways aren’t pinched by furniture (especially around islands and beds).
- Stairs: Confirm direction, landing sizes, and that the opening aligns with the upper level (if you’re modeling multiple floors).
Common problems (and quick fixes)
| Problem | Likely cause | Fix |
|---|---|---|
| Walls doubled or “ghost walls” appear | Thick linework or shadowing in the scan | Re-crop, increase contrast, or manually merge/delete extra walls |
| Rooms connect where they shouldn’t | Small gaps in boundary lines or open door symbols read as openings | Close boundary gaps; explicitly place doors/openings |
| Everything looks right but measurements are off | Incorrect scale reference or image perspective distortion | Reset scale using a verified dimension; re-shoot the plan square-on |
| Windows end up on interior walls | Plan contains mirrored layouts or multiple units on one page | Crop to a single unit; delete mis-detected openings and re-add |
| Furniture “fits” but feels cramped in 3D | Furniture assets not true-to-size | Use dimensioned furniture or standardized sizes (e.g., 60" sofa vs. 90") |
Export standards: make your 3D outputs easier to trust
When you export from a floor plan app, aim for consistency. You want stakeholders to compare options without guessing what changed.
Recommended views to export
- Top-down 3D (dollhouse or axonometric): Great for overall understanding.
- Eye-level perspective: Best for “how it feels” (kitchen-to-living sightlines, hallway tightness).
- One annotated snapshot: If your app supports notes, mark key dimensions or decisions.
File naming for iteration (so you don’t lose track)
Even a simple naming convention helps when you’re comparing options across days or sharing with a team.
project-name/
  option-A_open-kitchen/
    01_topdown-3d.png
    02_eye-level_livingroom.png
    03_kitchen_view.png
  option-B_partial-wall/
    01_topdown-3d.png
    02_eye-level_livingroom.png
    03_kitchen_view.png
How to compare options inside one model (without chaos)
Many people duplicate entire projects for each idea, then struggle to remember what changed. Instead, keep differences isolated and measurable.
- Change one variable at a time: island size, wall removal, or sofa orientation—not all at once.
- Use “anchors”: lock fixed items (plumbing wall, stair core, exterior walls) and iterate around them.
- Capture the same camera angles: consistent screenshots make side-by-side comparison meaningful.
Privacy, offline use, and collaboration questions to ask
Because floor plans can reveal personal information (addresses, room uses, security layouts), it’s worth checking how your app handles data.
- Processing location: Does AI run on-device or in the cloud?
- Data retention: Are uploads stored, and can you delete them?
- Sharing controls: Can you export without embedding identifying metadata?
- Team workflow: Do you need simple image exports, or a model format that others can edit?
FAQ: floor plan apps and AI 3D rendering
Do I need perfect dimensions for early planning?
No—but you need consistent scale. Even concept-stage planning should be proportionally correct so furniture fit and circulation aren’t misleading.
Can AI detect doors and windows reliably?
Often yes, but openings are the first place errors appear—especially in older plans with unique symbols. Always verify placement and sizes.
Is a 3D render “contractor-ready”?
A render is great for communication, but construction typically requires detailed drawings and specifications. Use 3D as a decision tool and clarity booster, then confirm details in proper documentation.
Conclusion: treat AI as a fast draft, then verify like a pro
A floor plan app is most powerful when you pair it with a simple discipline: clean input, correct scaling, and a repeatable review process. AI can accelerate the conversion from 2D to 3D, but your checks are what make the result dependable for real decisions—layout, furniture, remodel scope, and presentation.
If you’re looking for an iOS tool that focuses on turning black-and-white 2D plans into dimension-faithful 3D concepts, Floor Plan to 3D is one example of an app designed for that workflow.
