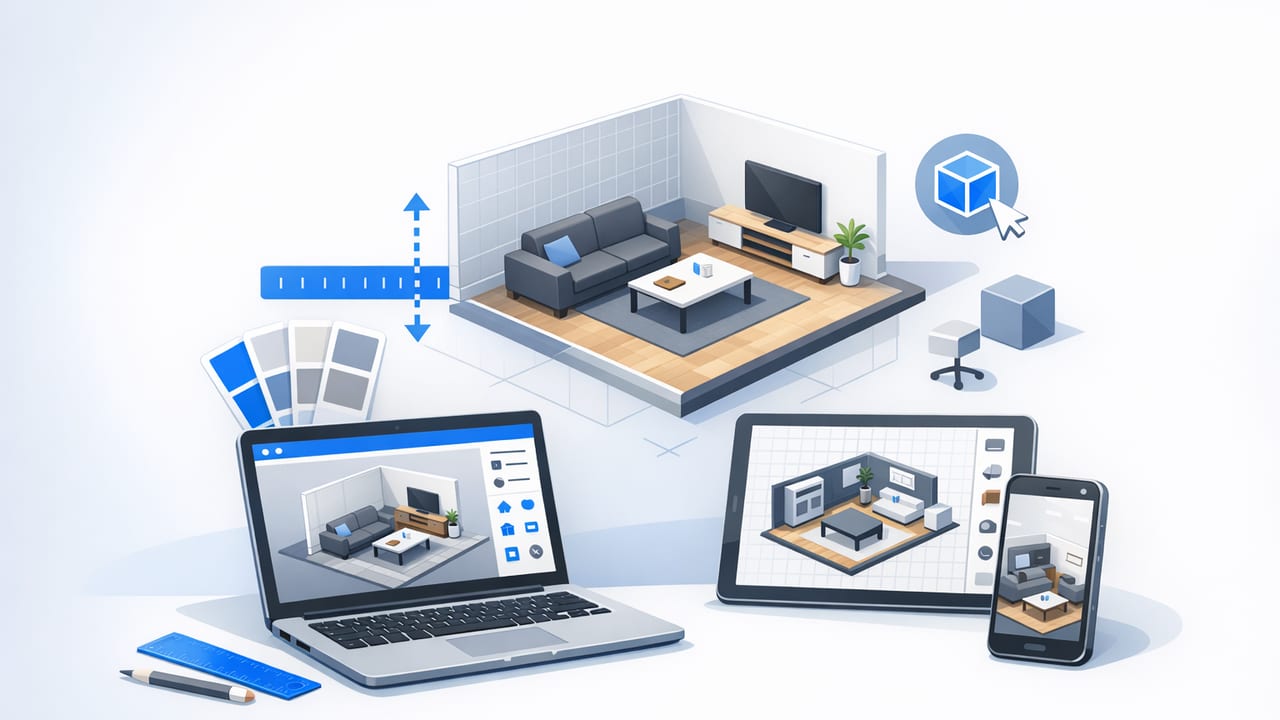
A good 3D room planner is more than a “pretty render” tool. Used well, it becomes a decision engine: you can validate circulation, catch measurement mistakes early, compare furniture arrangements, and communicate a plan clearly to contractors or stakeholders. The key is workflow—especially if you’re starting from a black-and-white 2D floor plan, a scanned blueprint, or a hand sketch.
This guide walks through a practical, accuracy-first process for turning a 2D plan into a reliable 3D model, testing layouts, and exporting visuals that are useful in real projects (remodels, staging, rental fit-outs, and early architectural visualization). You’ll also see what to look for in AI home design tools so you can avoid the most common 3D planning pitfalls.
What a 3D room planner should do (beyond “making it 3D”)
Many tools can generate a 3D scene, but fewer can support confident decisions. When evaluating or using a 3D room planner, prioritize capabilities that protect scale and relationships between elements:
- Dimension integrity: walls, openings, and room sizes should match the plan (or be easily corrected).
- Editable geometry: you should be able to adjust wall thickness, door swing, window height, and ceiling height.
- Object realism in context: furniture should have true-to-life footprints, not “symbolic” sizes.
- Repeatable views: consistent camera angles for before/after comparisons and approvals.
- Export quality: crisp images suitable for presentations and proposals—not just screenshots.
Rule of thumb: if you can’t verify scale quickly, you can’t trust the layout—no matter how good the render looks.
Step 1: Prepare your 2D input for reliable AI conversion
AI-assisted room planning has improved, but the model is only as trustworthy as the input. Whether you’re using a scanner, a photo, or a PDF export, spend a few minutes improving legibility. This reduces wall-detection errors, missing openings, and misread dimensions.
Quick prep checklist
- Use a straight-on capture: avoid perspective distortion. If photographing paper, shoot directly above in good light.
- Maximize contrast: black lines on white background. Remove shadows and folds.
- Crop tight: include the plan boundary and dimension notes if present.
- Remove visual noise: heavy furniture icons, title blocks, and scribbles can confuse detection. If possible, use a “clean” plan layer.
- Know one reference measurement: a single confirmed wall length lets you verify scale after conversion.
If your plan is old or hand-drawn, don’t worry—just expect to do a quick validation pass and a few manual corrections. Speed comes from checking the right things, not from skipping checks.
Step 2: Understand what the AI is doing (so you can spot errors)
Most AI home design pipelines for 2D-to-3D follow a similar pattern:
- Image cleanup: denoising, contrast normalization, binarization.
- Primitive detection: walls, corners, doors, windows, stairs, symbols.
- Topology reconstruction: turning linework into connected rooms and boundaries.
- 3D extrusion: applying heights to walls and placing openings at typical elevations.
- Material defaults: basic textures and lighting for fast visualization.
Where do mistakes happen? Usually at ambiguous symbols (double lines that look like walls but are cabinets), thin walls (read as furniture), or overlapping annotations (dimensions crossing walls). Knowing this helps you check the “risk zones” first: door openings, window placement, and any non-rectangular room boundaries.
Step 3: Verify scale fast with a three-point accuracy check
Before you place a single sofa, validate the model with a simple three-point check. This catches most issues early and prevents “compounding errors,” where every layout option is wrong because the base model is off.
- Point A: One long wall (e.g., living room width). Confirm it matches a known dimension.
- Point B: One opening (e.g., a standard interior door). Typical doors are ~30–36 in (76–91 cm) wide—verify it’s in that range.
- Point C: One room proportion (e.g., bedroom depth vs width). If a room “feels” stretched, it probably is.
If any point fails, fix scale and geometry before adding details. It’s far cheaper to correct a wall than to re-place an entire layout library later.
Step 4: Test layouts using constraints, not vibes
The most valuable use of a 3D room planner is constraint-based iteration: you’re not just trying to make furniture fit—you’re ensuring the space works. Think in terms of paths (how people move) and zones (how the room is used).
A practical layout-testing workflow
- Define the “must-haves”: seating count, desk size, dining capacity, storage requirements.
- Lock immovable elements: doors, windows, radiators, columns, kitchen plumbing walls.
- Place the largest items first: bed/sofa/dining table; then anchor pieces (media unit, wardrobe).
- Validate circulation loops: can you move between doorways without pinch points?
- Refine for sightlines: TV viewing angles, work-from-home camera background, kitchen-to-dining visibility.
To stay objective, measure clearances. If the planner supports measurement overlays, use them. If it doesn’t, approximate with known object footprints and consistent grid snaps.
Common clearance targets (quick reference)
| Scenario | Comfortable clearance | Absolute minimum |
|---|---|---|
| Main walkway (living areas) | 36 in / 90 cm | 30 in / 76 cm |
| Behind dining chairs (to pass) | 36–44 in / 90–112 cm | 30 in / 76 cm |
| Bed side clearance (one side) | 24–30 in / 60–76 cm | 18 in / 45 cm |
| Kitchen work aisle (single cook) | 42 in / 107 cm | 36 in / 90 cm |
| Door swing “no-fly zone” | Match door leaf width | Do not obstruct |
These ranges vary by building codes and accessibility needs, but they’re a solid starting point for room planning. If your project must meet ADA or local standards, use the stricter requirements.
A tiny “clearance check” idea (if you track objects programmatically)
If you’re building internal tools (or exporting object data), you can treat furniture as rectangles and test whether two items are too close. Conceptually:
// Pseudocode: basic clearance check between two rectangles
function isTooClose(rectA, rectB, minClearance) {
  // Inflate each rectangle by minClearance/2 on all sides
  let a = inflate(rectA, minClearance / 2)
  let b = inflate(rectB, minClearance / 2)
  return intersects(a, b)
}
This kind of logic is why constraint-aware planners feel “smart”: they help you prevent problems instead of just showing them.
Step 5: Use lighting and camera views to make decisions faster
Once the layout works in plan, 3D helps answer qualitative questions—especially when you set up repeatable viewpoints. You don’t need cinematic rendering; you need consistent comparison.
- Create 3–5 saved views: entry, main seating, workstation, kitchen-to-dining, and a wide corner view.
- Check daylight logic: window placement + sun direction changes how “big” a room feels.
- Validate glare and screens: TV opposite a bright window can be a daily annoyance.
- Confirm vertical decisions: wall art, shelves, upper cabinets, pendant lights.
For presentations, consistency matters more than photorealism. If each option uses the same camera angles and time-of-day, stakeholders can compare layouts without getting distracted by rendering differences.
Step 6: Export visuals that contractors and clients can actually use
A common failure mode in room planning is exporting images that look fine on a phone but fall apart in a PDF or slide deck. Plan your exports around the final destination: email approval, a contractor scope, or a design proposal.
Suggested export set
- One labeled 2D plan view: with key dimensions and room names.
- Two wide 3D views: showing circulation and adjacency.
- Two close 3D views: showing critical areas (kitchen aisle, bedroom closet clearance, desk nook).
- One “option grid” page: three layouts side-by-side with brief captions.
| Use case | Recommended output | Why it works |
|---|---|---|
| Email review | 1600–2400 px wide JPG/PNG | Fast to load, readable on mobile |
| Proposal / PDF | 3000–5000 px wide PNG | Crisp text and edges after compression |
| Large screen presentation | 4K PNG (3840×2160) or higher | Holds detail on big displays |
How to choose a 3D room planner that won’t waste your time
If you’re comparing tools, use criteria tied to outcomes (accuracy, iteration speed, collaboration) rather than marketing features.
Decision checklist
- Import reliability: can it handle scans/photos of black-and-white plans with consistent results?
- Correction tools: easy fixes for wall alignment, door/window recognition, and room boundaries.
- Measurement support: built-in measuring, snap-to-grid, or dimension overlays.
- Object library quality: realistic footprints and sizes (especially beds, sofas, dining tables).
- Export controls: resolution options and clean views without UI elements.
- Performance: smooth navigation and fast re-renders during iteration.
- Privacy posture: clear explanation of how uploads are processed and stored.
A note on app development: what “good AI” looks like in practice
Even if you’re not building the app, it helps to recognize product signals of strong architectural visualization tooling. High-quality AI home design features tend to include:
- Human-in-the-loop controls: AI accelerates detection, but you can override decisions quickly.
- Deterministic edits: when you move a wall 10 cm, everything updates predictably (rooms, openings, dimensions).
- Versioning or options: the ability to duplicate a layout and compare variants without losing work.
- Robust exports: images that remain sharp when shared across tools (Slides, Keynote, PDFs).
In other words: the best tools treat AI as an assistant, not a black box.
Putting it all together: a repeatable “one-hour” planning sprint
When you need quick clarity, run a short sprint:
- 10 min: capture/clean the plan, import, and generate the initial model.
- 10 min: three-point accuracy check + fix openings/walls.
- 20 min: build Layout A and Layout B using clearance targets.
- 10 min: save consistent camera views and check sightlines/light.
- 10 min: export a small set (2D plan + 4–6 3D images) for feedback.
Repeatable workflows are what make a 3D room planner valuable: you can move from “idea” to “decision-ready visuals” without getting stuck in endless tweaking.
Gentle tool note: if you’re working on iOS and want an AI-assisted way to convert black-and-white plans into dimension-faithful 3D visuals for iteration and export, you can explore an app such as Floor Plan to 3D.
