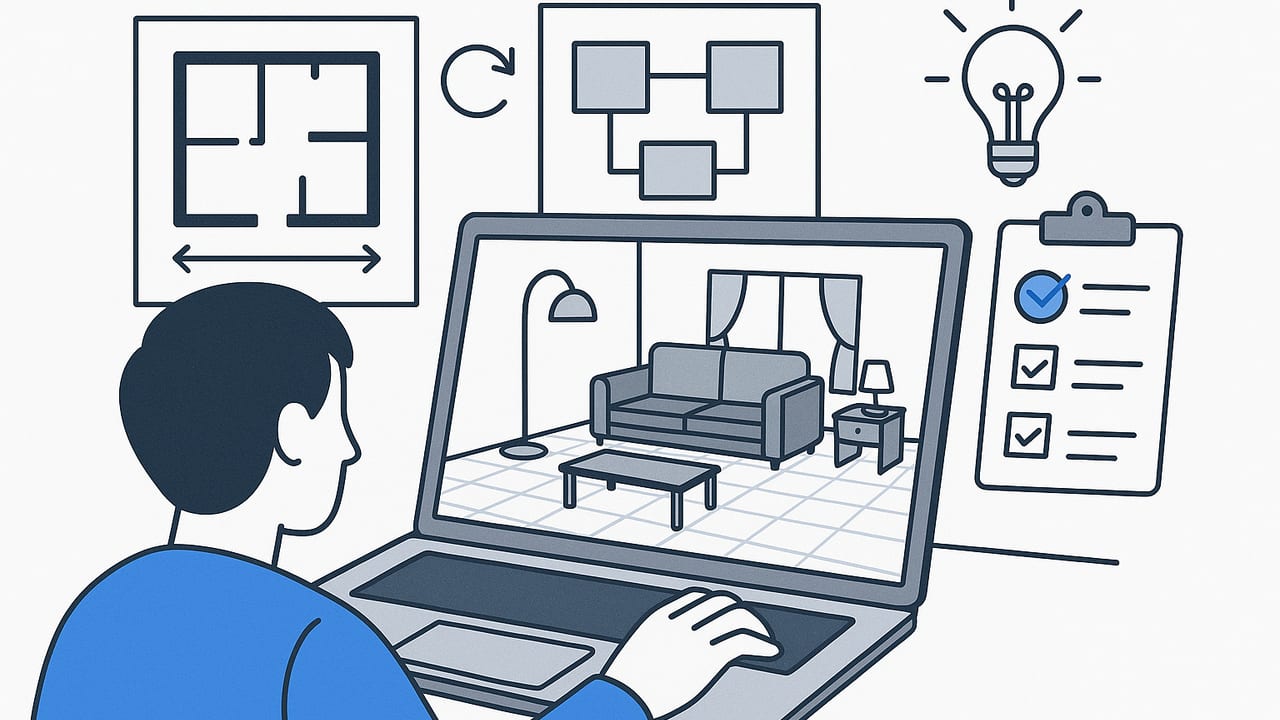
A modern 3d room planner lets you move from a flat sketch to an immersive space that communicates scale, mood, and function. The best results do not happen by accident. They come from a methodical workflow that starts with accurate inputs, follows room-by-room layout rules, and ends with a lean quality check before you export or present. This guide walks you through the practical steps that professionals use to get reliable, persuasive outputs from any 3d room planner.
What a 3D Room Planner Does Best
At its core, a 3d room planner converts walls, doors, and furniture into a scaled digital model that you can navigate, annotate, and render. Key strengths include:
- Spatial validation: Validate that furniture fits and traffic paths remain clear.
- Scenario testing: Try alternate layouts in minutes rather than hours.
- Material exploration: Swap flooring, wall finishes, and textiles to test palettes.
- Stakeholder communication: Render persuasive stills or quick walkthroughs to align clients and teams.
- Documentation: Export annotated views for proposals, permitting guides, or build notes.
Set Up for Precision: Scale, References, and Tolerances
Accuracy starts with your source plan. Whether you begin from a scan, a traced diagram, or measured notes, the planner must understand scale and geometry. Follow this setup checklist:
- Confirm a known dimension: Choose a wall, room width, or stair run with a documented real-world length. Use it to calibrate scale inside the planner.
- Lock the aspect ratio: Ensure your imported image is not distorted. A skewed photo can drift scale.
- Define units: Set project units to millimeters, centimeters, or inches consistently across the workflow.
- Set tolerances: Establish acceptable deviation, such as plus or minus 1 percent for residential layouts. This reduces rework later.
- Use sticky grid and snaps: Snap to corners and midpoints to avoid microslivers and off-axis walls.
If you need to compute scale manually from a raster floor plan, a simple formula can help:
measured_pixels = distance in pixels between two known points
real_length_m   = real-world length of those two points in meters

pixel_to_meter = real_length_m / measured_pixels

# To convert any pixel distance p to meters:
meters = p * pixel_to_meter
After calibration, sanity-check a few additional dimensions (like door widths and room diagonals). If they land within your tolerance, you are ready to build.
Room-By-Room Layout Rules That Save Time
Design flows better when you lean on proven clearance and sizing rules. Apply these room-specific guidelines while arranging assets in your 3d room planner.
Living and Circulation
- Primary walkway width: 90 to 110 cm for comfortable flow.
- Coffee table to sofa: 40 to 50 cm for reach and legroom.
- TV viewing distance: roughly 1.5 to 2.5 times the screen diagonal.
Dining
- Per-person table width: 60 cm minimum; 75 cm preferred for elbow room.
- Chair pushback clearance: 90 cm minimum from table edge to wall or furniture.
- Walkway behind seated diners: 90 to 110 cm if it is a primary path.
Bedroom
- Bed sides: 60 cm minimum walkway on both sides of a double bed; 75 to 90 cm preferred.
- End of bed to wall or dresser: 75 cm minimum; 90 cm preferred.
- Closet front clearance: 90 cm to allow door swing and access.
Kitchen
- Work aisles: 100 to 120 cm for single-cook layouts; 120 to 140 cm for multi-cook.
- Countertop landing zones: 30 to 45 cm on handle side of fridge and oven, near cooktop and sink.
- Triangle metrics: combined travel between sink, cooktop, and fridge around 4 to 8 meters total, with no single leg less than 1.2 meters.
Bath and Accessibility
- Toilet centerline to side obstruction: 40 to 45 cm; 75 cm clear width preferred.
- Shower clear entry: 60 cm minimum opening; 90 cm more comfortable.
- Turning radius for wheelchair users: 150 cm diameter clear circle.
| Area | Minimum clearance | Preferred clearance | Notes |
|---|---|---|---|
| Main walkway | 90 cm | 110 cm | Keep continuous between doorways. |
| Sofa to coffee table | 40 cm | 45 to 50 cm | Balance reach with legroom. |
| Dining chair pushback | 90 cm | 100 to 110 cm | More if it is a primary passage. |
| Bed side walkway | 60 cm | 75 to 90 cm | Plan for bedding and cleaning access. |
| Kitchen work aisle | 100 cm | 120 to 140 cm | Increase for two-cook kitchens. |
| Wheelchair turning | 150 cm dia | — | Maintain a clear circle. |
Always validate local codes and accessibility requirements; the numbers above are common residential guidelines.
Lighting, Materials, and Realism That Sells the Idea
Even a perfectly planned layout can feel flat without convincing light and material definition. Your 3d room planner’s render tools can bridge the gap between technical correctness and emotional resonance.
- Layered light: Combine ambient fills (soft environment or ceiling fixtures), task lights (under-cabinet strips, desk lamps), and accents (wall washers, sconces).
- Color temperature: Keep sources within a harmonious range. Mix warm and neutral judiciously to avoid muddy color casts.
- Natural light: Use physically plausible window dimensions and sun angles. A single well-placed opening can redefine perceived space.
- Materials with restraint: Set realistic roughness and reflectance; mirror-like floors or fully matte counters rarely match reality.
- Consistent scale: Tile and wood grain scale is vital. Oversized textures break immersion.
Measure twice, model once. Then light as if you are photographing a finished room.
Workflow: From 2D Plan to Trusted 3D
- Collect inputs: Floor plan image or scan, room measurements, photos of the existing space, and a furniture list.
- Calibrate scale: Use a known dimension to set scale. Verify at least two additional measurements.
- Trace structure: Place walls, doors, windows, stairs, and fixed millwork. Set heights, thicknesses, sill and head levels.
- Zone the plan: Sketch circulation paths first. Only then place the largest furniture items to anchor the layout.
- Apply rules: Use the clearance table and room guidelines to adjust spacing. Snap, align, and mirror when appropriate.
- Material pass: Assign floor and wall finishes plus a neutral base palette. Add accent materials sparingly.
- Lighting pass: Add layered lighting and set sun position for a believable time of day.
- Camera setup: Place viewpoints at realistic eye height and avoid extreme wide angles that distort scale.
- Draft render: Produce quick test images. Fix texture scale, light intensity, and exposure.
- Final QA: Run a short checklist (see below), then export in the formats your audience needs.
QA Checklist for Reliable 3D Room Planning
- Scale verification: Three spot checks across the plan land within tolerance.
- Wall alignment: No microgaps at corners; walls meet on axis; openings are centered where intended.
- Door and window heights: Sill and head levels match spec; swing arcs do not collide with furniture.
- Circulation paths: Walkway widths meet the minimums; no choke points at doorways.
- Furniture footprint: Major pieces have correct dimensions; beds, sofas, and tables match manufacturer specs.
- Material scale: Tile and wood grain look realistic from an eye-level camera.
- Lighting sanity: No blown highlights or crushed shadows; color temperature is consistent.
- Export test: Trial export a single view to confirm resolution, file size, and transparency settings.
Exporting and Sharing: Pick the Right Format for the Job
Different audiences need different outputs. Choose formats that preserve fidelity without adding friction.
| Format | Best for | Notes |
|---|---|---|
| PNG or JPG | Quick views and emails | Use PNG for transparency; ensure adequate resolution for print if needed. |
| Presentations and printable sets | Bundle multiple views and annotations in a single file. | |
| OBJ | Static mesh exchange | Widely compatible; materials may need manual relinking. |
| GLB or GLTF | Web and AR viewers | Compact, includes materials and textures for interactive sharing. |
| USDZ | Apple ecosystem AR | Ideal for iOS AR previews of rooms or objects. |
| DXF | 2D CAD linework | Share plan layouts with consultants who draft in CAD. |
For client-ready visuals, export at high resolution with clean naming. Include the view name, room, and version so teams can trace revisions without guesswork.
Common Pitfalls and How to Avoid Them
- Scale drift: Caused by uncalibrated images or scaled screenshots. Always calibrate and verify three points.
- Overfilling rooms: Start with anchor pieces and prove circulation before adding accent furniture.
- Texture tiling artifacts: Fix by adjusting UV scale and using higher-resolution materials.
- Unrealistic lens choices: Lenses wider than 18 mm equivalent exaggerate depth. Use 24 to 35 mm for most interiors.
- Shadowless lighting: Overuse of ambient light flattens the scene. Introduce directional or area lights for shape.
Advanced Tips for Power Users
- Measure on import: Keep a ruler tool active and spot-check as you draw; it is faster than fixing scale later.
- Use proxy assets: Early on, place simple blocks at correct sizes. Swap for detailed models once the layout is validated.
- Scene layers: Separate structure, furniture, and lighting into layers or groups to toggle visibility and export selectively.
- Material libraries: Save curated materials with realistic roughness and reflectance; reuse to ensure consistency across projects.
- Batch views: Create a standardized set of cameras per room: wide overview, focal vignette, and an eye-level perspective.
Mini Case Study: Turning a Sketch Into a Sellable Concept
Imagine you receive a pencil sketch of a one-bedroom apartment with a few handwritten dimensions. The client wants two alternate layouts for the living area: one optimized for movie nights and another for dinner parties.
- Digitize and calibrate: Import the sketch, calibrate to a known 3.6 meter wall. Verify the room width and a door opening to confirm scale.
- Build structure: Set wall thicknesses, add door swings, and place a large window with a 90 cm sill height.
- Layout A, media first: Anchor a 3 seat sofa opposite the TV with 45 cm to the coffee table and 100 cm path behind the sofa.
- Layout B, dining first: Rotate the sofa, place a 160 by 90 cm dining table near the window, and ensure 100 cm pushback clearance.
- Materials and lighting: Keep neutral plaster walls, oak flooring, and a warm 3000 K general light with a cooler task lamp near the reading chair.
- QA and export: Verify three dimensions, check circulation paths, and export two hero views and one plan overlay in PNG and PDF.
Within an afternoon, you have two defensible options that respect scale, comfort, and viewing angles. The client can choose with confidence because the visuals match real-world behavior.
Choosing a 3D Room Planner: What Matters Most
Tool choice should reflect your workflow rather than the other way around. Prioritize:
- Accuracy: Reliable scale calibration, wall thickness controls, and dimension tools.
- Asset quality: Manufacturer-grade furniture sizes or the ability to input custom dimensions.
- Lighting realism: Basic controls for sun, color temperature, and exposure go a long way.
- Export flexibility: High-resolution imagery plus at least one interactive or 3D format.
- Speed: Fast previews encourage iteration; slow renders discourage exploration.
- Mobile capture: If you start from phone photos or scans, seamless import saves time.
If you are working on iOS and need to transform a black and white 2D floor plan into a faithful, editable 3D model for room planning and rendering, the app Floor Plan to 3D can ingest photos or scans, preserve dimensions with AI, and export high-resolution images for proposals.
With a clear setup, dependable layout rules, a short QA loop, and exports tailored to your audience, a 3d room planner becomes more than a visualization tool. It becomes a fast, trustworthy way to make design decisions and communicate them with clarity.
