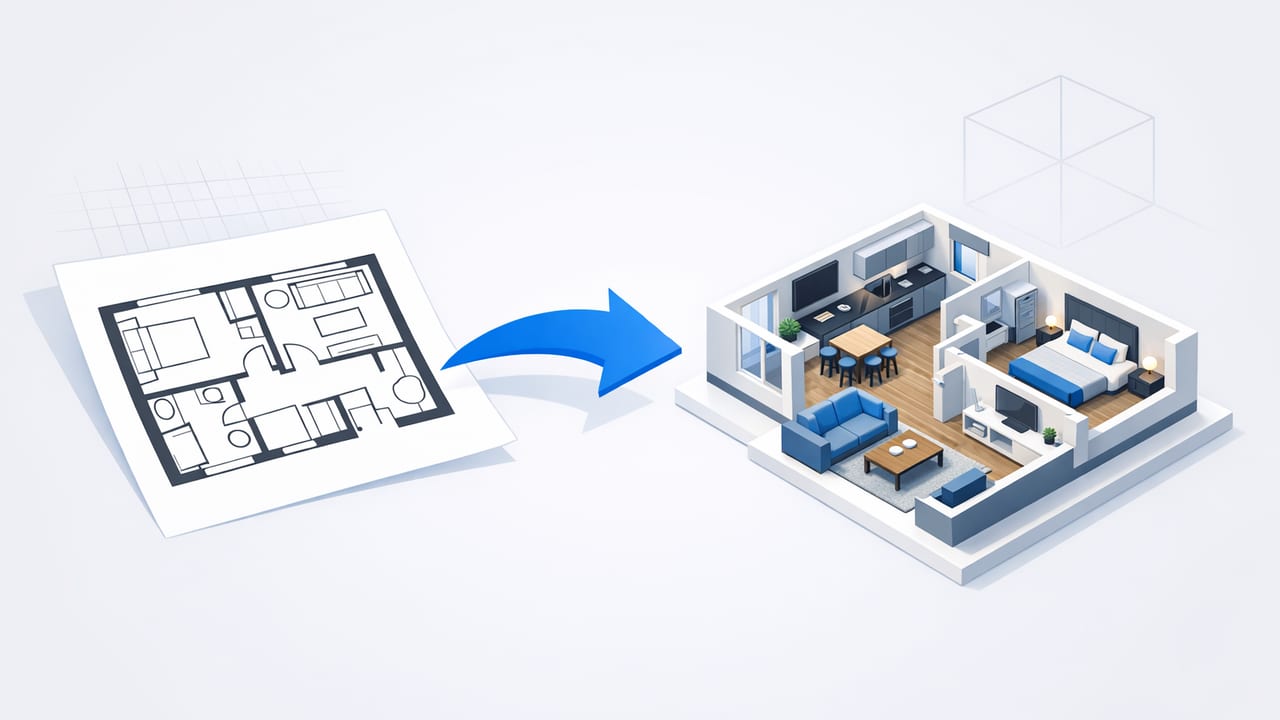
If you’re trying to turn 2D floor plan into 3D, you’re usually after one thing: clearer decisions with fewer surprises. A 2D plan is great for dimensions, but it’s not great at communicating space—how a hallway feels, whether a kitchen island blocks circulation, or how a new window line changes light. Converting a floor plan into a 3D model (and then generating clean 3D renders) helps you preview renovation concepts, test furniture layouts, and share options with stakeholders without heavy 3D software.
This guide focuses on an accuracy-first workflow—so your 3D result matches the real layout, not just a “close enough” concept image.
Why convert a 2D floor plan to 3D?
- Fewer miscommunications: 3D visuals reduce back-and-forth about what walls move, what stays, and how sightlines change.
- Faster layout testing: You can quickly validate circulation, door swings, and furniture fit.
- Better renovation previews: Materials, lighting, and exterior refresh ideas land more clearly when viewed in 3D.
- Stronger presentations: High-resolution 3D renders help proposals, listings, and client approvals.
Before you start: what a “good” 2D input looks like
Floor plan conversion works best when the source plan is readable and consistent. Even AI-assisted tools depend on clean inputs for accurate wall detection and correct proportions.
Minimum prep checklist
- Legible dimensions: At least one known measurement (e.g., a room width) to set scale reliably.
- Clear wall lines: Avoid heavy shadows, folds, or angled photos that warp geometry.
- Door/window symbols: Openings should be visible so they don’t get interpreted as solid walls.
- Room labels (optional but helpful): Labels improve room planning and speed up material assignment.
Step-by-step: an accuracy-first workflow to go from 2D to 3D
The most reliable approach is to separate the process into two phases: (1) geometry correctness and (2) design exploration. Don’t choose finishes or furniture until the layout is trustworthy.
1) Capture the plan without distortion
- Scan if possible: Flatbed scans are best. If you must use a phone, shoot square-on and use good lighting.
- Crop tightly: Remove margins and notes that can confuse wall detection.
- Boost contrast: Black walls on white background convert more cleanly than gray-on-gray plans.
2) Set scale using a known dimension
Scale is the difference between a helpful 3D model and an expensive mistake. Pick one dimension you trust (often an exterior wall length, or a room width taken from the plan). If dimensions are missing, measure on-site before making decisions.
3) Validate wall thickness and alignment
When a conversion tool generates walls, check for:
- Wall continuity: No gaps at corners, and no overlaps that create slivers.
- Parallel lines staying parallel: Slight skew in the input image can cause “trapezoid rooms.”
- Consistent thickness: Interior partitions vs exterior walls should match your plan’s intent.
4) Place doors, windows, and openings deliberately
Openings drive real-world usability (and cost). Confirm:
- Door swing direction and clearance around furniture
- Window widths and sill heights if your redesign depends on light or views
- Open-plan transitions: cased openings vs full wall removal
5) Name rooms and assign functions
Room labels aren’t just cosmetic. They help you organize decisions like flooring transitions, paint zones, and lighting types. Even a simple naming system (Kitchen, Living, Bed 1) makes later iterations easier.
6) Add “decision-grade” placeholders before detailed furniture
Start with simplified blocks for major items (sofa, bed, dining table, vanity). This avoids wasting time on decor when the layout may still change. Your goal is to confirm fit, clearance, and flow.
7) Generate 3D renders and review them like a checklist
Render early, even if finishes are basic. A quick 3D view reveals issues 2D hides—like a door colliding with a cabinet run or a narrowed corridor after moving a wall.
Rule of thumb: If you wouldn’t build it without a dimension, don’t approve it without a 3D view.
An accuracy checklist you can reuse
- Scale confirmed from at least one trusted dimension
- Exterior footprint matches the plan (overall width/length)
- Interior room sizes match key dimensions (kitchen, baths, bedrooms)
- All doors/windows accounted for and placed on correct walls
- Stairs aligned (rise/run approximations and landing positions)
- Plumbing walls identified (useful for bath/kitchen redesign feasibility)
- Circulation clearances checked around islands, dining, and hallway pinch points
Using an AI room planner after the layout is correct
Once the geometry is stable, AI-guided room planning becomes valuable for exploring options quickly. The trick is to keep the “layout layer” locked while you iterate on design layers:
- Interior design: test cabinet styles, flooring, paint palettes, lighting moods, and furniture layouts.
- Empty-room staging: create realistic furnishing to communicate scale to clients or buyers.
- Exterior refresh: experiment with siding, window trim, entry updates, and landscaping massing.
For renovation previews, generate 2–3 distinct directions (for example: Modern warm, Transitional, Minimal) and keep the camera angles consistent so reviewers can compare changes fairly.
Compare your conversion options (and when each makes sense)
| Method | Best for | Pros | Limitations |
|---|---|---|---|
| Manual CAD/3D modeling | Construction-grade documentation | Maximum control and precision | Time-consuming; steeper learning curve |
| Floor plan conversion + editing | Renovation previews and client options | Fast to get a correct base model; easy iteration | Still needs human checks for openings and scale |
| Concept-only 3D (no measured base) | Early inspiration boards | Quick visual ideation | Risky for furniture fit and layout decisions |
Mini example: how scale calibration works
If your tool asks for a known measurement, you can sanity-check the math using a simple conversion. The idea is to map pixels (or a measured on-screen length) to real-world units.
// If a wall measures 420 pixels in the image
// and the real wall length is 14 feet:

pixels = 420
real_feet = 14
feet_per_pixel = real_feet / pixels  // 0.03333...

// Any other pixel distance can be converted:
other_pixels = 300
other_feet = other_pixels * feet_per_pixel  // 10 feet
You don’t need to code this; it’s just a transparent way to verify that a scaled model stays consistent from room to room.
Common mistakes when you turn a 2D floor plan into 3D (and how to fix them)
Walls drift out of square
Cause: angled phone photos or perspective distortion.
Fix: re-capture the plan square-on; use scan mode; straighten and crop before conversion.
Doors and windows are missing or misread
Cause: faint symbols, low contrast, or cluttered annotations.
Fix: increase contrast; manually place key openings; verify window counts on elevations if available.
Room sizes feel “off” even when one dimension matches
Cause: scaling from a dimension that was not trustworthy (or scaling after a distorted import).
Fix: confirm two independent dimensions (e.g., exterior length and a bedroom width). If both can’t match, the input is likely warped.
Renders look good but decisions fail in real life
Cause: designing before verifying clearances and functional zones.
Fix: lock in circulation rules first (walkways, door swings, aisle widths), then iterate finishes and furniture.
FAQ
How accurate can a 3D model from a floor plan be?
Very accurate for layout and proportions if you set scale correctly and verify key dimensions. Accuracy drops when the input image is skewed or when dimensions are missing.
Do I need construction documents to start?
No. A readable floor plan plus at least one trusted measurement can be enough for renovation previews and space planning. For structural changes, use professional documentation.
What should I export for stakeholders?
Export a small set of consistent viewpoints (e.g., kitchen facing island, living room from entry, primary bedroom from doorway) and include at least one top-down 3D view to keep orientation clear.
Closing thoughts
The best results come from treating 2D-to-3D conversion as a disciplined workflow: capture clean input, calibrate scale, verify openings, and only then explore redesign ideas. When you do it in that order, 3D becomes a reliable decision tool—not just a pretty picture.
If you prefer an iOS workflow, tools like Floor Plan to 3D & Home Redesign can help convert a black-and-white plan into a clean 3D model and then iterate room-planning concepts quickly.
