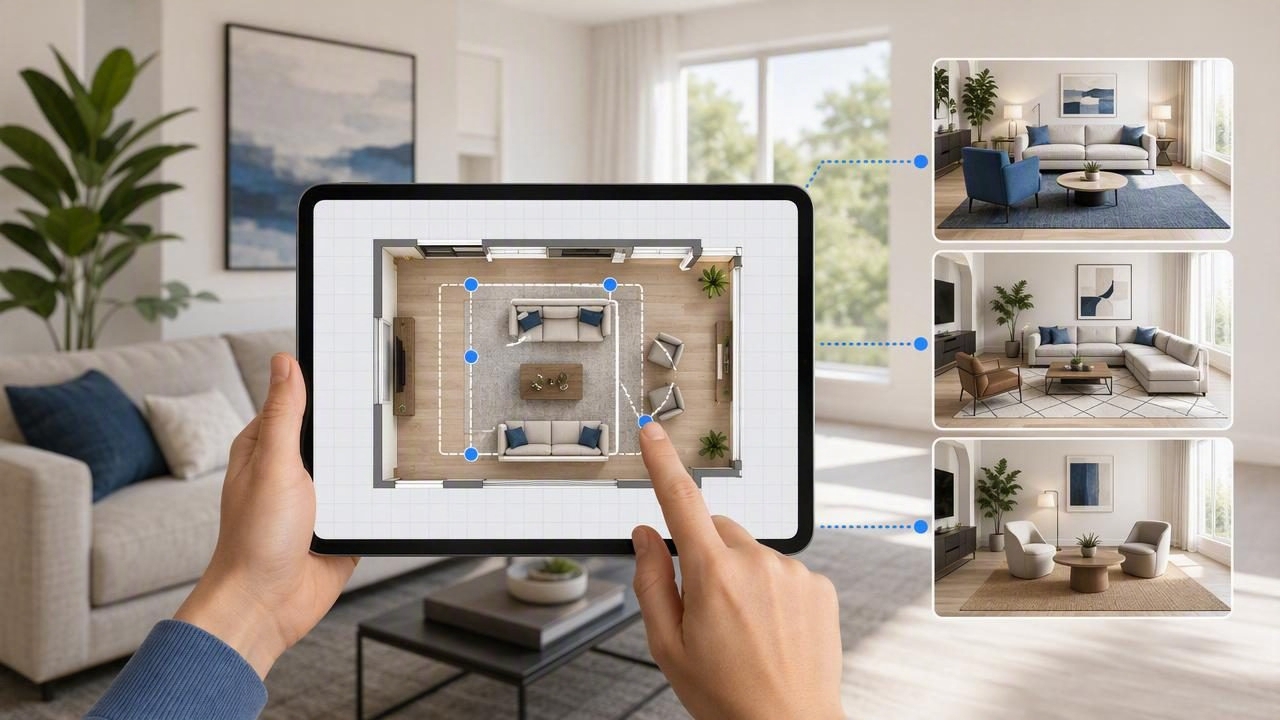
Choosing furniture is not only about finding pieces you like. A sofa that looks ideal in a showroom may block a doorway at home, make a narrow living room feel crowded, or leave too little space for conversation. Before buying, moving, or staging furniture, it helps to see how every major piece works together in the actual room.
That is why many homeowners, real estate professionals, renovators, and interior designers use a virtual staging app. The right workflow lets you test furniture arrangements with a virtual staging app before committing to purchases, labor, or a layout that does not function well. Instead of relying on imagination alone, you can explore multiple room plans, compare styles, and identify practical issues early.
This guide explains how to plan a room digitally, what to test in each furniture arrangement, and how to turn virtual concepts into decisions you can use in a real home.
Why Test Furniture Layouts Before Making Changes?
Furniture placement affects how a room feels and functions. Even a beautifully decorated room can be frustrating when the layout interrupts daily routines. A virtual preview provides a low-risk way to test ideas before you move heavy furniture, place an order, or begin a renovation.
Digital furniture planning is especially useful when you are working with:
- An empty home that needs staging for listings or viewings
- A new floor plan, blueprint, or renovation layout
- A small room with limited clearance space
- An open-concept living, dining, and kitchen area
- Existing furniture that must fit into a new home
- A room with awkward windows, doors, radiators, or structural features
Virtual staging also makes it easier to compare alternatives objectively. You may think a large sectional is essential until you see that two smaller sofas create better pathways. Similarly, a dining table may look proportionate in a product photo but overwhelm a room when its true footprint is placed against the walls and circulation zones.
Start With an Accurate Room Foundation
A useful furniture test begins with an accurate representation of the room. If walls, windows, doors, and dimensions are incorrect, the resulting design may be attractive but impractical. Start with a measured floor plan whenever possible.
Capture the features that influence placement most:
- Overall room length and width
- Ceiling height, especially for tall shelving or pendant lighting
- Door swing direction and entry clearance
- Window locations, sill heights, and natural-light direction
- Fireplaces, built-ins, columns, radiators, and vents
- Electrical outlets, television connections, and lighting controls
If you already have a black-and-white floor plan, use it as the foundation for floor plan conversion. A 3D version makes it easier to understand depth, sightlines, and proportions than a flat sketch alone. Labels and dimensions should remain visible or easy to reference so you can confirm that the visual concept still respects the original layout.
Measure Furniture, Not Just the Room
Do not estimate furniture sizes from memory. Record the width, depth, height, and, where relevant, the clearance needed to use each item. For example, dining chairs need room to slide back, and cabinet doors need space to open.
| Furniture Item | Measurements to Check | Planning Consideration |
|---|---|---|
| Sofa or sectional | Width, depth, chaise projection | Keep clear paths around corners and entrances. |
| Dining table | Table size plus pulled-out chairs | Allow comfortable circulation on all sides. |
| Bed | Frame size, bedside table depth | Check access to closets, windows, and both sides. |
| Desk | Width, depth, chair clearance | Consider outlets, daylight, and video-call backgrounds. |
| Storage unit | Depth, door or drawer opening | Avoid blocking doors, vents, and walkways. |
Choose the Room’s Primary Function First
Before adding decorative items, decide what the room needs to accomplish. A living room might need to support conversation, television viewing, reading, entertaining, or children’s play. A spare bedroom may need to work as a guest room and home office. Defining the primary function prevents a common staging mistake: filling a room with attractive furniture that does not serve the people using it.
Write a simple brief before testing layouts:
Example brief: Create a living room for four people to talk comfortably, preserve a direct route to the patio door, provide television viewing from the main seating, and include hidden storage for games.
This brief becomes a filter for every virtual arrangement. If a design looks stylish but blocks the patio route, it fails the brief. If another option fits fewer decorative pieces but provides better seating and storage, it may be the stronger choice.
How to Test Furniture Arrangements With a Virtual Staging App
Once the room shell and measurements are ready, use a structured testing process rather than creating only one polished image. The goal is to compare options, find constraints, and narrow the possibilities.
1. Place the Largest Pieces First
Start with the furniture that defines the room: a bed, sofa, dining table, desk, or storage wall. Large pieces establish the traffic pattern and visual center of the space. In a living room, identify whether the focal point is a fireplace, television wall, window view, or conversation zone. In a bedroom, place the bed first, then evaluate side access and storage.
Avoid pushing every item against the wall by default. In larger spaces, floating a sofa can create separate zones and make an open floor plan feel more intentional. A virtual render lets you test this approach without physically moving anything.
2. Check Walkways and Door Swings
Next, evaluate movement through the room. A layout should support natural routes from one doorway to another without forcing people to squeeze past furniture. Look carefully at doors, drawers, and appliances. A chair that appears to fit may prevent a closet from opening fully.
As a practical guideline, aim for roughly 30 to 36 inches of clear circulation in frequently used pathways when the room allows it. Tighter spaces may require compromises, but the virtual plan should reveal where those compromises occur. Pay special attention to routes between the kitchen and dining table, bedroom door and closet, or living room seating and exterior doors.
3. Test Scale and Visual Weight
Scale is not simply about whether furniture fits physically. It is also about whether the room feels balanced. A bulky dark sectional can visually dominate a compact room even if there is enough clearance around it. Conversely, tiny chairs in a large room can make the space feel unfinished.
Use 3D renders to compare:
- A sectional versus a sofa-and-chair combination
- A round dining table versus a rectangular table
- Low-profile furniture versus tall storage pieces
- Open-leg furniture versus solid-base furniture
- One large rug versus smaller separate rugs for zones
View each option from several angles. A layout may look balanced from the entry but crowded when viewed from the sofa or hallway. This is one advantage of virtual staging over a single mood board: it helps you assess the room as a spatial experience.
4. Create Multiple Purposeful Variations
Do not make random changes. Create two to four distinct options based on a specific question. For example, one layout may prioritize maximum seating, another may prioritize open floor space, and a third may add a work-from-home area.
- Option A: Conversation-first. Face seating toward one another and use a central coffee table.
- Option B: Entertainment-first. Orient seating toward the television or media wall.
- Option C: Flexible living. Add movable chairs, nesting tables, or modular furniture.
- Option D: Storage-first. Include shelving, cabinets, or a console while retaining pathways.
Saving separate versions prevents ideas from becoming blurred together. Name each version clearly so it is easy to revisit when discussing the room with a partner, client, contractor, or furniture retailer.
Use Virtual Staging to Explore Style Without Losing Function
After confirming the basic layout, experiment with style. Change upholstery colors, rug sizes, lighting, wall finishes, and accessories to see how they affect the overall mood. This stage is valuable for home redesign because it separates structural decisions from cosmetic decisions.
For instance, the same furniture layout can be tested in warm contemporary, Scandinavian, transitional, or minimalist styles. If a room feels too heavy, try lighter materials, exposed legs, softer contrast, or fewer large accessories. If it feels bland, add texture through curtains, rugs, wood tones, artwork, and layered lighting.
However, keep the virtual design believable. Oversized artwork, undersized rugs, and impossible furniture clearances can make a render look appealing while giving poor guidance for real-world purchasing.
Common Mistakes to Avoid
Virtual staging is most useful when it supports practical decision-making. Avoid these frequent errors:
- Ignoring true dimensions: Generic furniture models may not match the products you plan to buy.
- Forgetting door clearance: Always check door swings, drawers, and cabinet access.
- Using too much furniture: Empty space is necessary for movement and visual calm.
- Designing from one camera angle: Review the room from entrances, seated positions, and connecting spaces.
- Skipping lighting checks: Natural and artificial light can change color, glare, and room perception.
- Confusing staging with daily life: A listing image may use fewer items than a family needs for everyday comfort.
From Virtual Plan to Real-World Setup
When you select a preferred arrangement, turn it into an action list. Confirm product dimensions, note required clearances, and mark where each item will go. If possible, use painter’s tape on the floor to outline major furniture footprints before delivery. This simple step provides one final physical check for scale and pathways.
For renovation previews, share the selected 3D renders alongside the original floor plan. This helps contractors, family members, and stakeholders understand the intention behind changes. A clear visual can reduce misunderstandings about furniture zones, storage needs, and the relationship between finishes and layout.
Final Thoughts
Testing layouts digitally makes furniture planning faster, clearer, and less expensive than relying on guesswork. Begin with accurate room data, place major pieces first, evaluate circulation, compare purposeful alternatives, and only then refine the style. The result is a room that is not just visually appealing but easier to live in.
For homeowners who want to turn a floor plan into practical layout studies and high-quality 3D renders, Floor Plan to 3D & Home Redesign can support the transition from plan-based ideas to clearer renovation and furnishing decisions.
