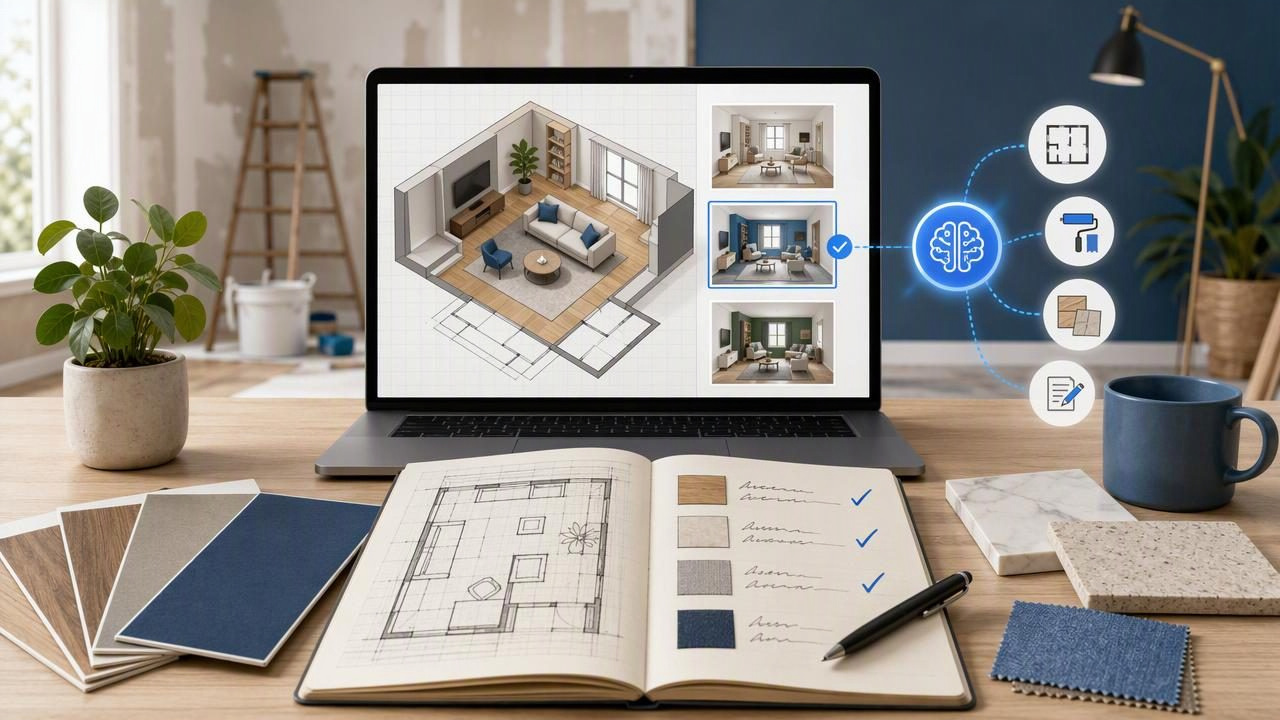
Renovation decisions can become difficult to track long before work begins. A homeowner may approve a new kitchen layout, then reconsider cabinet placement after seeing a paint sample. A designer may create several room concepts, while a contractor needs a clear record of which ideas are exploratory and which ones have been approved.
An AI guided room layout planner can make the visual part of this process faster by helping people explore layout and redesign ideas from a room photo or floor plan. However, the real value comes from pairing those visual concepts with a simple decision-recording workflow. Rather than treating every image as a final plan, use it to document options, questions, assumptions, and next actions.
This approach helps homeowners, interior designers, property managers, and renovation teams communicate more clearly. It also reduces the risk of relying on an old image, a forgotten conversation, or an unconfirmed design choice when the project moves forward.
Why renovation decisions need a visual record
Most renovation projects involve dozens of decisions. Some are large, such as whether to remove a wall or relocate an island. Others seem small but can affect the final result, including light fixture finishes, curtain placement, storage needs, or the swing direction of a door.
Without a system, decisions often end up scattered across:
- Text messages and email threads
- Annotated screenshots
- Supplier links
- Handwritten notes from site visits
- Multiple versions of floor plans
- Unlabeled inspiration images
A visual decision log brings these items together. It gives every important choice a reference image, a written status, and a reason for the decision. This does not replace architectural drawings, engineering documents, permits, or contractor specifications. Instead, it creates a practical bridge between early renovation ideas and the detailed documents required for construction.
Use AI concepts as discussion tools, not construction instructions
AI-generated room layouts and redesign images are useful for testing possibilities: a different sofa position, a brighter exterior finish, a more functional home office, or a staged empty room. They can help people react to something visible instead of trying to interpret a verbal description.
Still, a generated image has limits. It is not a measured CAD or BIM model, a certified construction plan, or proof that a layout will fit exactly as shown. Even when a source floor plan includes dimensions and labels, generated visuals should be checked carefully against the original source. Door clearances, wall thicknesses, appliance requirements, structural conditions, plumbing locations, and building codes require separate professional review.
Useful rule: Label concept images as “for design discussion” until the relevant dimensions, materials, and installation details have been confirmed.
By being clear about this limitation, a renovation team can use an AI guided room layout planner confidently without confusing a visual direction with a build-ready instruction.
Create a decision log before generating options
The best time to organize renovation choices is before a large collection of images exists. Start with a basic decision log that can live in a spreadsheet, project-management tool, shared document, or printed binder. The format matters less than making it easy for everyone to find the latest answer.
Recommended fields for each renovation decision
| Field | What to record | Example |
|---|---|---|
| Decision ID | A unique label for reference | KIT-04 |
| Room or area | The location affected | Kitchen |
| Decision question | The choice that needs an answer | Should the island face the living area? |
| Visual reference | Image name, link, or concept version | Kitchen-Option-B |
| Status | Open, reviewing, approved, or revised | Reviewing |
| Reason | Why one option is preferred | Improves conversation area and sightlines |
| Verification needed | Items to confirm before construction | Check aisle clearance and electrical needs |
| Owner and date | Who will confirm it and by when | Designer, October 12 |
This structure prevents an attractive render from becoming an undocumented assumption. It also makes revisions easier because the team can see what changed, when it changed, and why.
A concrete example: recording a small kitchen redesign
Imagine a homeowner renovating a narrow kitchen that opens into a dining room. They want more prep space, better storage, and a less crowded path between the entry and the patio door.
After reviewing the current floor plan and room photos, the homeowner creates three early visual concepts:
- Option A: Keep the existing galley layout and add tall pantry storage.
- Option B: Use a short island with stools facing the dining room.
- Option C: Replace the island with a movable prep table and add open shelving.
Instead of saying “we like Option B,” the homeowner creates a detailed entry in the renovation decision log:
Decision ID: KIT-04
Question: Which layout provides more prep space without blocking circulation?
Preferred concept: Option B, short island facing dining room
Reason: Creates a clearer social connection and adds work surface.
Concerns: Island may reduce walkway near patio door.
Status: Conditional approval
Next step: Contractor to verify actual clearances, door swing,
and outlet requirements before any cabinet order.
This note is much more useful than an image alone. It records the design intent while openly identifying the items that still need to be checked. If the contractor later finds the island is too large for the available space, the team understands the original goal: gain prep space and preserve circulation. They can adjust the design without starting the conversation from scratch.
Separate decisions into three categories
Not every choice needs the same level of urgency or technical review. Categorizing decisions prevents a project from getting stalled by minor visual preferences while important site constraints remain unresolved.
1. Visual direction decisions
These decisions establish the overall look and feel. Examples include a warm neutral palette, modern exterior cladding, darker lower cabinets, or a calmer bedroom layout. AI home redesign images are particularly useful at this stage because they make mood, color balance, furniture scale, and style direction easier to discuss.
2. Functional layout decisions
These choices affect how people use a room. They may involve furniture zones, storage placement, desk orientation, dining circulation, or how an empty room will be staged. Record both the expected benefit and the practical issue to verify. For example, “Place desk near window for daylight, subject to checking glare and power access.”
3. Construction-dependent decisions
These are choices that cannot be finalized from a visual concept alone. Examples include moving plumbing, removing a wall, changing window sizes, installing heavy shelving, or shifting electrical circuits. Mark these as dependent on a qualified professional, site measurement, permit review, or contractor confirmation.
Keeping these categories separate is essential. A room concept may be approved visually while a related construction decision remains pending.
Review generated layouts against the source material
When using floor plan conversion or room redesign visuals, compare each result with the original plan or photo before recording it as a viable option. Look for major discrepancies in room relationships and key features.
- Are doors, windows, and openings shown in approximately the correct locations?
- Does the concept preserve the basic room shape and intended circulation route?
- Are existing fixed elements, such as stairs, radiators, fireplaces, or columns, still accounted for?
- Do furniture items appear to block an opening or make a path seem narrower?
- Have labels or dimensions in the source been used only as references rather than assumed measurements?
If a visual concept changes or omits an important feature, note it directly in the decision log. The image may still be useful for color, furnishing, or style inspiration, but it should not be used to decide the layout without further review.
Make approvals clear and reversible
“Approved” should never be a vague label. A strong approval note explains exactly what has been accepted and what has not. For example, “Approved: light oak flooring direction and warm-white wall color. Not approved: final trim profile and flooring product.”
Use simple status labels consistently:
- Open: An issue has been identified but no option has been selected.
- Reviewing: Options exist and feedback is being collected.
- Conditional approval: The preferred direction is selected, pending a specific check.
- Approved: The decision is confirmed for the project scope.
- Revised: A previous decision changed; link to the new version.
For major changes, keep the earlier image and note rather than deleting them. A history of revisions can explain why a decision was made and help prevent the team from unknowingly revisiting a rejected option.
Use a weekly renovation review routine
A short weekly review keeps the decision log useful. Set aside 20 to 30 minutes to examine only the choices that affect the next stage of work. Begin with unresolved items, then confirm any decisions that are ready to move forward.
During the review, ask these questions:
- Which visual concepts are still being treated as ideas rather than confirmed selections?
- What must be measured, quoted, or reviewed on site?
- Has a new room layout created a conflict with circulation, storage, lighting, or utilities?
- Does the contractor have the latest approved decision record?
- Which choices must be finalized before ordering materials?
This routine makes an AI guided room layout planner part of a disciplined renovation process rather than a source of disconnected inspiration images.
Turn visual ideas into better renovation communication
Visual planning is most effective when it gives people a common language. A homeowner can point to a concept and explain what feels right. A designer can document the intended atmosphere. A contractor can identify what requires field verification. Everyone can see the difference between a preferred design direction and a confirmed build detail.
For creating early room concepts from floor plans or photos, Floor Plan to 3D & Home Redesign’s guide to AI room design explains how visual redesign ideas can support planning conversations. Review every generated layout against the source, keep technical decisions separate, and use your decision log to carry the project from concept to informed next steps.
